Create a Calendar in SharePointSharePoint calendars allow us to easily access personal events, holidays, team events, and company schedules. It also allows managers to inform co-workers about meetings. Create a Calendar appThere are the following steps to create a calendar app - Step 1: Go to the Home page of your site. Click on the + New, and select App from the drop-down menu. 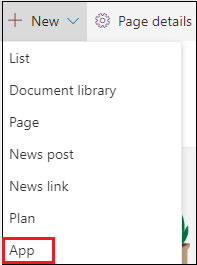 Step 2: Your apps window appears on the screen, scroll down the window, and search for the Calendars. Once you find the calendar app, click on it, or you can directly type the calendar at the search box. 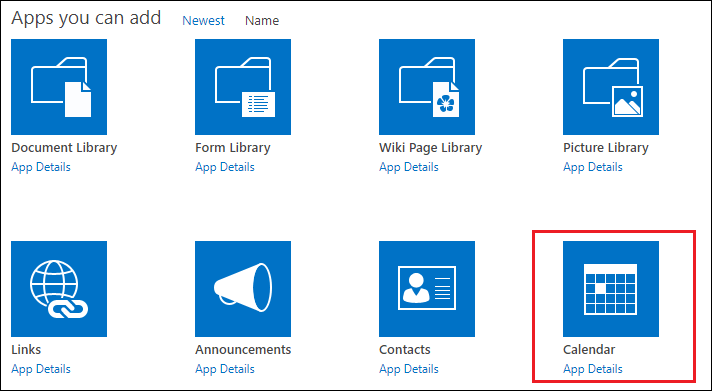 Step 3: Once you click on the calendar app, a small pop-up appears, in which enter the calendar name that you want to create, and click on the Create option.  Step 4: Now, in the site content page, you can see that a new app calendar is created. Click on the calendar. 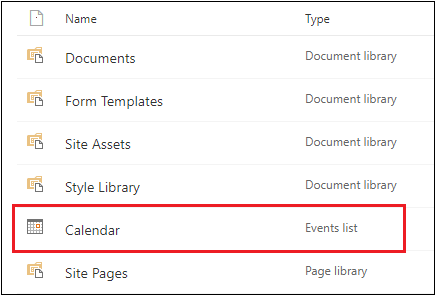 Step 5: The below screenshot shows that a calendar is created. 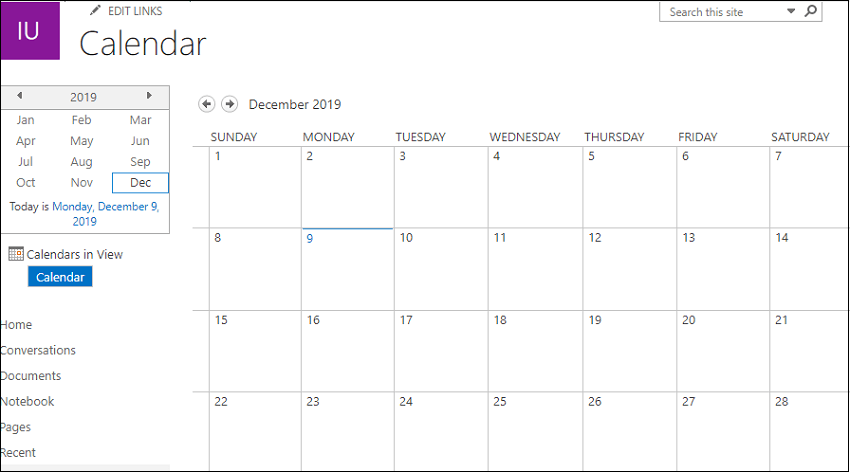 Enable VersioningStep 1: Go to the Calendar tab at the top left corner of the screen. A ribbon appears, in which select List Settings.  Step 2: A Setting page appears on the screen, click on the Versioning setting. 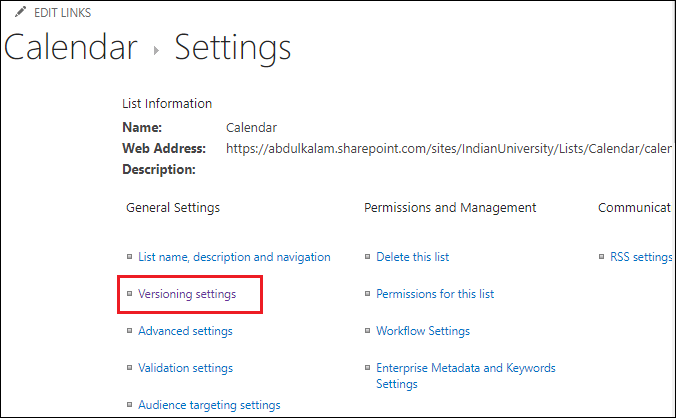 Step 3: In Versioning setting window, select Yes radio button for Create a version each time you edit an item in this list?, and click on the OK at the bottom of the screen. 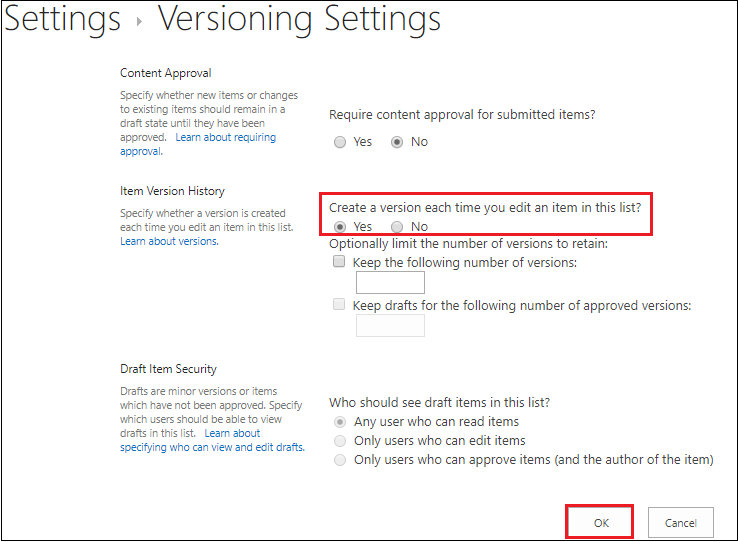 Add a new event in the calendarAdd event in the calendar allows you to maintain and manage a list of events within the site. To add events in the calendar, hover the mouse on the date or double click on the date in which you want to add the event. A link with +Add appears on the date that you are selected, click on the +Add. 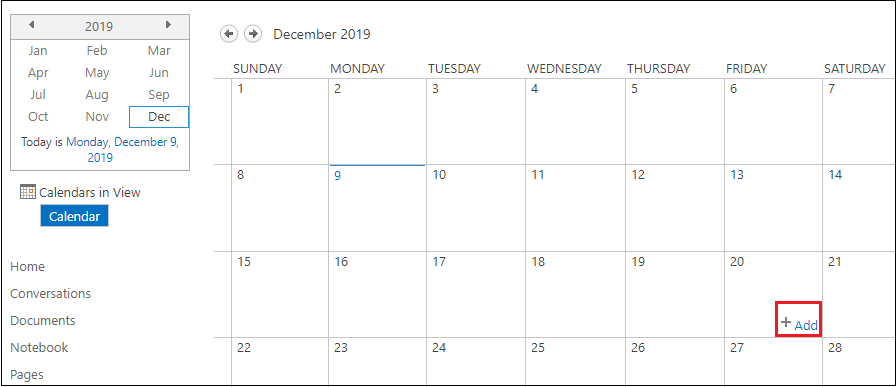 A Calendar - New item window appears on the screen. Fill the information according to your requirements and click on the Save at the bottom of the screen. 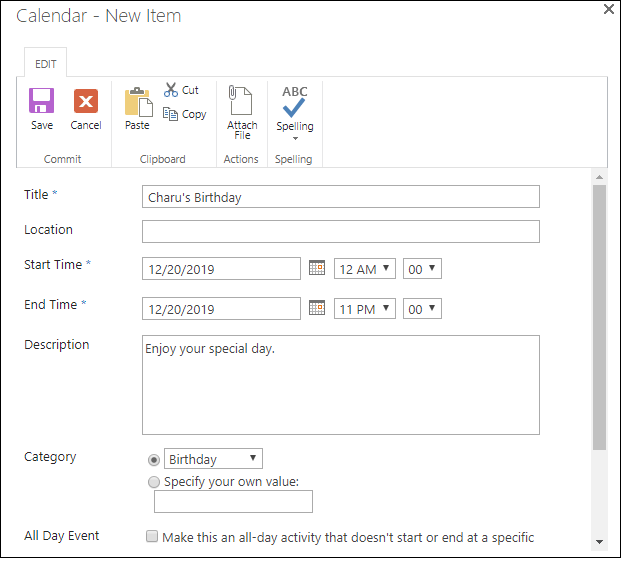 The following screenshot shows that events are added to the calendar. 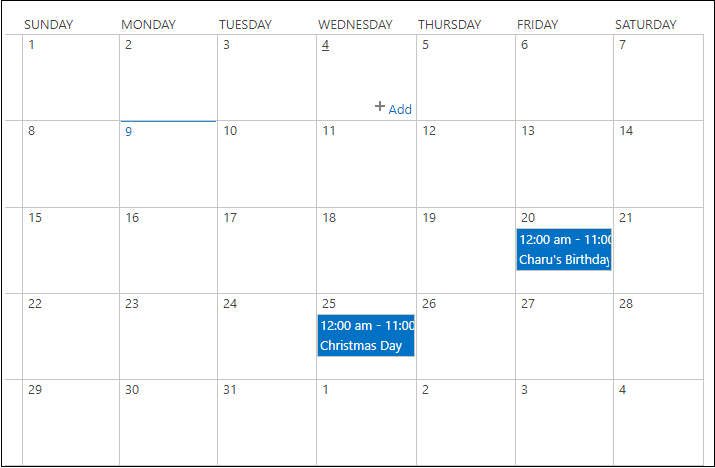 Next TopicCreate a Survey in SharePoint |