Creating Interactive PDF forms using PythonPython provides different functionalities that one can perform in order to manipulate PDF files, and we have already discussed a lot of things in the previous two tutorials on handling PDF files using Python. In this tutorial, we will understand how to create Interactive forms in a PDF file using the Python programming language. But before we get started, we will also discuss a Python toolkit that provides us accessibility to create one interactive form known as the ReportLab toolkit. Understanding the ReportLab toolkit in PythonThe Python ReportLab toolkit allows the programmers to create forms that are interactive and fillable. The PDF standard usually consists of a rich set of interactive elements. The ReportLab toolkit does not support all of these elements; however, it does cover most of them. In the following section, we will look at the following widgets:
All of the stated widgets are developed by calling different methods on the canvas.acroform property. Note that we can only have one form per document. Let us understand these widgets of the ReportLab toolkit. Understanding the Checkbox widgetThe checkbox widget is exactly what it sounds like. It is a little box that we can use to check entities shown in a form. Reportlab supports different styles of checks for the checkboxes, so when the checkbox is checked, it can look distinctive as per the style that we set. Now, let us understand a simple example that illustrates how few of these parameters behave: Example: Output: 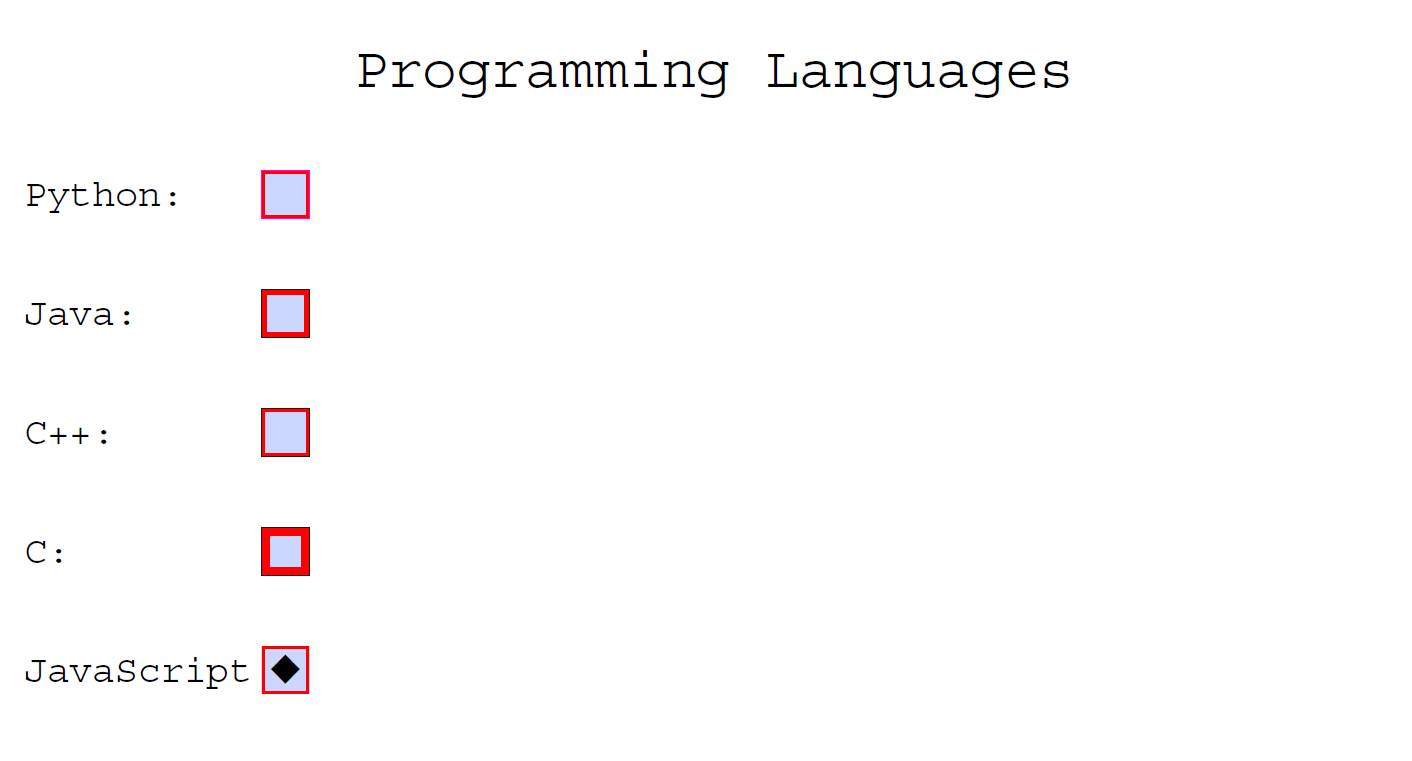 Explanation: As we can observe in the above snippet of code, we have imported different functions from different modules of the ReportLab library. We have then set up the name and set the tooltip in order to match the widget's name. We have then set its position and some of the other things. We can play around with the width of the checkbox's border or turn the border off. If we turn it off, though, the checkbox may become invisible, so we might want to set its background color via fillColor if we do that. We have set the buttonStyle to something distinctive for each of the checkboxes. Understanding the Radio widgetThe radio widgets are similar to the checkboxes, despite the fact that radio buttons lie within the group where we can select only one radio button at a time. Checkboxes are rarely restricted to allowing one checkbox per group. The ReportLab toolkit does not offer a method to explicitly group a set of radio boxes altogether. The toolkit only provides the implicit way of grouping it. This statement implies that if we create a series of radio one after the other, they will be grouped together. Now, let us understand the same using a simple example as shown below: Example: Output: 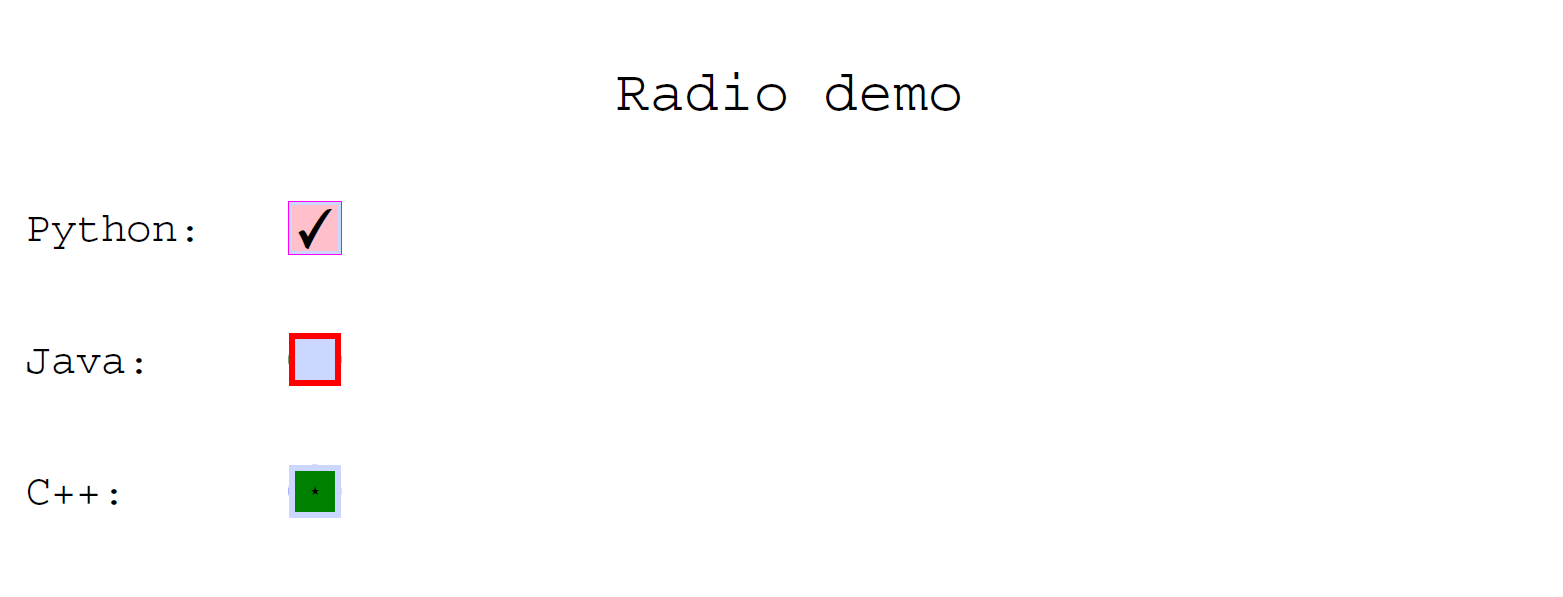 Explanation: In the above snippet of code, we have imported the required functions from the different modules of the ReportLab toolkit. We have then defined a function and created a new PDF file. We have then defined different radio buttons for the PDF file and saved the file. At last, we have called the function. Once we execute the above snippet of code, we can observe that the program only returns three radios. This is because we are required to create two objects of each radio button with identical names but with different values and sections. The documentation does not state the reason behind it, but we can assume this is done to support the ReportLab toolkit tracking the widget's "selected" state. This also allows us to alter the appearance of the radio when it is selected or deselected. Understanding the Choice widgetThe choice widget is fundamentally a combo box that shows a drop-down when the user clicks on it. This enables the user to pick one or more options from the drop-down list, relying on the fieldFlags we have set. If we insert edit to the fieldFlags, then the user can edit the element in the choice widget. Let us understand the following example demonstrating the use of choice widgets in a PDF document: Example: Output: 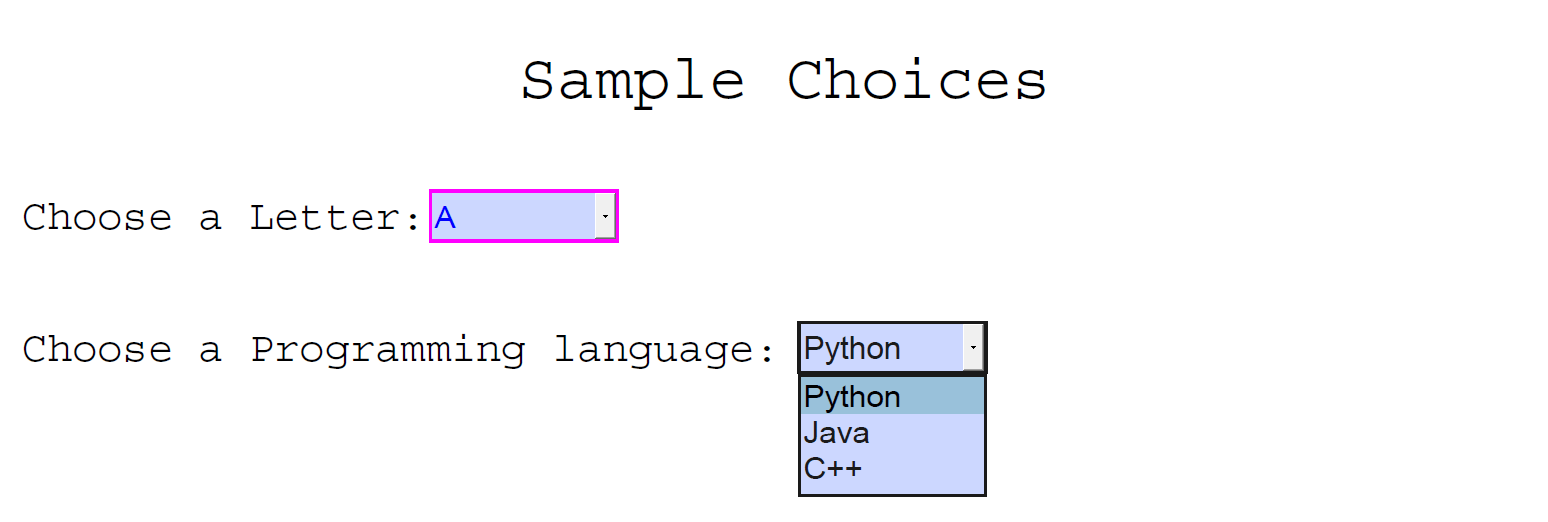 Explanation: In the above snippet of code, we have imported the required functions from the different modules of the ReportLab toolkit. We have then defined a function and created a new PDF file. We have then created two choice widgets with slightly distinct styles applied and saved the file. Remember to include the value parameter to the function; else, the program will return a bizarre error that does not say anything associated with the parameter being missing. At last, we have called the function. Understanding the Listbox widgetThe listbox widget is somewhat similar to the choice widget, except that a listbox is considered a scrollable box rather than a combo box. We can use the fieldFlags parameter that supports the user to select one or multiple elements from the list box. Now, let us consider the following example illustrating the use of the listbox widget in making interactive PDF forms: Example: Output: 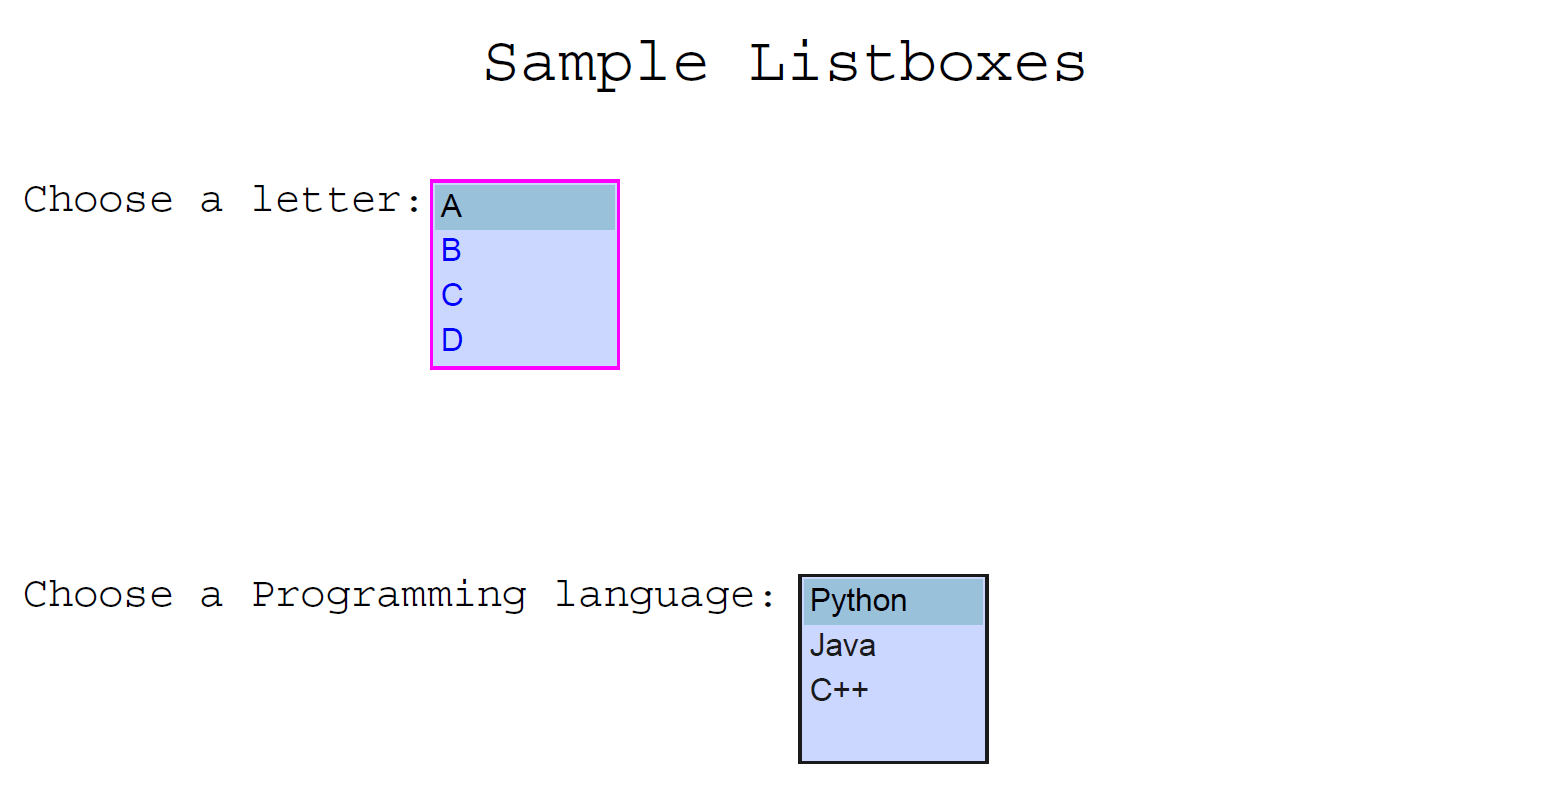 Explanation: In the above snippet of code, we have imported the required functions from the different modules of the ReportLab toolkit. We have then defined a function and created a new PDF file. We have then created the listbox widgets with slightly distinct styles applied and saved the file. The above example is quite similar to the previous one where we created the choice widget. The main difference here is the appearance of the listbox widget versus the choice widget; else, both the widgets are pretty much the same. Understanding the Textfield widgetThe textfield is a text entry widget. We can see these textfield widgets in forms to fill up the entries like name, address, and more. Most of the parameters of the textfield are the same as the ones we have observed in the earlier widgets. Let us consider the following example to understand the same: Example: Output: 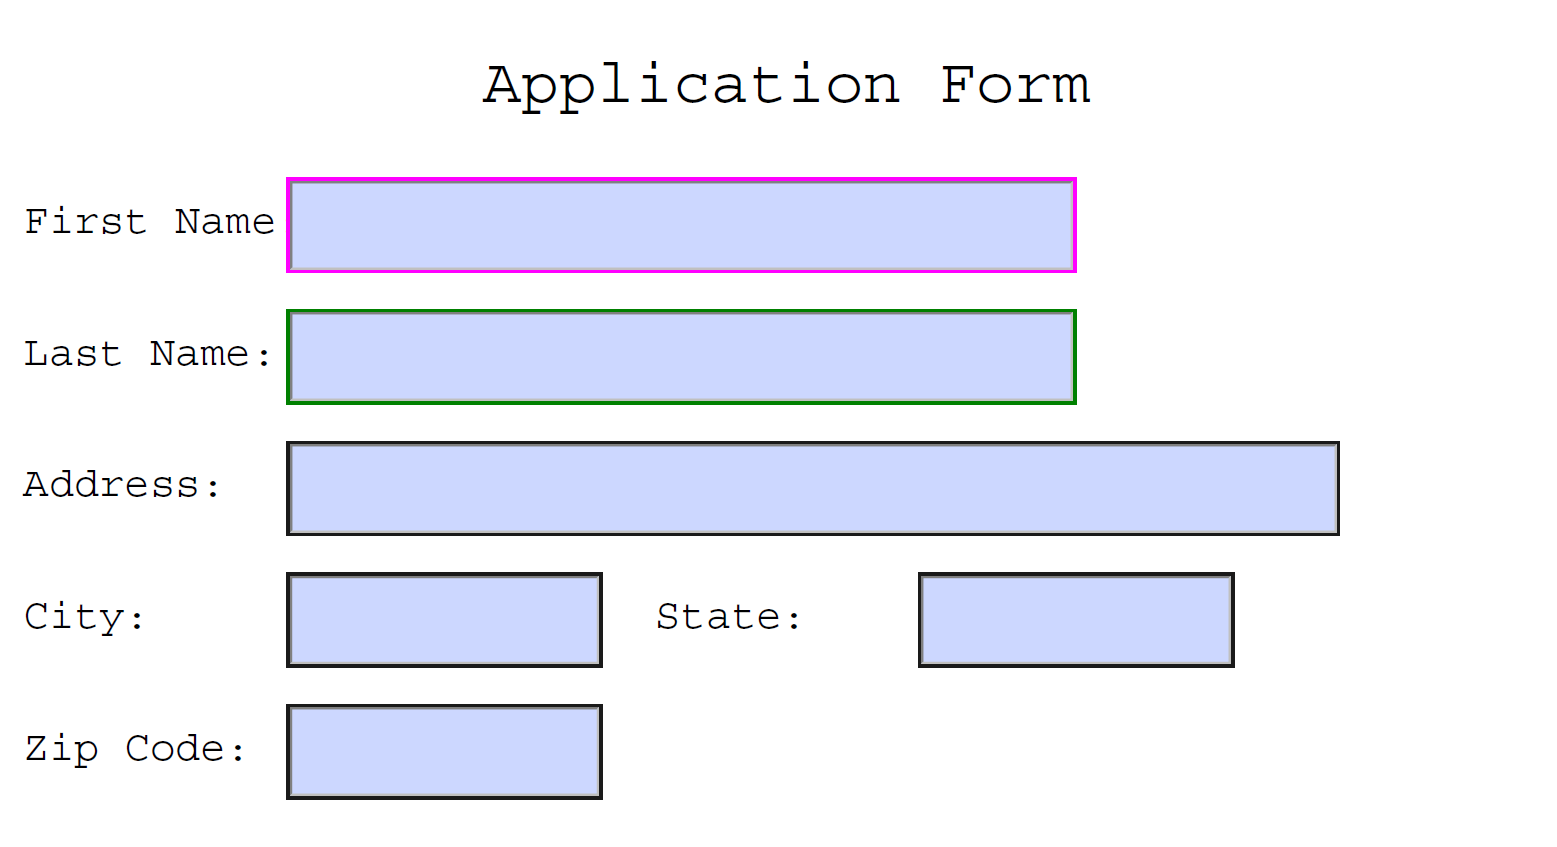 Explanation: In the above snippet of code, we have imported the required functions from the different modules of the ReportLab toolkit. We have then defined a function and created a new PDF file. We have then created the textfield widgets with slightly distinct styles applied and saved the file. As we can observe, we have created a series of text fields with different settings applied to them. Moreover, we have changed the border and background color on several of the fields. We have then included some quite standard ones. We have also utilized the width argument in order to change the width of the text field. Next TopicPython Newspaper Module |
We provides tutorials and interview questions of all technology like java tutorial, android, java frameworks
G-13, 2nd Floor, Sec-3, Noida, UP, 201301, India


