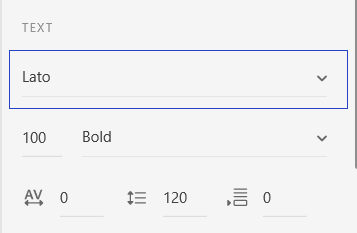
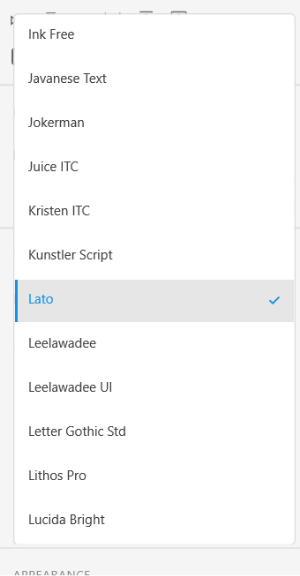
Fonts in Adobe XDFonts are essential assets for the improved typography and user interface. Adobe XD offers several built-in fonts for better typography. We can also add a font of our choice by following a few easy steps. Further, it supports font awesome to use the font awesome font-family for icon typography. Adobe XD provides built-in support for several cool fonts. But what if you have more options and a font family of your choice? Having more fonts will make our design experience amazing. XD gives us the freedom to install and sync the fonts from external resources to make the typography more advanced. Now the question is how can we add the specific font family to the Adobe XD? In this section, we will discuss how to change the font family in Adobe XD and will install and add a font to Adobe XD. It will clear our concept for adding the font family in Adobe XD. Though there are lots of different methods to add fonts in Adobe XD but, we will discuss the easiest way to add the fonts in Adobe XD. How to Change the Font Family in Adobe XD?Adobe XD supports several tools for customizing the text. One of its text customizing tools is the font-family tool which lets us choose from the list of the installed font families. To change the font family, select the text and open the font family drop-down given under the text section in the right property inspector area.  The above drop-down menu will open the list of the Adobe XD built-in and installed font family in the system.  We can select any of the available fonts in this list. This list contains all the system installed fonts and provided fonts with Adobe XD. It will immediately update the font style based on the font selection. How to Add Fonts in Adobe XD?We can easily add fonts in Adobe XD by installing it in our System. It is the easiest way to add fonts in Adobe XD. We do not need to do anything manually; it will automatically be reflected in the Adobe XD after installing in the System. Sometimes, it may require a restart of the Adobe XD or the System. There are several different resources that offer a variety of fonts. Some useful resources for downloading the fonts are as follows:
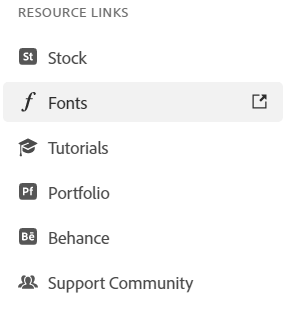
We can easily download the fonts from the above resources. Most of the resources are free in the given list, and some of the resources are paid, such as Adobe Fonts. So to use the premium fonts, we need to buy them. See how to download fonts. To download the font navigate to the resources and explore the fonts from a variety of the fonts and select any font and follow their download guidelines. Once we have the font file, we can easily install that in our System by double-clicking on it. Once the font is installed in our System, restart the Adobe XD and select the font drop-down menu. It will list the installed font; select that from the list. It will style the fonts based on the font family selection. Using the above-discussed process, we can easily add the different fonts to the Adobe XD. However, there is another way to add fonts using the Adobe Creative Cloud app. Let's understand how to add fonts using the creative cloud app: Add Fonts Using Adobe Creative Cloud We can also activate the font using the Adobe Creative Cloud application. It will add the fonts in all the installed Adobe apps. We can find the Fonts option in the creative cloud's left menu.  By clicking on the fonts option, it will redirect you to https://fonts.adobe.com/; here, we can browse a wide range of the font family. Now, follow the below steps to activate any font:
It will activate the selected fonts. To confirm the selection, access the active fonts. To access the active fonts, you can use the manage fonts from the adobe font website or browse the active fonts in the creative cloud app. Next TopicGradient Colors in XD |