How to Download and Install MS SQL ServerThis article gives a complete overview of how we can install and configure SQL Server using the Installation Wizard. It explains the step-by-step procedure to use the SQL Server Setup Installation Wizard to install a new instance of SQL Server. With this setup, we don't have to install each SQL Server component individually because the Installation Wizard provides a single feature tree for all of them. SQL Server System RequirementsThe following are the requirements to install the SQL Server when used with the latest available service pack: It will support the below software and Operating Systems:
Before installing it on our system, we must have the following hardware:
How to Download SQL Server SetupWe can use the following steps to download MS SQL Server in the Windows operating system: Step 1: Go to the official page through this URL: https://www.microsoft.com/en-in/sql-server/sql-server-downloads. Microsoft offers two free editions that work with MS SQL Server:
Here, we are going to select the Express edition for installation on our system. Step 2: Click on the "Download now" button. Immediately the SQL Server setup starts downloading on our system. 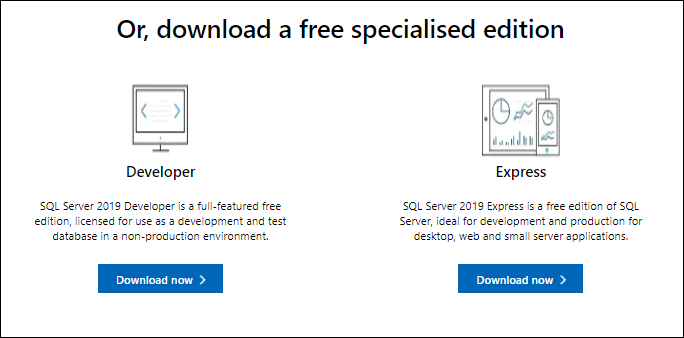 Step 3: Once the file has been downloaded, we will get the setup named "SQL2019-SSEI-Expr.exe."  How to Install SQL ServerThe following steps help us to install MS SQL Server in the Windows operating system: Step 1: Double click on "SQL2019-SSEI-Expr.exe" setup file. We will get the below screen with three options: Basic, Custom, and Download Media files. Here, we will select the 'Basic' option to install the basic version that includes all of the default configurations needed to learn Microsoft SQL Server. 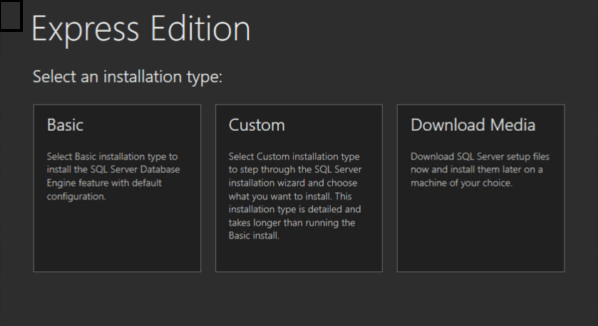 Step 2: The next wizard will ask you to accept the 'Microsoft Server License Terms', click on the 'Accept' button. Next, we will specify the SQL Server installation location; if necessary, we can change it to the desired place and click the Install button. In the next wizard, we need to wait for the download process to complete installation packages. Once the installation is completed successfully, we will get the SQL Server Installation Center window similar to the below screen: 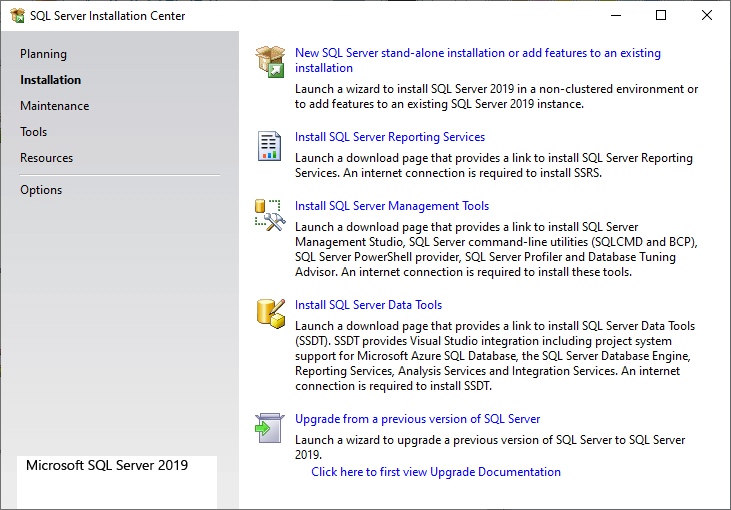 If you want to create a new SQL Server installation, select the New SQL Server standalone installation or add features to an existing installation option. Step 3: On the next page, read the terms of the license agreement and then click on the Next button. 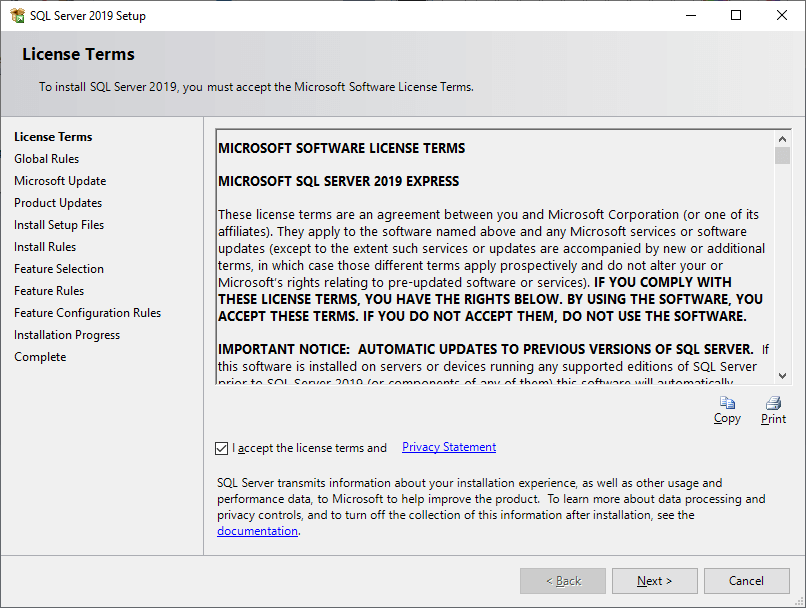 Step 4: In the next wizard, i.e., on the Global Rules page, if no rule error is found, the setup will automatically navigate to the Product Updates page. 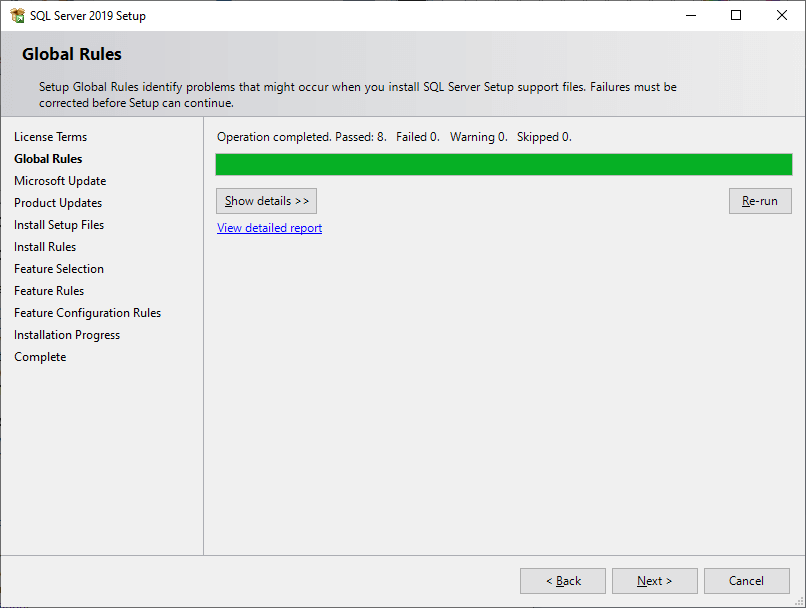 Step 5: The next page is a Microsoft Update page. When we click the check box, it will check the latest updates for all Microsoft products for changing the computer settings. After finishing the updates, click on Next. 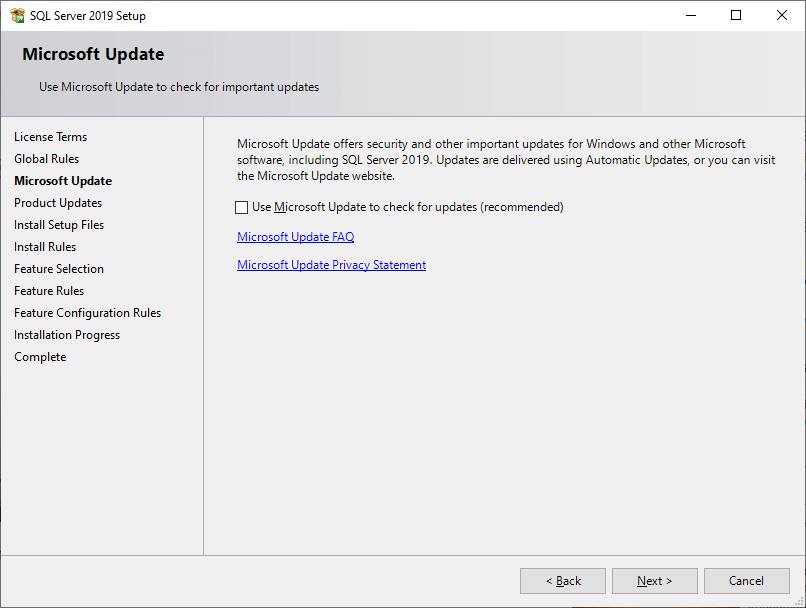 Step 6: The next wizard is the Product Updates page that shows the latest SQL Server software updates. If it does not find any product updates, the setup skips over this page and automatically navigates to the Install Setup Files page. Step 7: The next wizard is the Install Setup Files page that displays the progress of the download, extract, and installation of the setup files. If it finds an update and we want to include these updates, it will be installed as well. If no update is found, the setup will automatically navigate to the next page. 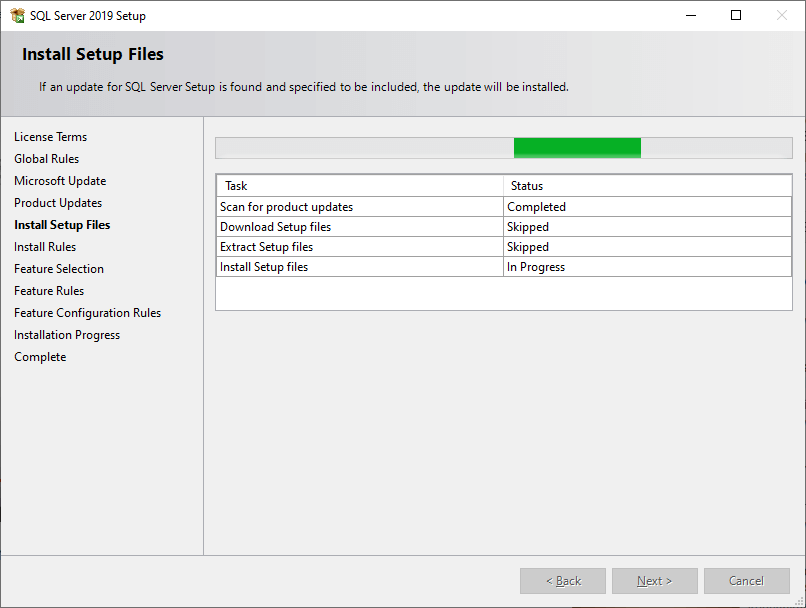 Step 8: The next wizard is the Install Rules page on which the setup tests for possible issues that can arise while running the setup. If it finds issues, select an item in the Status column for more detail. If no issues are found, click on Next. 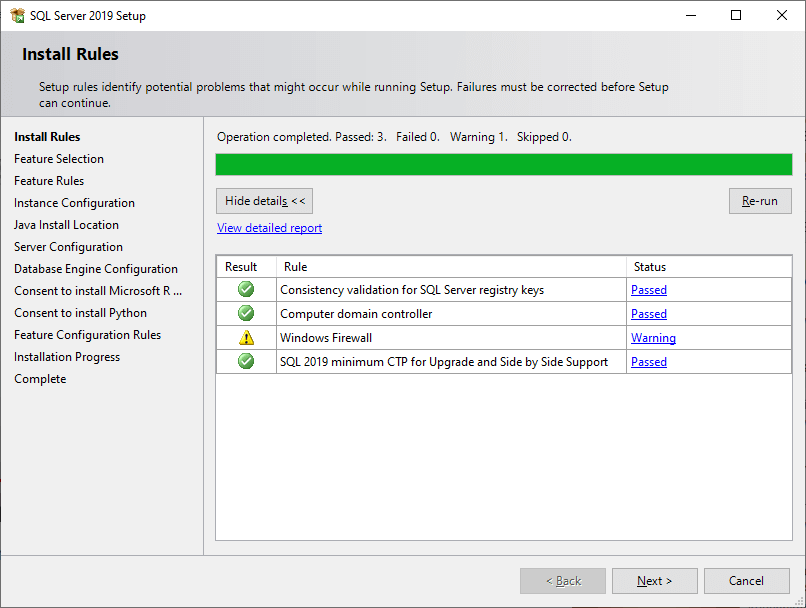 Step 9: If we install this setup the first time on our system, it will skip the Installation Type page and navigate the Feature Selection page. If the setup is found on the system, we can choose whether to perform a new installation or add new features to it on the Installation Type page. On the Feature Selection page, we need to choose the components for our installation. Suppose we want to install a new instance of SQL Server Database Engine, we'll choose Database Engine Services. Click Next to proceed. 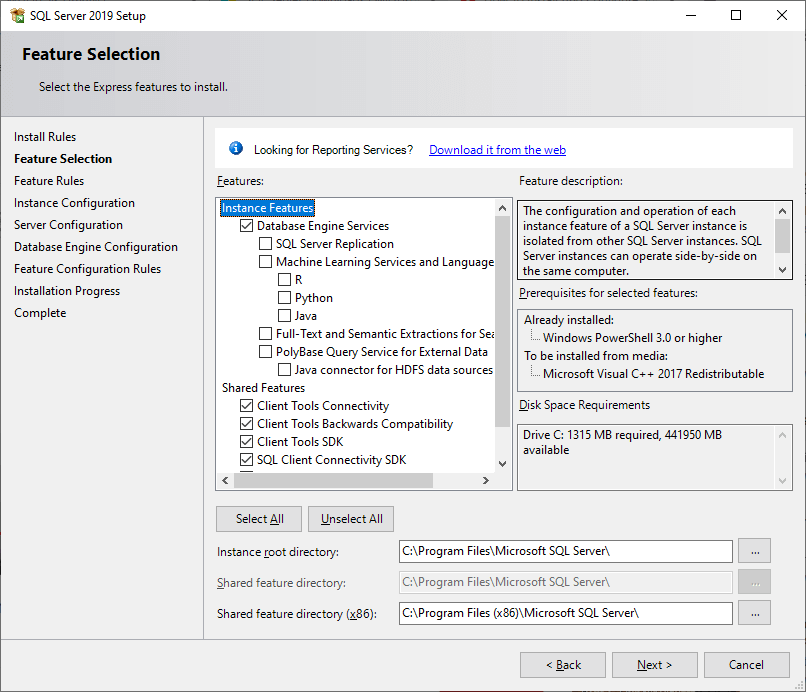 Step 10: In the next wizard, we will specify the name and instance ID to create the new instance of SQL Server. Leave the default and click on Next to proceed. 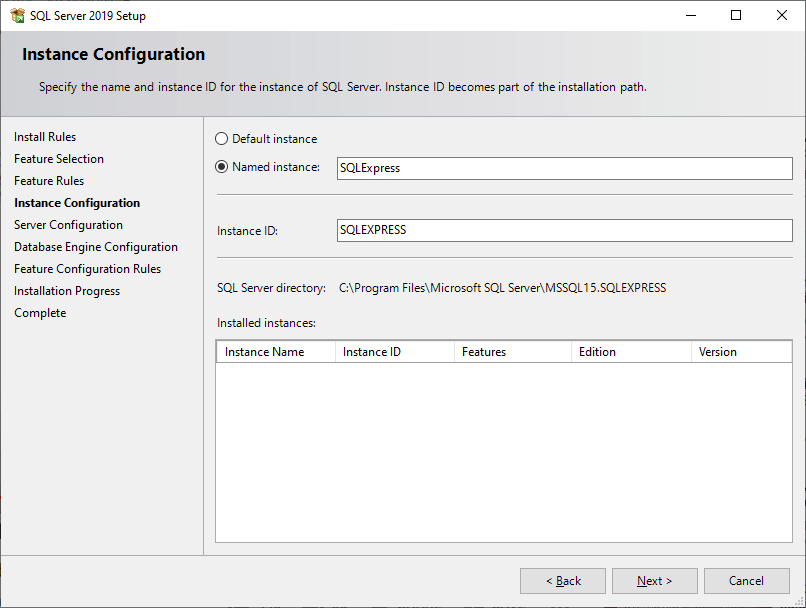 Step 11: The next wizard is the Server Configuration page, where we will specify the service account and collation configuration. Here, we will set the startup type "Automatic" and click on Next to proceed. 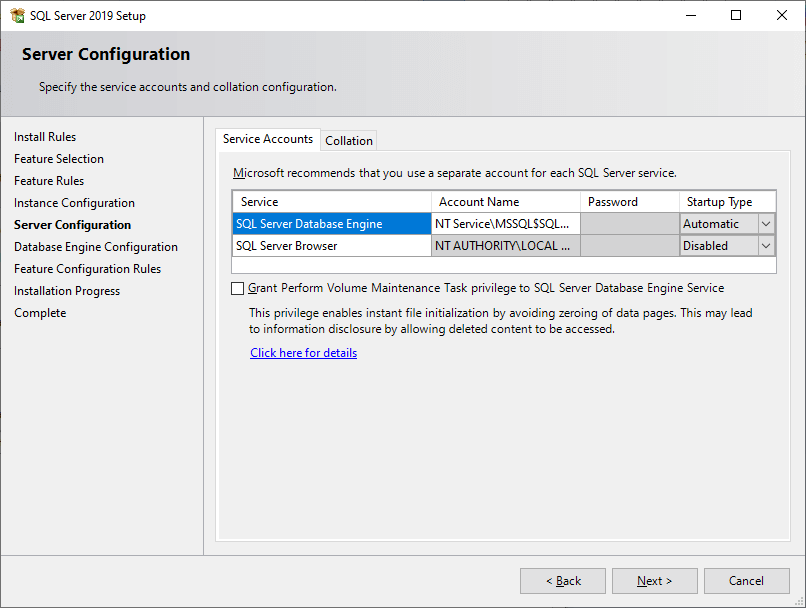 Step 12: The next wizard is the Database Engine Configuration, where we will specify the authentication security mode, administrators, and data directories. Here we will select the following: Authentication Mode
Specify SQL Server Administrators
Click on Next to proceed. The installation process begins. 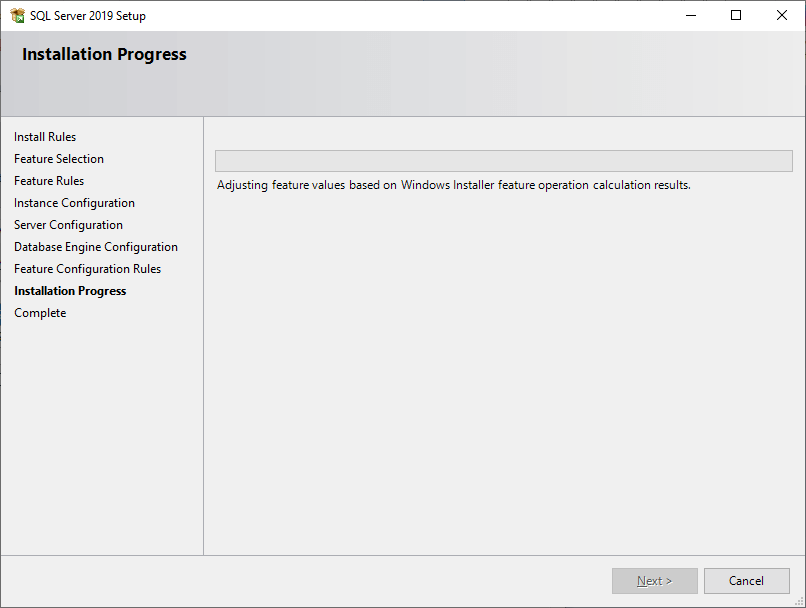 Step 13: Once the installation is complete, click on the Close button to finish the setup. 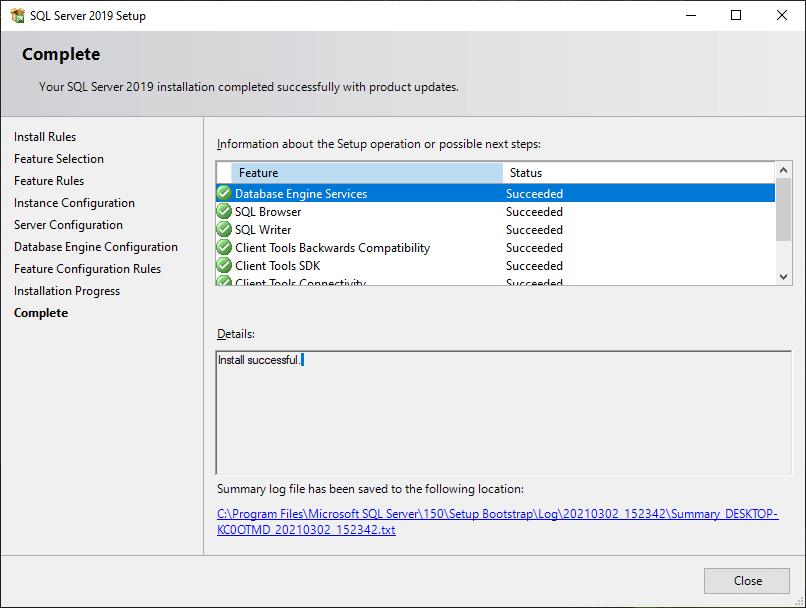 Step 14: If you're instructed to restart your computer, do so now to complete the SQL Server setup. Next TopicSQL Server Management Studio |