Installing UnityBefore we begin to use Unity, we first need to download and install it. Software installation is a very simple and straightforward process these days, and Unity is no exception. Unity provides three different versions: Unity Personal, Unity Plus, and Unity Pro. Unity Personal is completely free, while the Unity Professional comes at a monthly fee of $125 and Unity Plus at a monthly fee of $25. For personal use, the personal edition is completely sufficient. Follow the following steps to download and install the personal edition of Unity: - Go to the Unity Download, click on Download (Win) button then select Unity Installer.
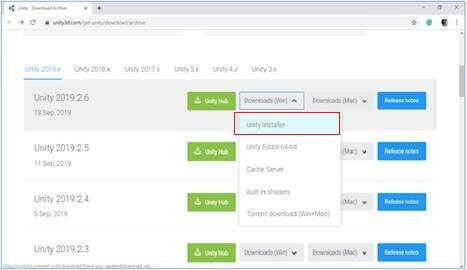 - The installer uses a Download Assistant and has detailed instructions that we have to follow. Unity download assistant is light weight, a small sized executable file (.exe) that will let you select the components of the Unity Editor, which you want to download and install.
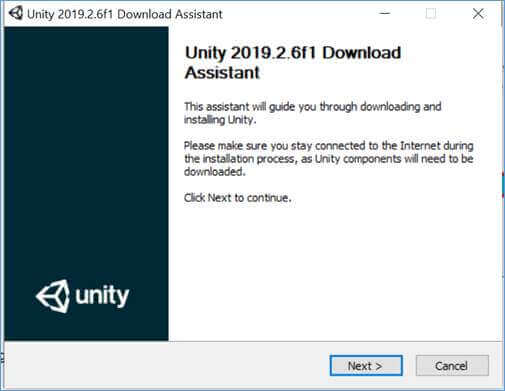
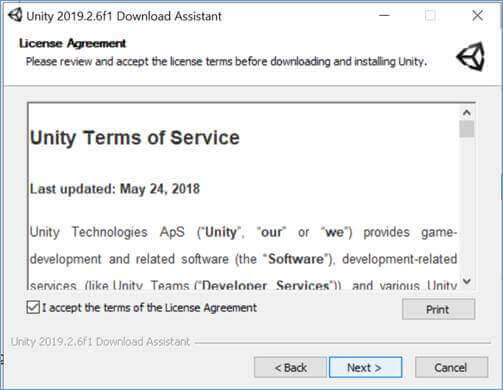 - Select the components that you will require. You can also leave the default selection.
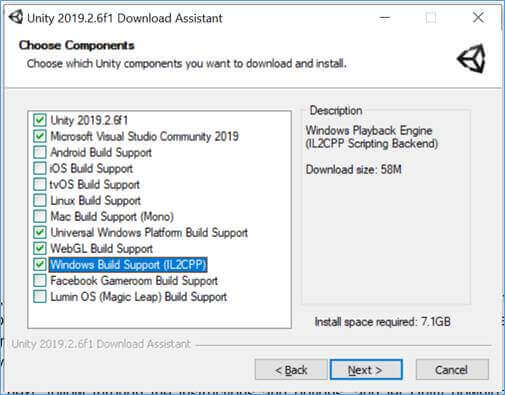
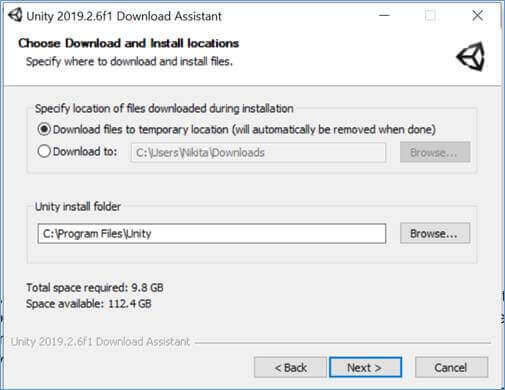
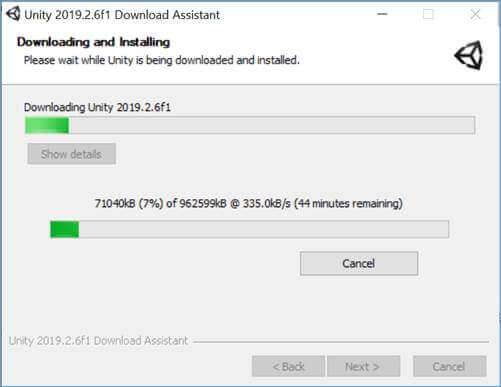
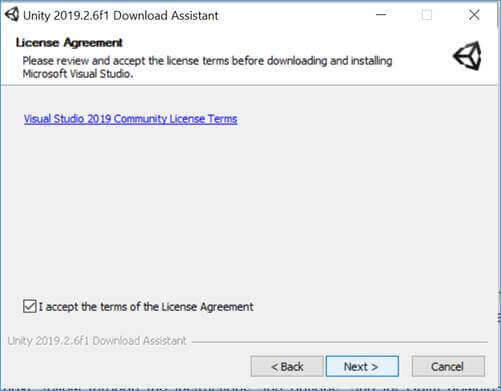 - Now let the installer download and install Unity in your system (PC) and then launch the Unity Game Engine after it gets installed.
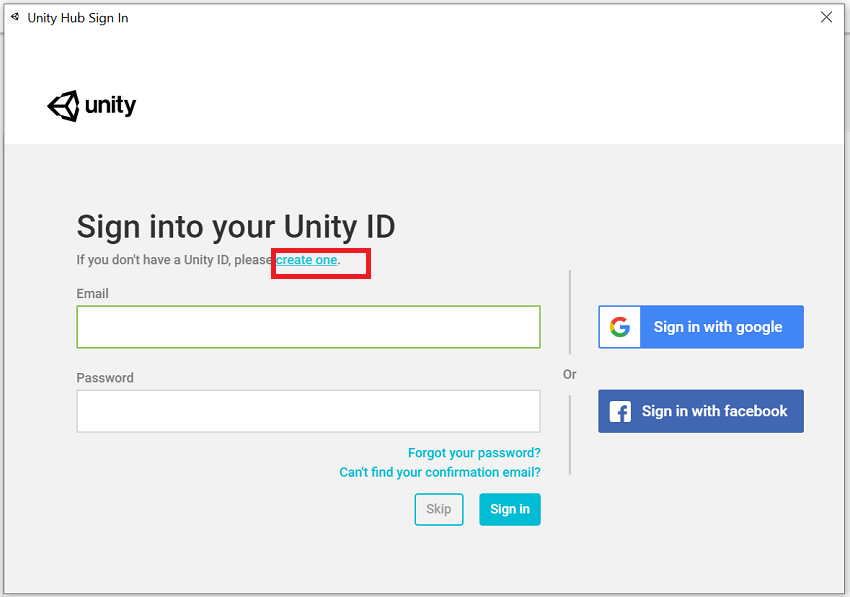
 Creating a Unity AccountTo use Unity, you have to create an account. For this, open the Unity and go to the top left corner of the window and select the "Sign in" option. 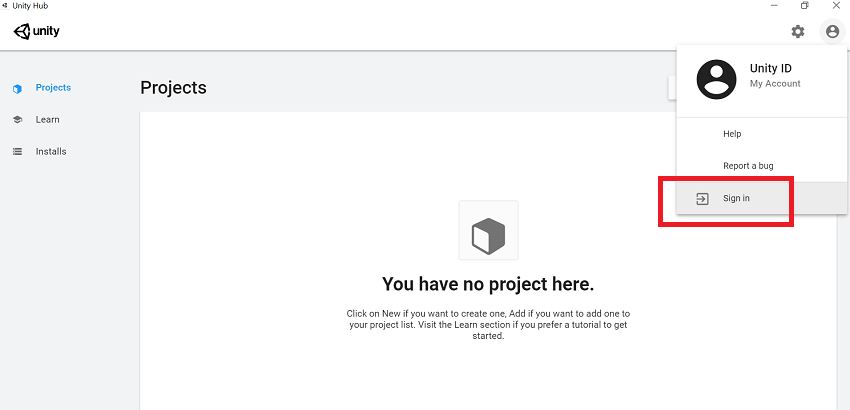 - Click on the "create one" link.
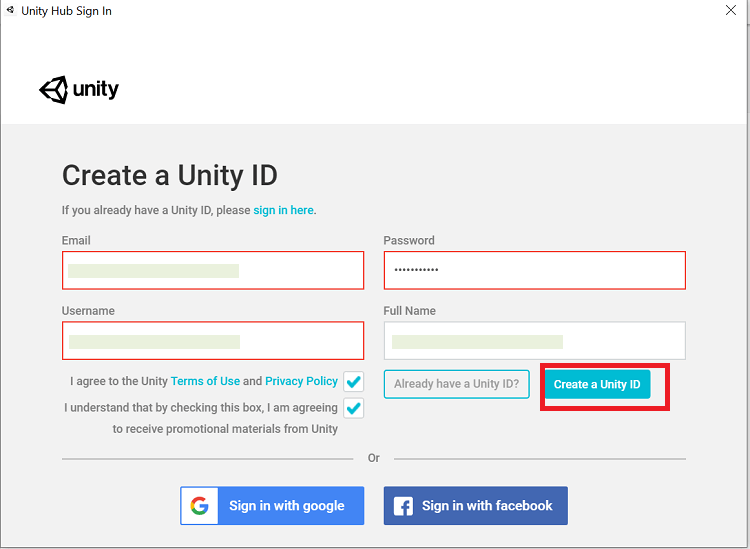
 - Enter Email Id, password, Username, and full name then click on "Create a Unity Id" button.
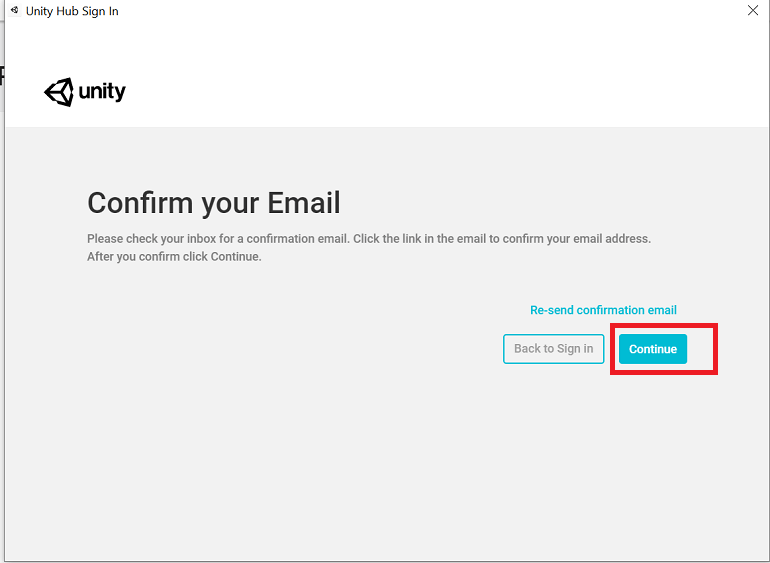
 - Once you are done with filling the enteries, you will receive a confirmation email sent to your email account used to sign up for your account. Confirm your email. Go back to the Unity application and click "continue" after confirming your email.
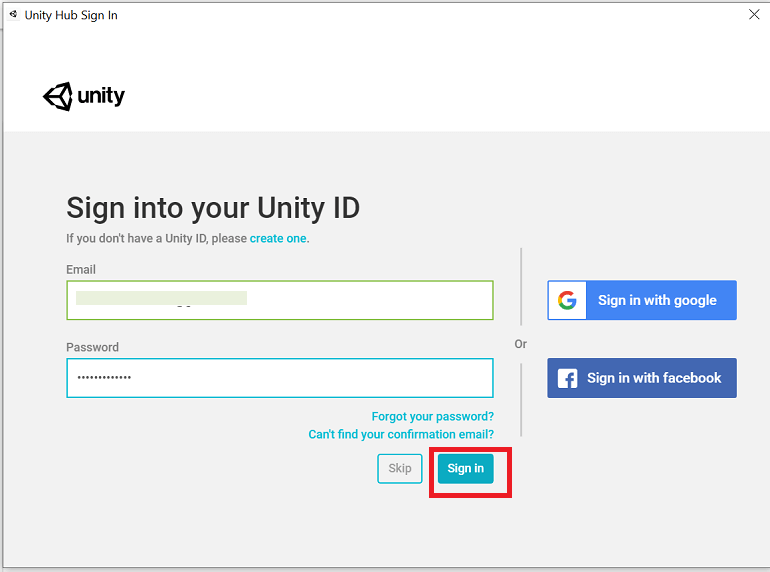
 - Sign in your Unity account.
|


