Java Create Jar Files
In Java, JAR stands for Java ARchive, whose format is based on the zip format. The JAR files format is mainly used to aggregate a collection of files into a single one. It is a single cross-platform archive format that handles images, audio, and class files. With the existing applet code, it is backward-compatible. In Java, Jar files are completely written in the Java programming language.
We can either download the JAR files from the browser or can write our own JAR files using Eclipse IDE.
The steps to bundle the source code, i.e., .java files, into a JAR are given below. In this section, we only understand how we can create JAR files using eclipse IDE. In the following steps, we don't cover how we can create an executable JAR in Java.
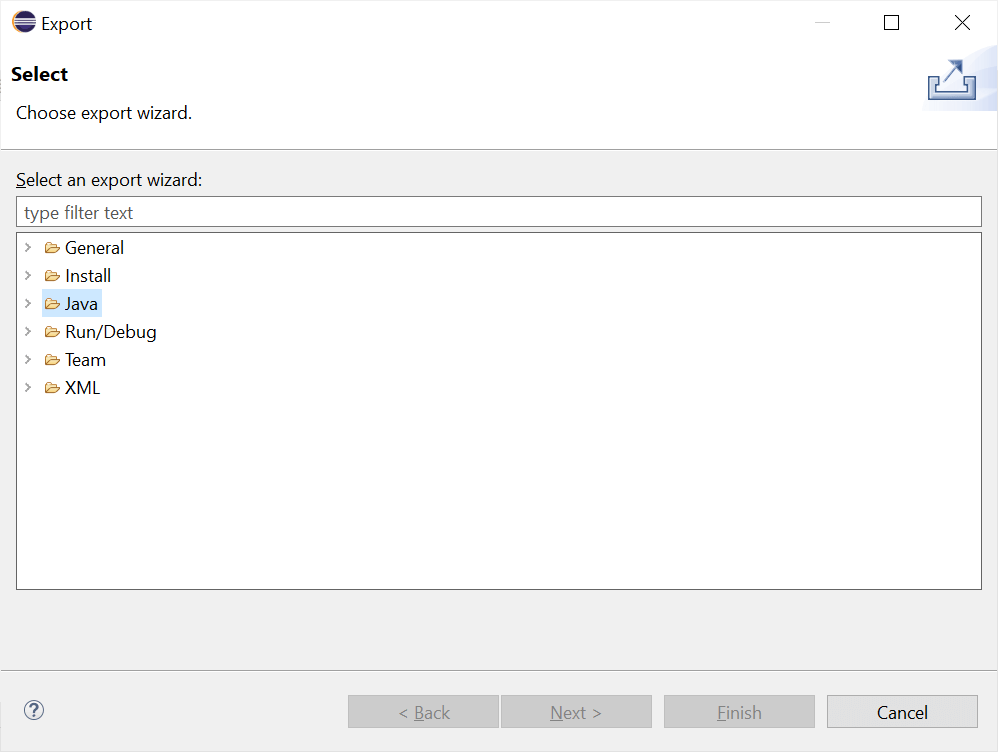
- In the first step, we will open Eclipse IDE and select the Export option from the File When we select the Export option, the Jar File wizard opens with the following screen:

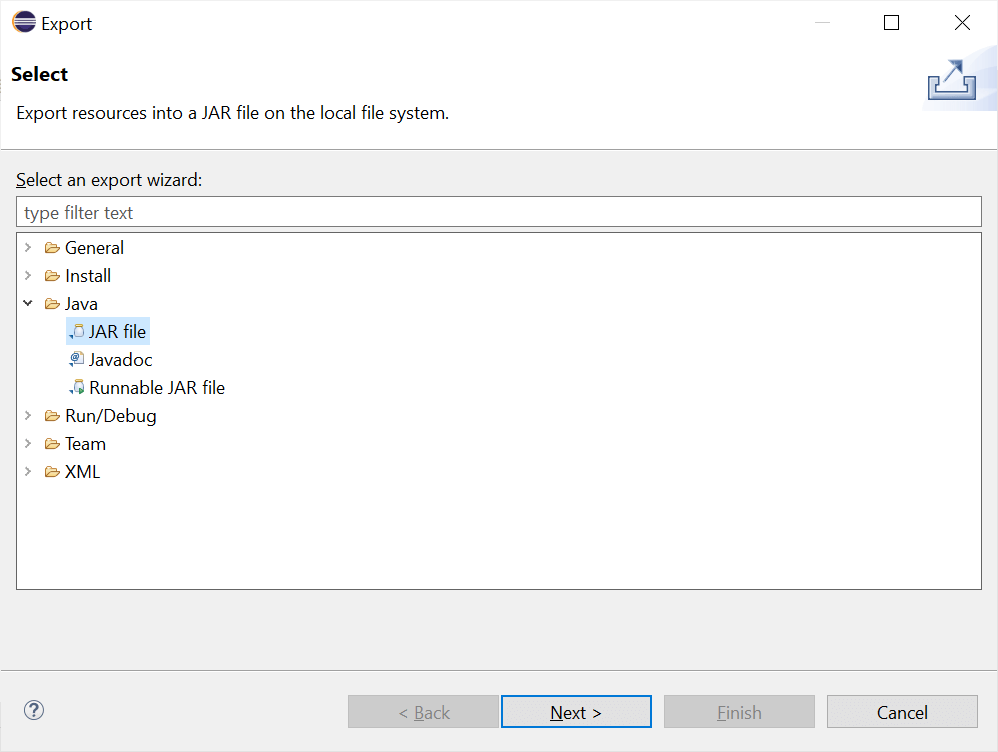
- From the open wizard, we select the Java JAR file and click on the Next The Next button opens JAR Export for JAR File Specification.

- Now, from the JAR File Specification page, we select the resources needed for exporting in the Select the resources to export After that, we enter the JAR file name and folder. By default, the Export generated class files and resources checkbox is checked. We also check the Export Java source files and resources checkbox to export the source code.

If there are other Java files or resources which we want to include and which are available in the open project, browse to their location and ensure the file or resource is checked in the window on the right.
- On the same page, there are three more checkboxes, i.e., Compress the content of the JAR file, Add directory entries, and Overwrite existing files without warning. By default, the Compress content of the JAR file checkbox is checked.
- Now, we have two options for proceeding next, i.e., Finish and Next. If we click on the Next, it will immediately create a JAR file to that location which we defined in the Select the export destination. If we click on the Next button, it will open the Jar Packaging Option wizard for creating a JAR description, setting the advance option, or changing the default manifest.
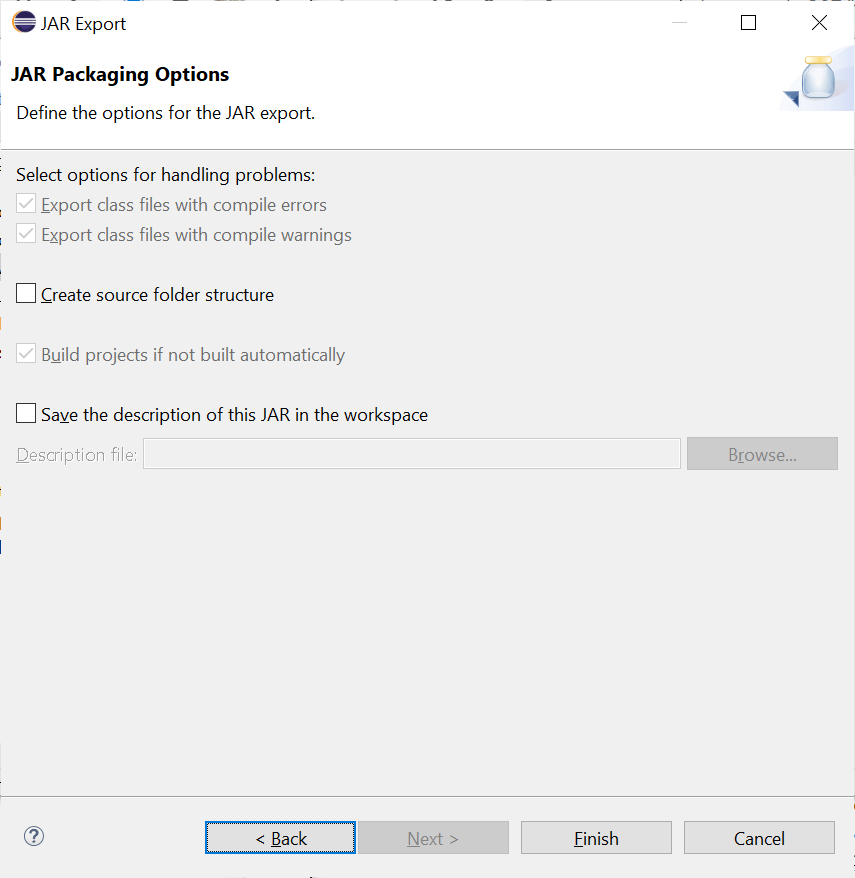 For now, we skip the Next and click on the Finish button.
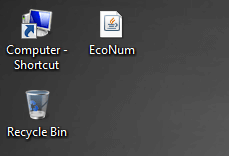
- Now, we go to the specified location, which we defined in the Select the export destination, to ensure that the JAR file is created successfully or not.
|

 For Videos Join Our Youtube Channel: Join Now


