SharePoint Pages and Web PartSharePoint PagesSharePoint pages provide the best way to share ideas using the images, Excel sheet, Word, PowerPoint documents, video, and more. SharePoint 2019 allows you to create and publish pages quickly and easily. In this page, we will discuss the following topics -
Types of SharePoint pagesThe below table shows the types of SharePoint page -
Create a pageFollow the below steps to Create a page- Step 1: Go to the home page of your project. Step 2: Click on the + New, a drop-down menu opens, in which click on the Page. 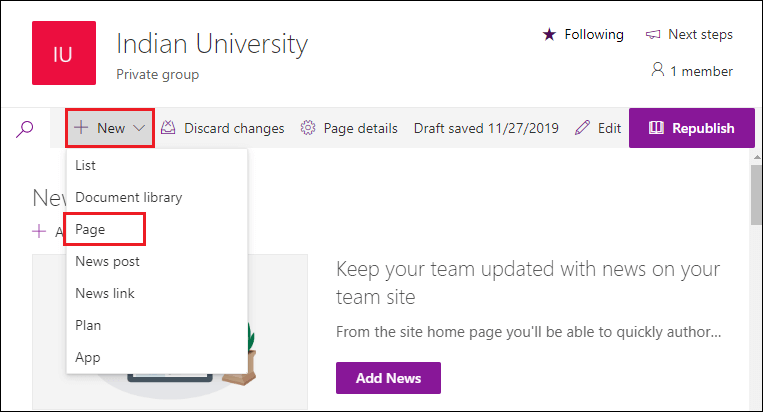 Step 3: A Page Templates window opens, select page according to your requirement, and click on the Create page. 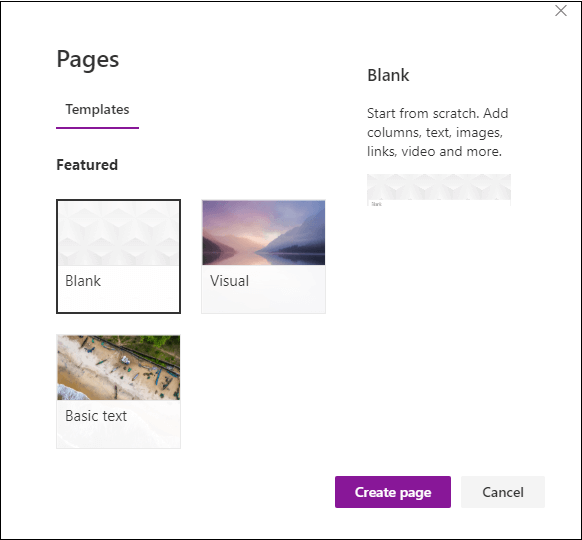 Step 4: Now, you can see that a new page is created, enter the name of your page according to your requirement. 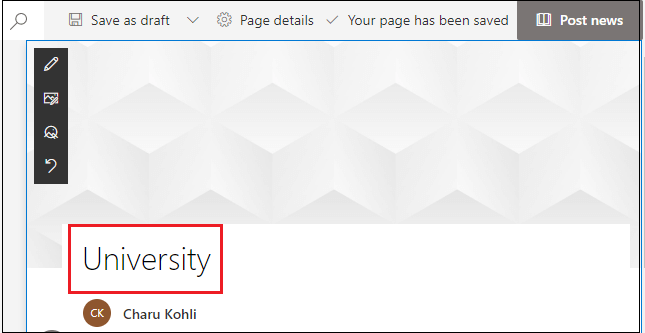 Upload image on the pageStep 1: Click on the Image icon at the left corner of the screen. 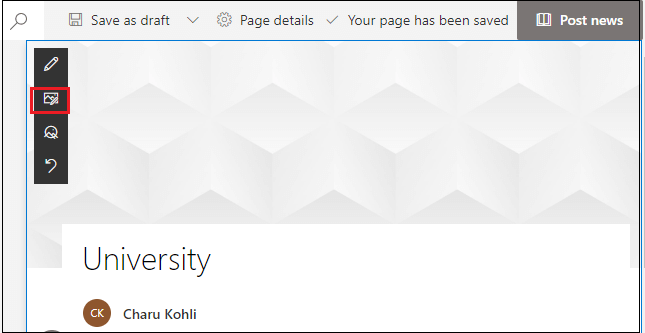 Step 2: A small menu appears, in which click on the Upload. 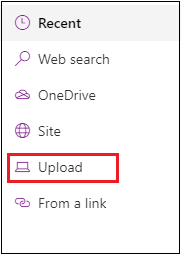 Step 3: Browse the location where the file is present and click on the Open. 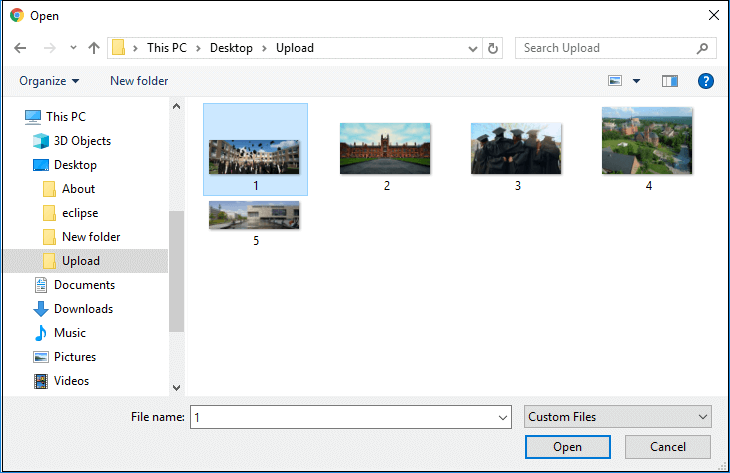 Step 4: Click on the Add image. 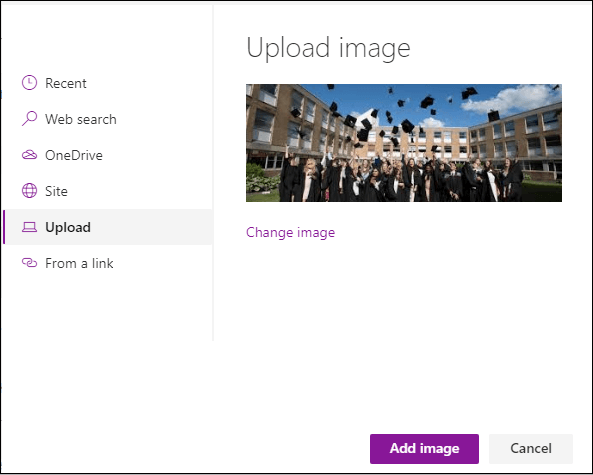 Now, you can see that an image is uploaded on the page.  Introduction to a Web PartSharePoint web part is a small block of user interface that allows you to modify the content, appearance, and behaviour of the pages in a SharePoint site by using the browser. Add Web Part to a siteStep 1: Once your page is created, hover the mouse in the existing web page, you will see a line with circled + sign, click on the circled + sign, a small featured window pop-up, in which select web part according to your requirement. To easily find the web part, you can also start typing the name of the web part in the search box. In our case, we want to add the text, so click on the Text in the Featured window. 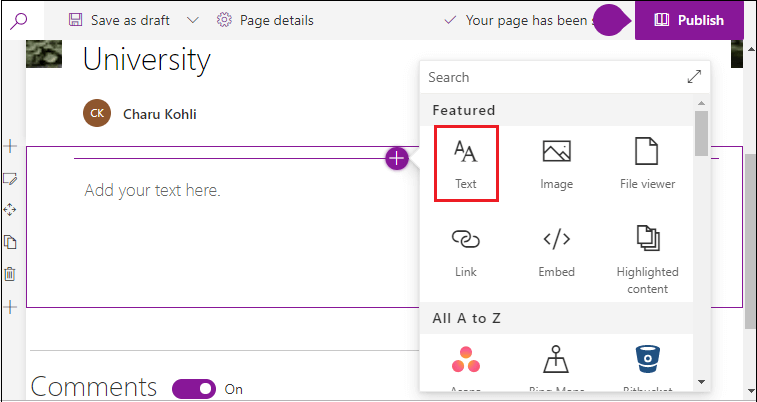 Step 2: Enter text according to your requirements. You can also perform operations on the text like bold, italic, underline, change the font size. To see more functionality, click on the more [three dots (…)] as shown in the below screenshot:  Step 3: Once you click on the more (…), the following window appears, which provides you a way to add more functionality on your text like you can change the font color, highlight color, add paragraphs, inset link, and add table. 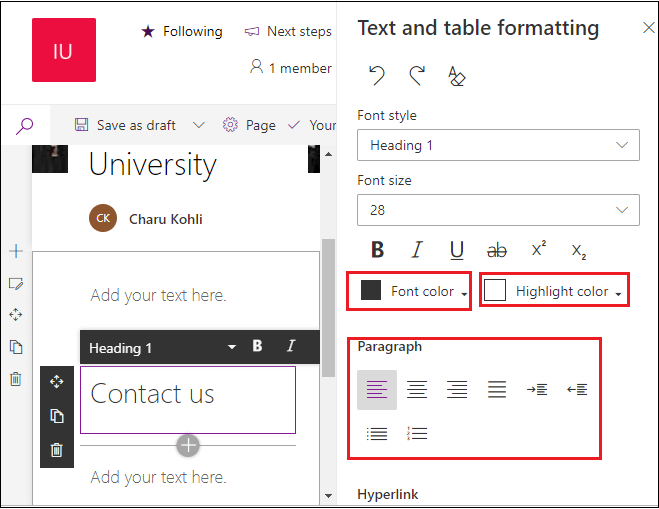 Step 4: Once you add web parts according to your requirement, click on the Publish at the top right corner of the screen. Add Hero Web part in pageHero web parts allow you to add images, text, and links to the pages and make page more attractive. There are the following steps to add Hero web part in the page - Step 1: Go to the page, in which you want to add the Hero web part. Click on the Edit at the top right corner of the page. Hover your mouse in the existing page, and you will see a straight line with a circled +, as shown in the below screenshot.  Step 2: Click on the circled +, you will see a small window appears with the list of web parts. Scroll down and search for the Hero, or you can directly type Hero at the search box. Once you find the Hero web part, click on it. 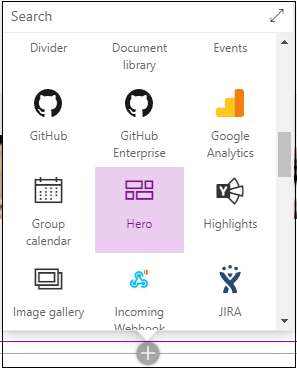 Step 3: The below screenshot shows that a Hero web part appears on the page. 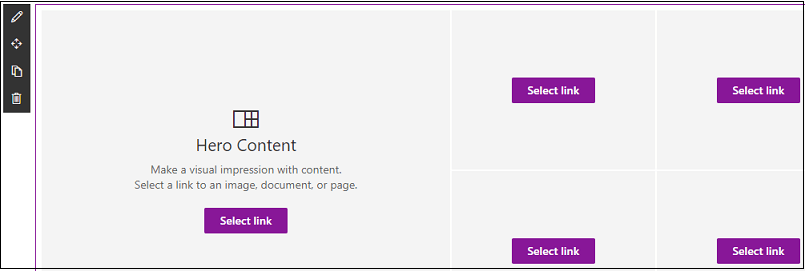 Step 4: You can edit the Hero web part according to your requirements. Click on the Edit at the top right corner of the screen. 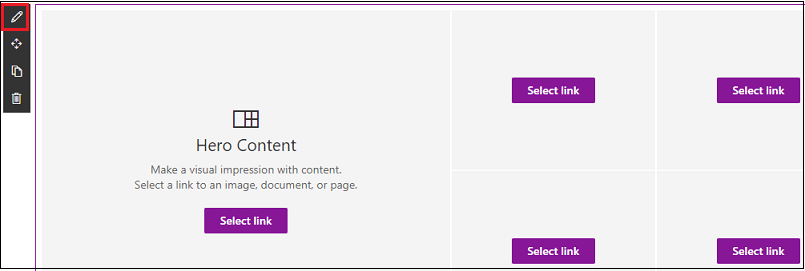 Step 5: Hero layout options appear on the screen. Select Tiles and Layout according to your site requirement. 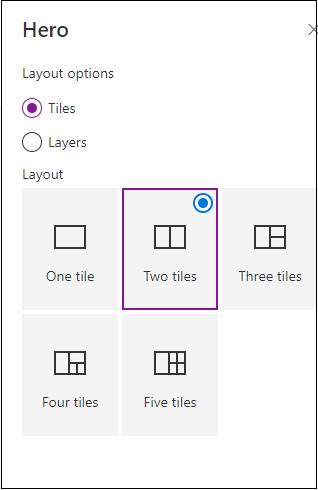 Step 6: The below screenshot shows that a two tiles window appears on the screen. 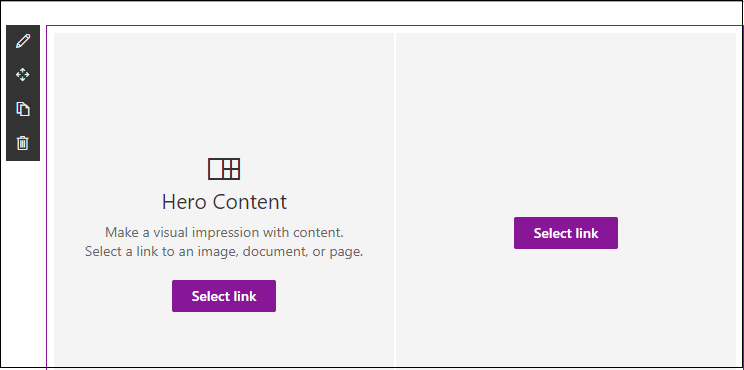 Step 7: Click on the Select link, a small pop up appears at the left corner, in which select Upload. 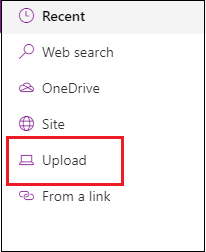 Step 8: Browse the location where the file is present, select the file that you want to upload and, click on the OK. 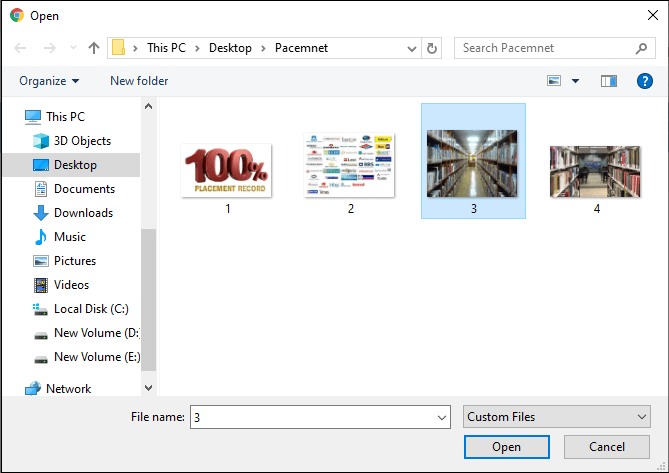 Step 9: Once the image is uploaded, click on the Add item at the bottom of the screen. 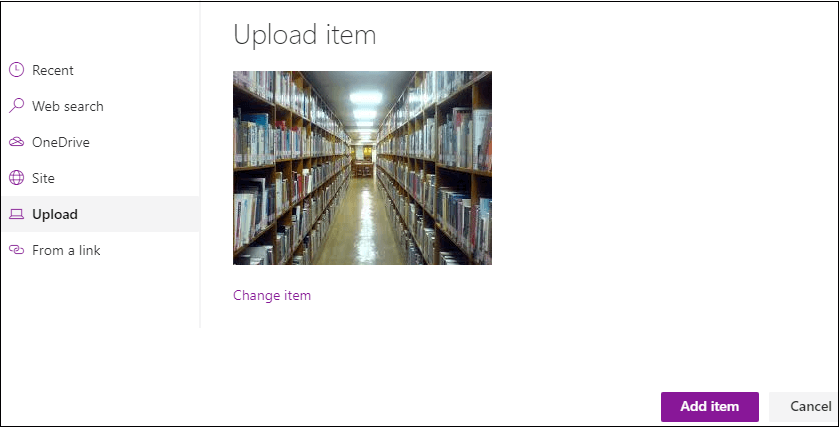 Step 10: Now, the below screenshot shows the image is added in the Hero web part 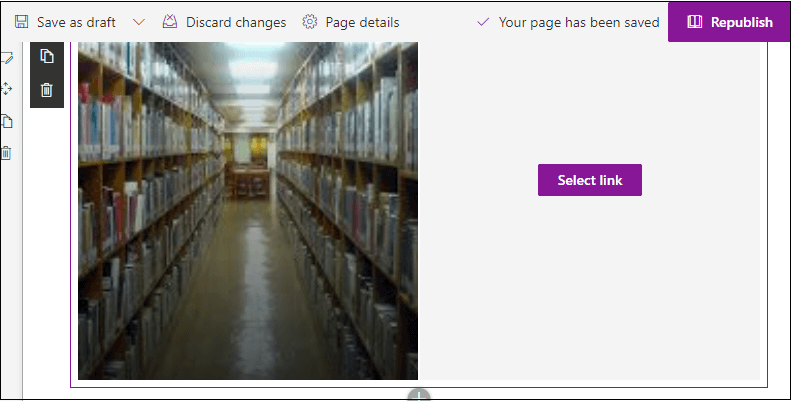 Similarly, you can add more images in the hero web part according to your requirements. 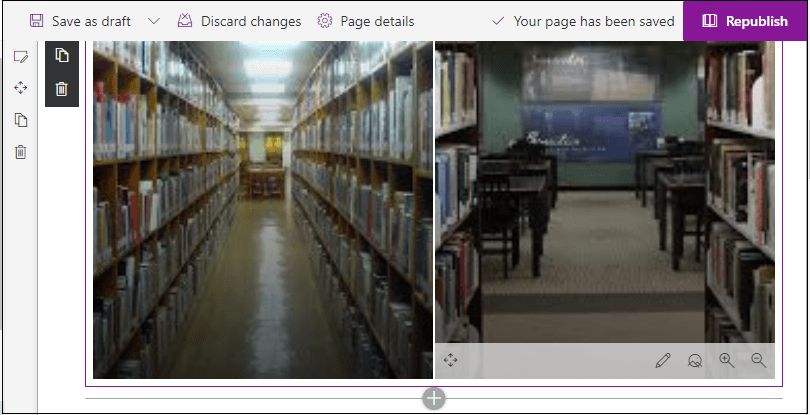 The below screenshot shows that using the Hero web part, two images are added to the page.  Move or Remove Web Parts You can also move or remove the SharePoint Web Parts. To move the web part, click on the Edit at the top right corner of the screen.  Select the web part that you want to move and click on the move icon at the left corner of the screen. 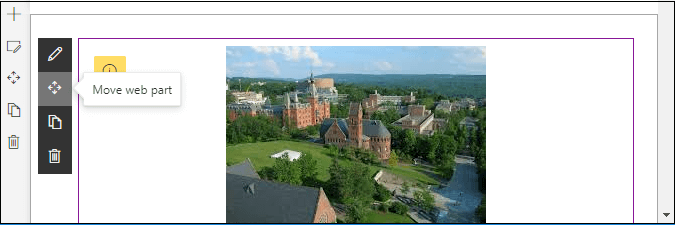 Drag the web part and drop it in the place where you want to move it and click on the Republish at the top right corner of the screen. To delete the web part, select the web part that you want to delete, and click on the delete icon at the left corner of the screen. 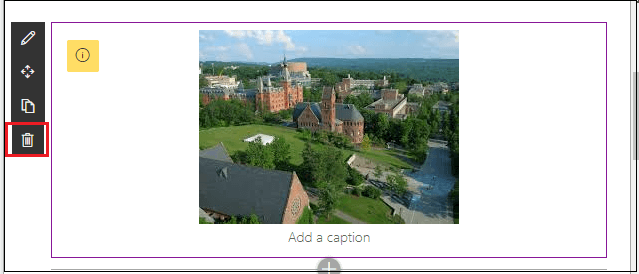 Once you click on the delete, a small Delete Confirmation window pop-up with the message "Are you sure you want to delete this web part?", if you want to delete, click on the Yes, otherwise click on No.  Once you click on the yes, the selected web part will be deleted from the page. To show page, click on the republish at the top right corner of the screen.  Note: Using web parts, you can also add more web parts in the page like, maps, highlighted text, etc.How to display page as a home pageYou can display your page as a home page. There the following steps to display your page as a home page of your site - Step 1: Go to the Home -> Site content -> site pages. Step 2: A site page appears on the screen, select the page that you want to display as a home page. Click on the ellipse (three dots), a list of options appears on the screen, in which select "Make homepage." 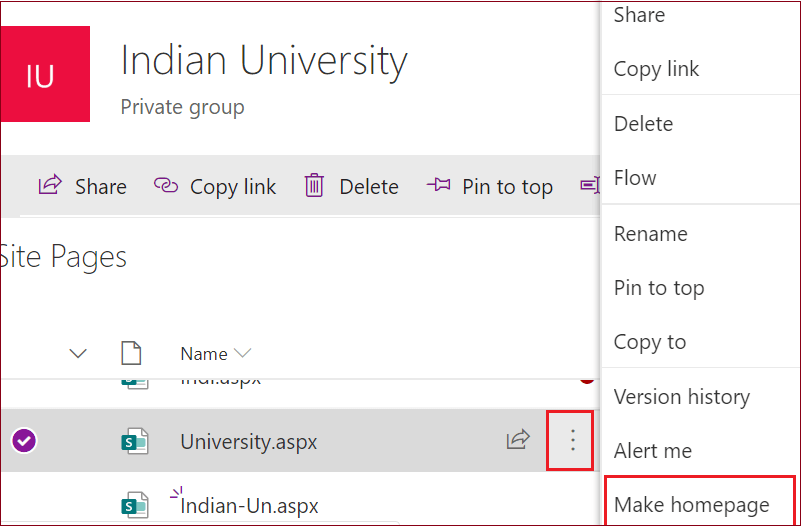 Now, you can see that University.aspx has become a home page of your site.  Next TopicSharePoint Templates |