Centralized FTP Connection
In this section, we will learn how to centralize the FTP Server in Talend Studio for the data integration platform.
Before going further in this tutorial, we will understand how to configure the FTP Server in the Windows Platform.
Configure the FTP server
To configure the FTP Server in Window10, follow the below process:
- First of all, let's create an FTP folder in our local system.
- The FTP client will access this folder, and we can create the folder anywhere on the PC.
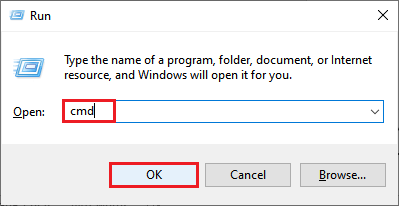
- Once we are done with creating a folder, press Windows keys + R to open the run window.
- Here, type cmd, and click on the OK button as we can see in the below screenshot:
- The command prompt will open, where type ipconfig, and press the Enter key.
- There, write down the IP address and default gateway because it will be needed while we configure the FTP server as we can see in the below image:
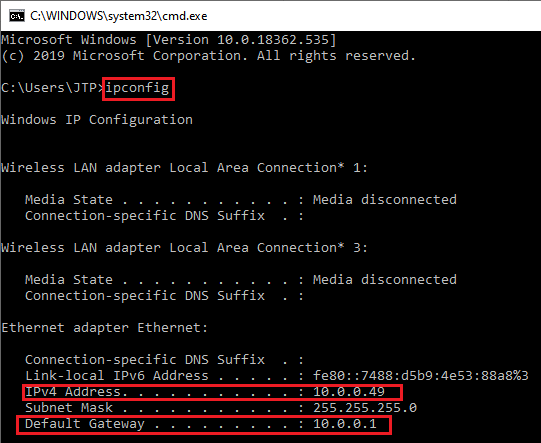
- Then, click on the Close[X] button to close the command prompt.
Install and configure the IIS [Internet Information Service]
To install and configure the IIS, follow the below steps:
- Open the Control Panel, go to Program and Feature, then on the left side click on the Turn Window Feature on or off, scroll down until we get the Internet Information Service, and expand it.
- Then, expand the FTP server and checkmark on the Web Management Tools, World Wide Web Service, FTP server, FTP device, FTP Extensibility.
- Click on the OK button to install the service as we can see in the below screenshot:
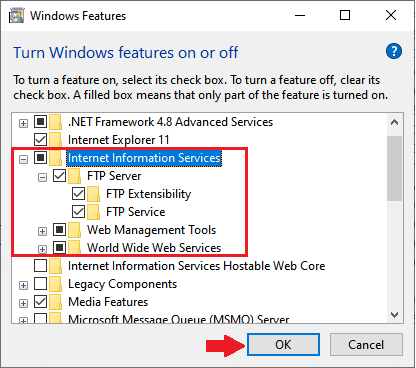
- Once the service is installed, click on the Close button.
After that, we are going to create new sites and configure them.
Create and configure the new site
To create a new site, follow the below process:
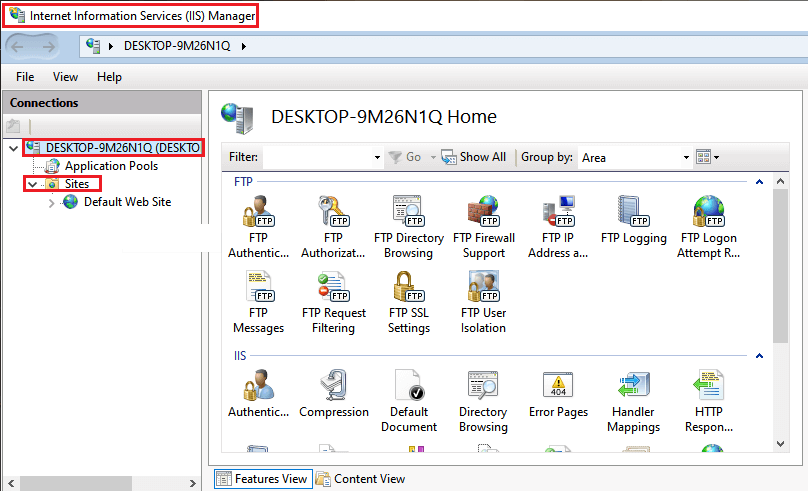
- Go to the Control Panel, double click on the Administrative Tools, and open the Internet Information Service (IIS) Manager by clicking on it.
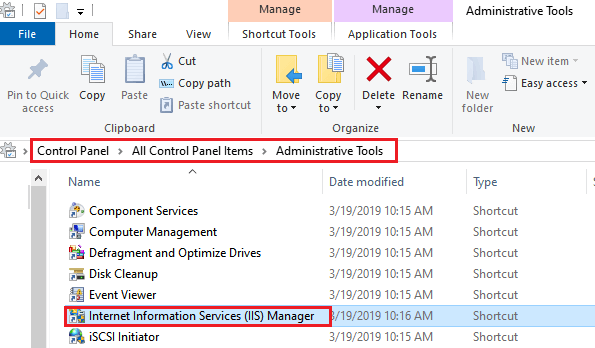
- Here, expand the root and sites, as we can see that there is one default site is created already, and we will create a new one.
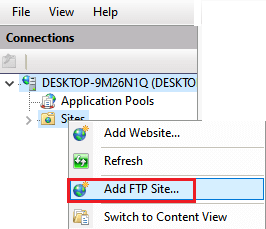
- Right-click on the Sites, and select Add FTP Site as we can see in the below image:
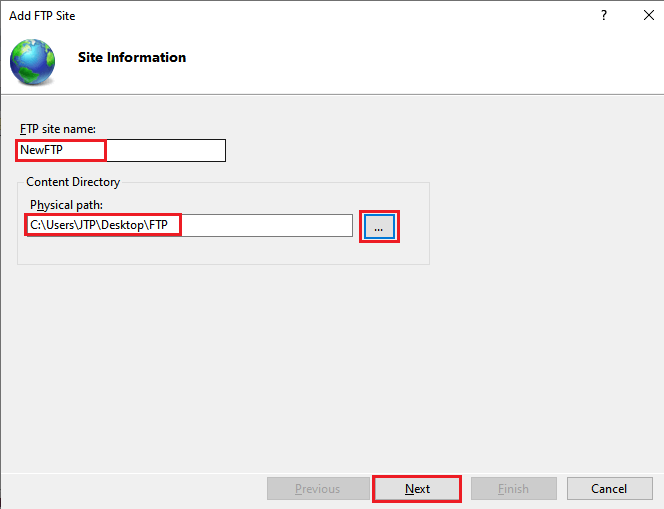
- The [Add FTP Sites] window will open where fill all the necessary details, like FTP Site Name and Physical path.
- As we can see in the below image, we will give the site name as NewFTP and, a physical path will be the folder path, which we created earlier.
- After that, click on the Next
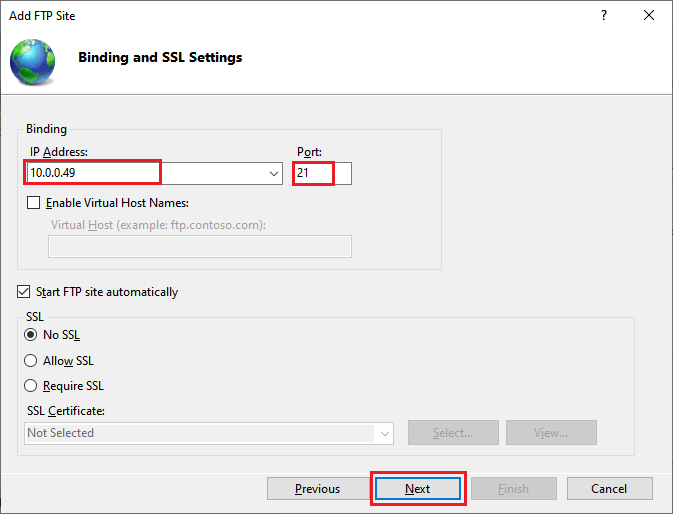
- In the Binding section, select the IP address for Windows10 in the given dropdown list, and the Port number, which is 21 by default.
- In the SSL section, we will select the NO SSL [Secure Socket Layer] for this particular example, but if we use it in real-time, then select the Require SSL
- And, click on the Next button as we can see in the below screenshot:
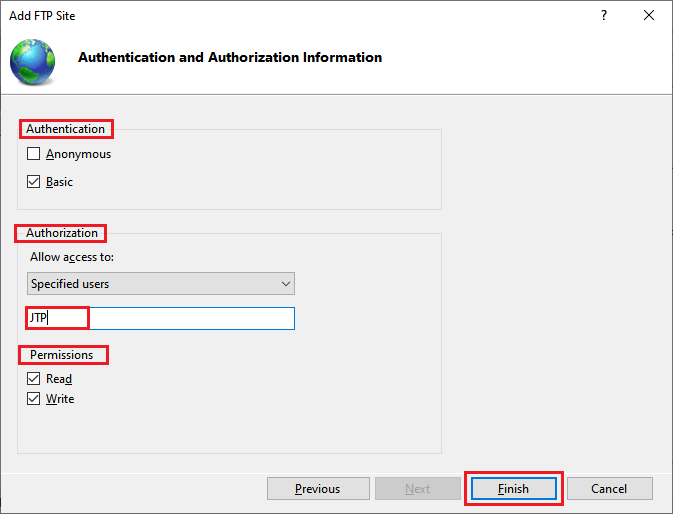
- In the Authentication section, we will select the Basic authentication checkbox.
- In the Authorization area, we will allow access to the Specified user in the given dropdown list.
- This Specified user is the window user that one we created while we installed the Windows10, or which we are currently using like JTP.
- Enter the user name as JTP, and select the Permission [Read and Write], and click on the Finish button, to complete the process as we can see in the below image:
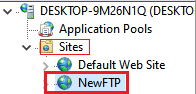
- As we can see in the image below that the newly created sites come under the Sites node.
Once we are done configuring the site, go to the Window Defender Firewall for allowing the FTP connection.
- For this, go to the Windows Defender Firewall under the Controls Panel
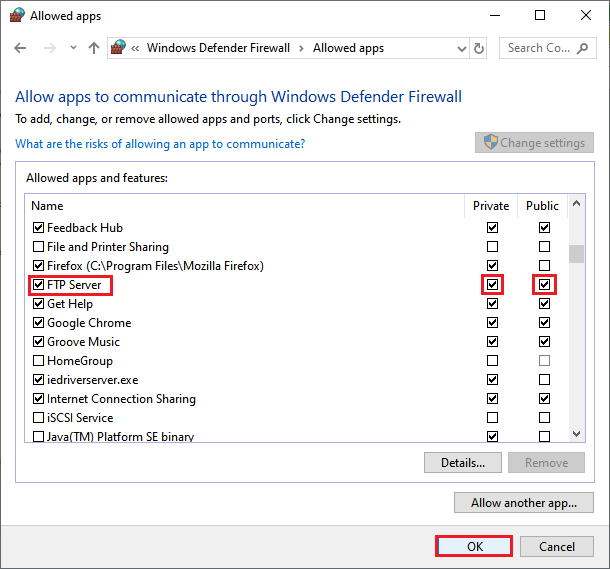
- Click on the Allow an apps on feature through Window Defender Firewall link, and click on the Change settings button, then scroll down until we find the FTP server, and checkmark the Private and Public.
- Then, click on the OK button to save the settings as we can see in the below screenshot:
The Firewall is configured successfully after completing all the above steps.
Then, we will turn off the Firewall to guarantee the connection.
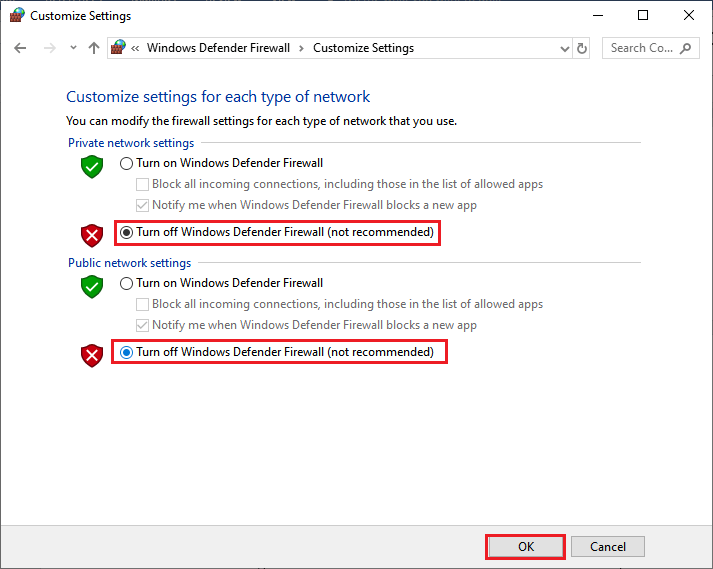
- For this, we will go the Window Defender Firewall in the Control Panel, and click on the Turn Window Firewall on or off the link, and select the Turn off Window Defender Firewall radio button.
- In case, if we have a problem in connection then turn off the at least temporarily just like we did as we can see in the below image:
Now the Firewall is off; we need to create a FTP user.
Create a FTP user
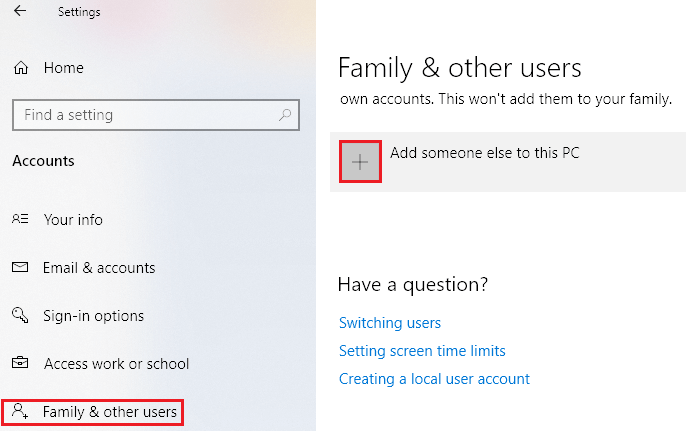
- For this, go to the Start button, then click on the Settings, then go to the Accounts and select Family & other user from the left side of the window.
Start → Settings → Accounts → Family & other user
- And, right-click on the [+] button to Add someone else to this pc.
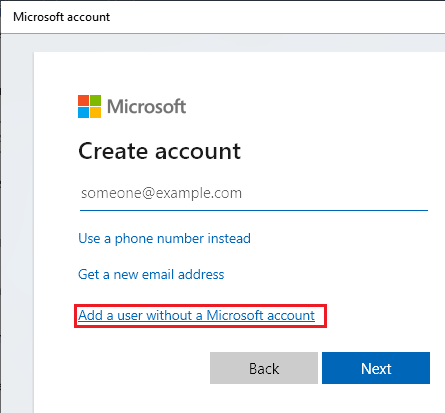
- Then, click on I don't have this person's sign-in information link as we see in the below image:

- After that, click on the Add a user without a Microsoft account link.
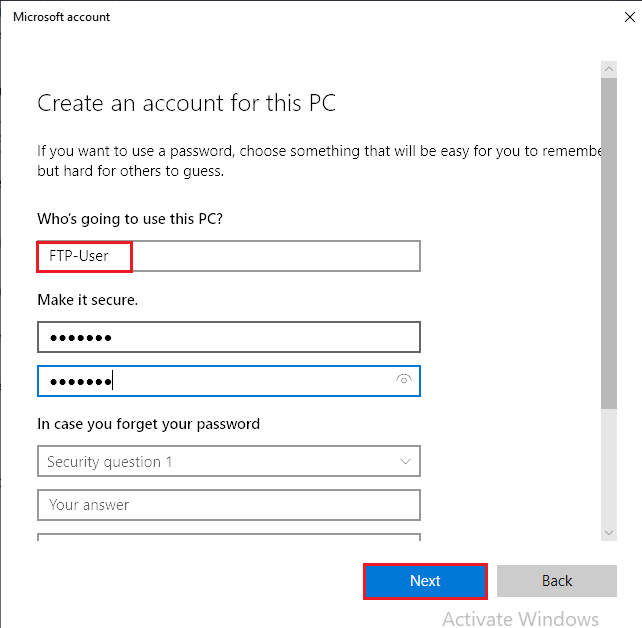
- After that, enter the user name and password and click on the Next button as we can observe in the below image:
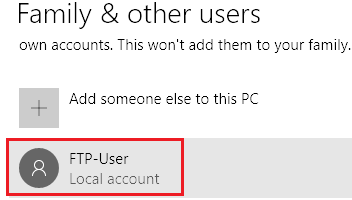
As we can see in the below screenshot that the FTP user is created.
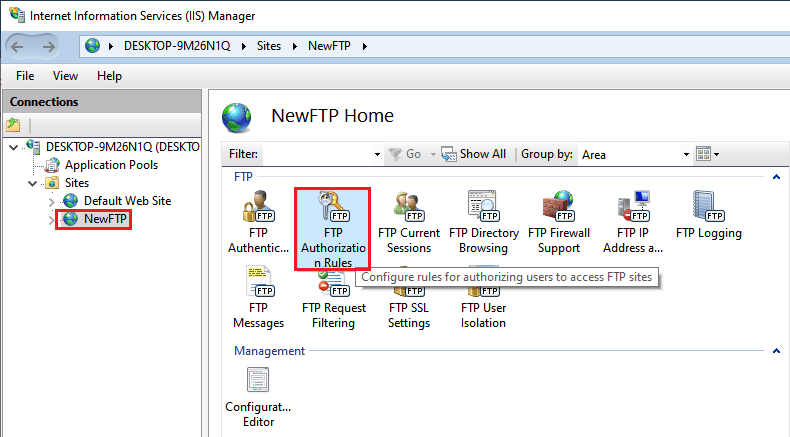
- Then, go to IIS and select the newly created site, then double-click on the FTP Authorization Rules to access the FTP sites, like as shown in the below image:
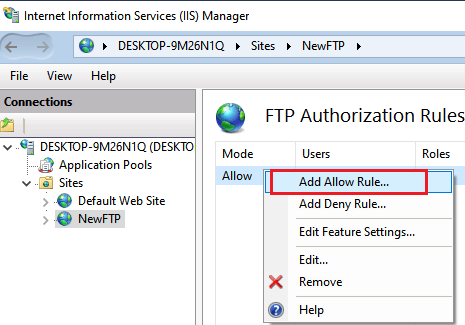
- They have default user, to take another one right-click on the empty space. And select the Add allow Rule in the popup menu as we can see in the below image:
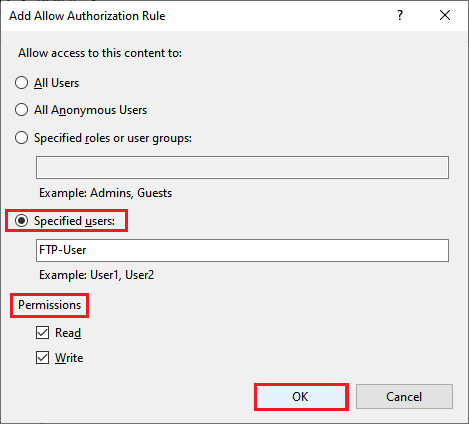
- In here, select the Specified users and enter the specified user name that we just created.
- In the Permission section, give the proper permission, and click on the OK button, as shown below:
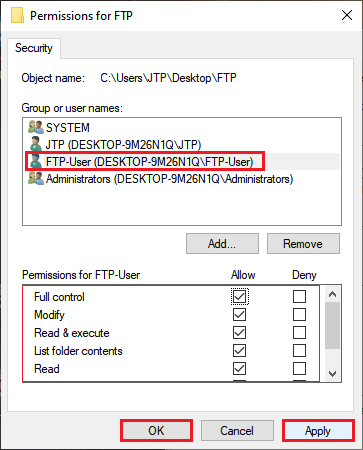
We create this user after creating the folder, and we will add this user to the security section of the particular folder.
For this, go the FTP folder, and right-click on it then follow the below path,
Properties → Security → Edit → Add
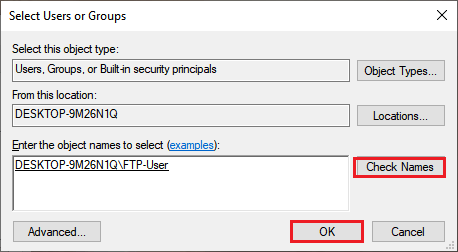
- Enter the FTP user and click on the Check Names button and click on the Ok button.
- Now make sure that the user is selected, and all the Permission for FTP-User is allowed, then click on the Apply
- After that, click on the OK button, and again click on the OK button as we can see in the below image:
Now we are ready to access the FTP.
Accessing the FTP Server
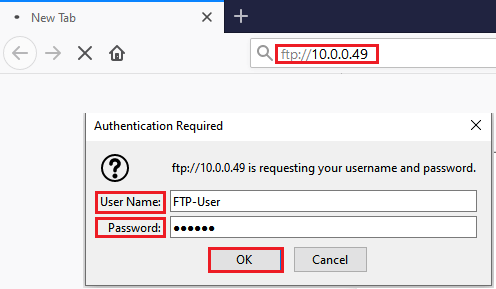
To access the FTP in the LAN, open any browser and type:
- ftp://10.0.0.49 and press the Enter key, then enter the username and the Password.
Once we successfully configured the FTP server in our windows, we are ready to centralize the FTP connection in the Talend Studio.
Centralize a FTP connection
For centralizing the FTP connection, follow the below process:
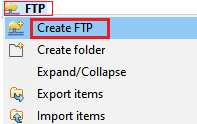
- Go to the Repository panel, then move to Metadata section and right-click on the FTP, and select the Create FTP option in the popup menu as we can see in the below image:
Repository panel → Metadata → FTP → Create FTP
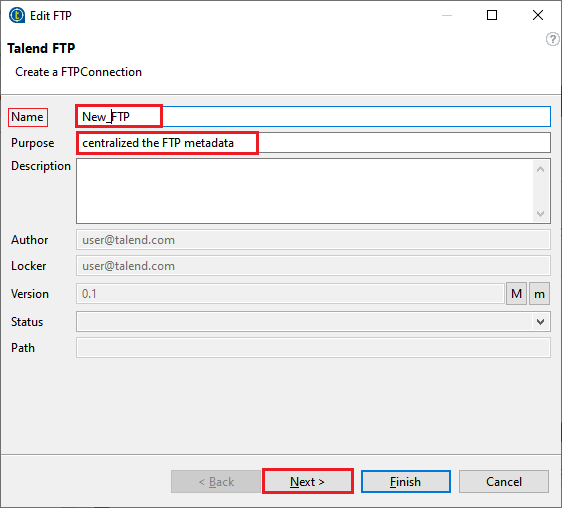
Define general properties
- Create new FTP will open where we will be filling all the general properties like Name, Purpose, and Description.
- And, click on the Next button to proceed further as we can see in the below image:
Connecting to an FTP server
In this, we will describe the FTP connection details and parameters.
- First, enter the username and password in the related fields.
- Enter the name of our FTP server host in the Host
- Then, put the Port number in the related field.
- After that, we are selecting the Encoding type in the given list.
- In the Connection Model list, we will select the connection model based on our needs.
- Passive: if we need that the FTP server chooses the port connection for data transferring, then select Passive as our connection model.
- Active: if we want to select the port our self, then select the connection model as active.
- The Parameter section defines the setting of the FTP server; for general use, we do not require to select any option.
We have multiple checkboxes available in the Parameter section.
- SFTP Support: it is used for the SSH security protocol to save server communication.
If we select the SFTP support checkbox, and the Authentication Method will show, where we have to choose either the Public key or Password based on our needs.
- FTPs Supports: it is for SSL security protocol to secure the server communication.
If we select the FTPs support checkbox; it will asks us to browse the Keystore File and gives the Keystore Password.
- Or if we want to select the Use Socks Proxy checkbox, then we have to enter the proxy information like the hostname, port number, username, and password.
After filling all the details of the FTP connection, click on the Finish button to close the window as we can see in the below image:

To see the newly created FTP connection Metadata in the Talend studio:
- Go to the Repository panel, then go to Metadata.
- After that, expand the FTP node, and select the New_FTP Metadata, as we can see in the below screenshot:
Repository → Metadata → File Excel → New_FTP
We can use the FTP connection in our jobs by dropping the connection metadata from the Repository on to the design workspace window.
A dialog box will appear on the screen where we can select the different FTP components to use in our jobs as we can see in the below image:
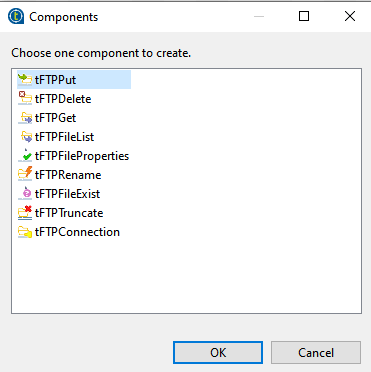
|

 For Videos Join Our Youtube Channel: Join Now


