| |

Programming using AVR StudioAVR studio is an Integrated Development Environment (IDE) developed by ATMEL for developing different embedded applications based on 8-bit AVR microcontroller. Before the installation of AVR Studio you have to install the compiler WinAVR. By installing WinAVR allow AVR Studio to detect the compiler. Step 1: 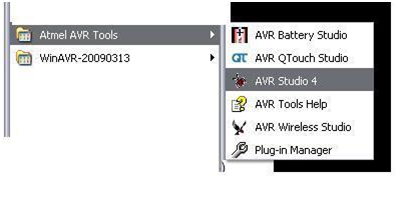
Step 2: 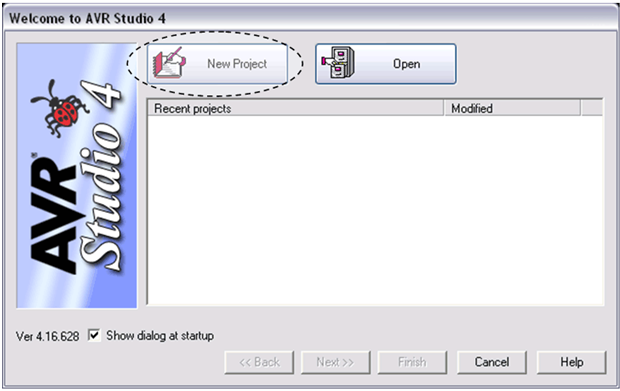
Click on new project. Step 3: 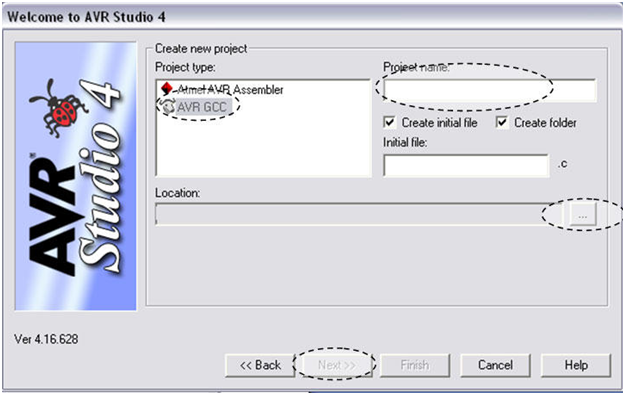
Step 4: 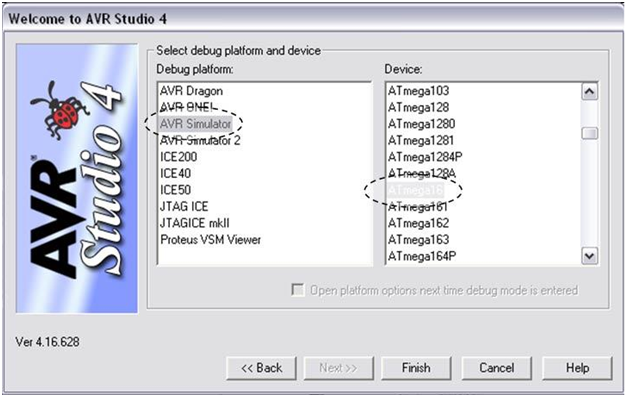
Step 5: 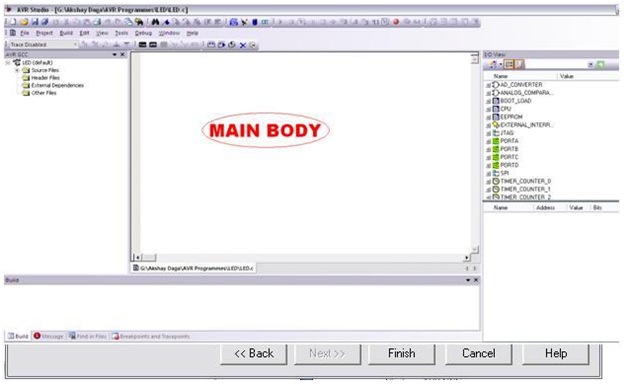
Step 6: 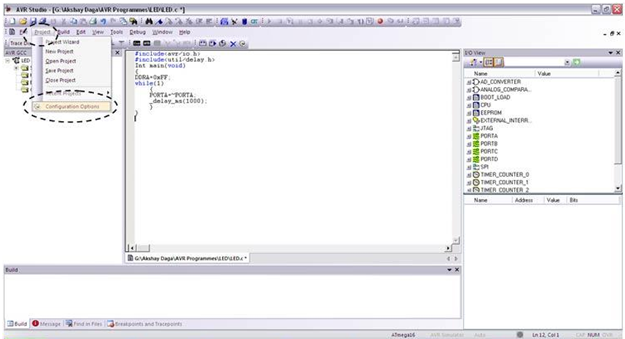
Step 7: 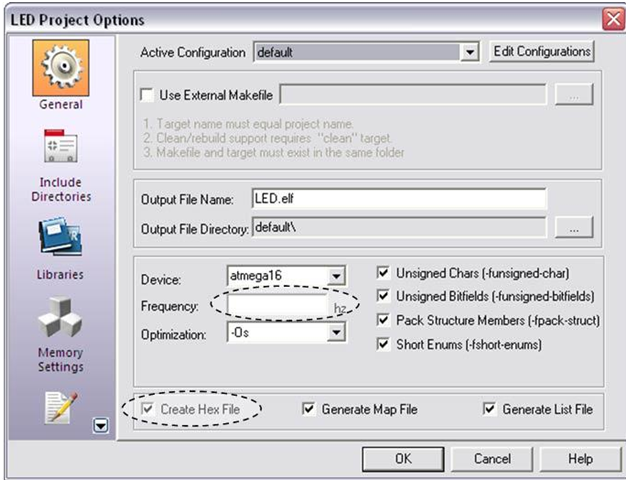
Step 8: 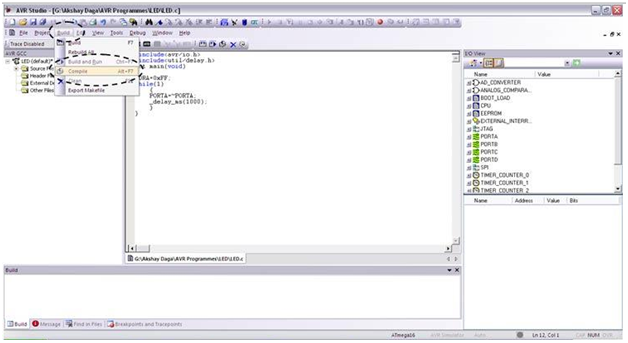
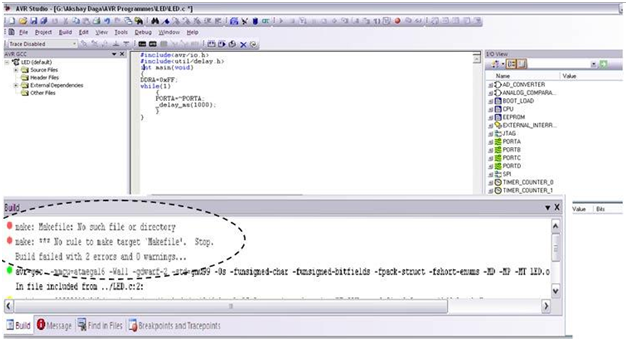
For the first time compilation it will generate two errors, ignore them. Step 9: 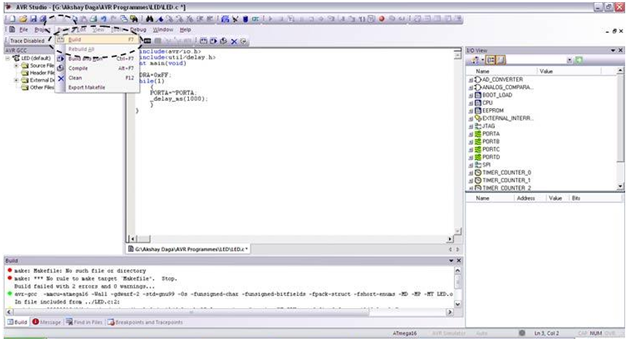
Next TopicLCD Interfacing with AVR
|
 For Videos Join Our Youtube Channel: Join Now
Feedback
- Send your Feedback to [email protected]
Help Others, Please Share


Like/Subscribe us for latest updates or newsletter 


