| |

Django Image Upload | How to Upload Image with DjangoImage uploading is one of the main features of any modern web-applications. It allows the user to upload the image or picture on the server. Fortunately, Django provides the simple procedure of working with the images especially uploading the images or pictures. Using this, we can create a beautiful web application where users can upload images with captions. In this tutorial, we will discuss how the upload the image in a Django application. Before we are going further, make sure that you have a basic knowledge of Django. If you haven't, visit our Django tutorial. Upload images to DjangoMost of the web applications deal with the file or images, Django provides the two model fields that allow the user to upload the images and files. These fields are FileField and ImageField; basically ImageField is a specialized version of FileField that uses Pillow to confirm that file is an image. Let's see the following example of creating models. models.py We create the UploadImage model that consists of two fields - caption and image. The image field will work as Django's file storage API. This API provides the facility to store and retrieve the files and also read and write them. The upload_to parameter specifies the file location where the image will be stored. We don't need to create the media directory manually; it will be automatically created when we upload an image. First of all, we need to install the pillow library, which helps work with the images. We can install it using the following pip command. Now add the following settings to the settings.py file of your project. settings.py
In the next step, we should add the following configuration in urls.py file. Urls.py All required configurations are done; we are ready to run the following commands. After running this command, we are set to create a form that will take the image as input from the user. Let's create a form. forms.py The advantage of creating the Django model form is that it can handle the form verification without declaring it explicitly in the script. It will also create the form fields on the page according to the model fields mentioned in the model.py file. To display this form, we need to create the image_form.html file under the template folder. template/image.form.html Note - We use the enctype = "multipart/form-data" which allows files to be sent through a POST. Without enctype, the user cannot send the file through a POST request. It is necessary to include in the form to work with the files or image.Now we will create the view to handle the requests. View.py The above view is simple and handling images the same as a normal form. When we upload the image, the post request will be generated. The form is automatically validated and saved in the media folder. One point to be noted, we get the image object using form.instance and it will be used to display the image to web page. Let's create the URL for this view. sampleapp/urls.py We get the following form after running the local host server. Output: 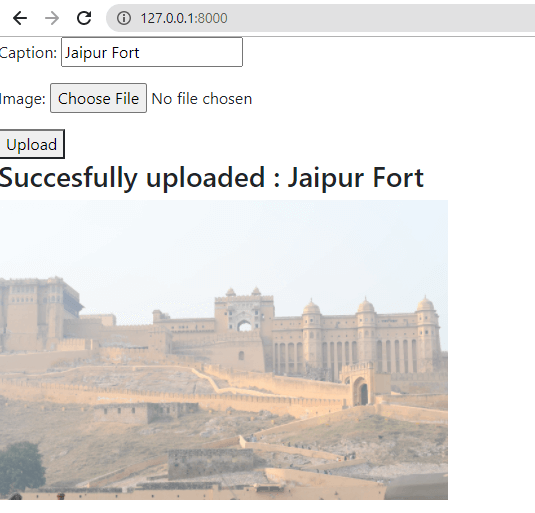
This file will be stored in the media/images that we have mentioned in the model field. 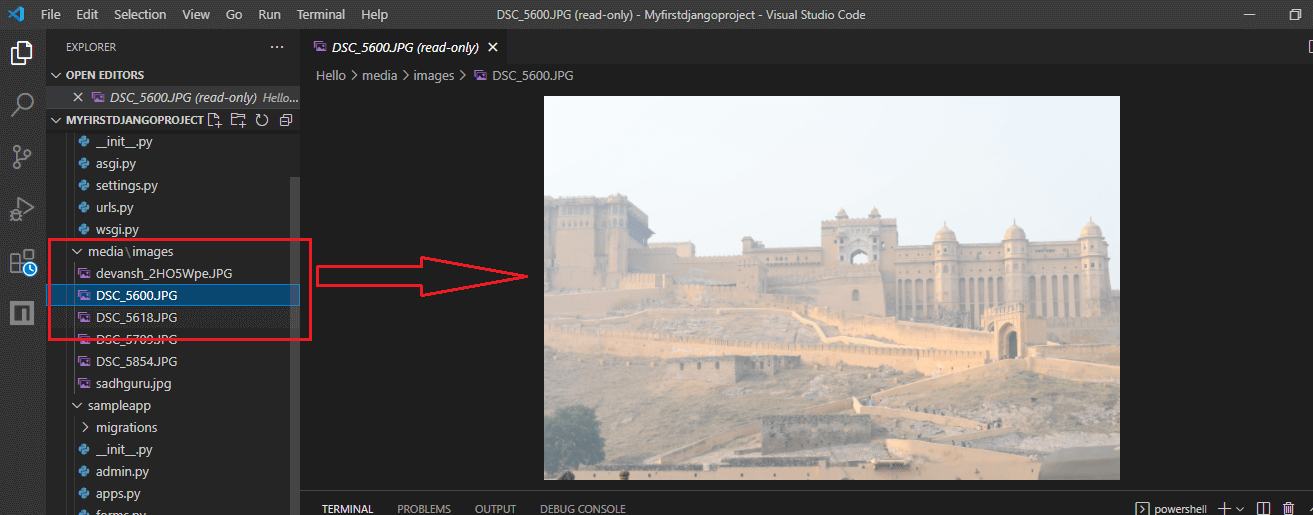
ConclusionIn this tutorial, we have discussed how to upload images using Django. Django provides the simple interface to perform image or file uploading. We just need to do some configuration and define an ImageField in the model form's field. We can also upload any file (.xml, .pdf, .word, .etc) by following the same procedure, but we will need to convert ImageField to FileField in the model's field.
Next TopicDjango ORM Queries
|
 For Videos Join Our Youtube Channel: Join Now
Feedback
- Send your Feedback to [email protected]
Help Others, Please Share


