| |

Install pip in UbuntuWhat is a pip?Pip can be described as a tool to install the packages of Python. We can download, search, and install many packages using Python Package Index (short for PyPI) and other indexes of the package with pip. The pip is used to install and manage Python software packages. If installing any package, pip will first resolve the dependencies, identify if they are installed already, after that installs them if they aren't installed on our system. This process makes it convenient for installing and managing all software packages of Python, like those mentioned in the Python Package Index (short for PyPI). Pip can also be described as an abstraction for "Pip Installs Packages". Pip is known as a package management system that implements with the command line. The uses of Ubuntu can easily install several packages using the Python Package Index by using pip. Also, it enables us to install more than one package and module of Python for our Python projects if we are software developers.
In this article, we will explain how we can install pip for Python 2 and Python 3 in the 20.04 version of Ubuntu. Also, we will walk through the installation basics and otherwise handle Python packages using pip. History of PipIn 2008, Pip was first announced as pyinstall by Ian Bicking (the virtualenv package creator) as a substitute to easy_install. Pip was selected as a fresh name from one of many recommendations that the creator got on his blog post. The title is a recursive composition for "Pip Installs Packages" according to Ian Bicking himself. The Python Packaging Authority (short for PyPA) was developed for taking over the virtualenv and Pip maintenance from Bicking which is led by Jannis Leidel, Brain Rosner, and Carl Meyer in 2011. With the 6.0 pip version publication, the naming process of the version was switched for having the version in the X.Y format and then removing the preceding 1 from the label of the version. Before we startPython is available in two versions including Python 3 and Python 2. Starting from the 20.04 version of Ubuntu, Python 3 is contained in the base system installation, and on the other side Python 2 is present for installation through the Universe repository. Several users are motivated for switching to Python 3. When globally installing a module of Python, it is highly suggested to install the deb package of the module using the apt tool because they are tested to implement properly on all Ubuntu systems. The packages of Python 3 are pre-fixed with python3- and the packages of Python 2 are pre-fixed with python2-. We should globally prefer pip for installing a module only when there's no deb package for that particular module. We should use pip only in a virtual environment. The virtual environments of Python permit us to install the modules of Python in a separated location for a particular project, instead of being globally installed. This way, we don't need to worry about impacting other projects of Python. pip User GuideRunning pip: It is a program of the command line. When we install pip, the pip command is included in our system, and it can be executed from the terminal window as follows: pip is executed by python -m pip with the Python interpreter we mentioned as python. So, the /usr/bin/python3.7 -m pip directory tells that we are running pip for our interpreter positioned at the /usr/bin/python3.7 directory. Using the Proxy Server: pip needs internet access when we install packages using PyPI, which in several corporate platforms needs the last HTTP proxy server. pip can be set up to link from a proxy server in several ways:
Requirements Files: They are files having the items list to be installed with pip install as follows: A requirements file is only a pip install argument's list located in a file logically. Remember that we shouldn't depend on the file items being installed via pip in a specific order. Also, the requirements files can be served by a URL, so they can be saved and served inside a centralized place. Some common uses of requirements files are as follows: Requirements files can be used to grip the outcome from pip freeze to get Repeatable Installs. Our requirements file includes a pinned edition of everything installed during the pip freeze that was executed.
Constraints Files: These files are referred to as requirements files that just manage which requirement version is installed in the system, not whether it's installed or not. The contents and syntax of constraints files is a group of requirements files along with various types of syntax not permitted: constraints must include the name, they can't define extras, and they can't be changeable. In the context of semantics, one important difference is there: adding a package doesn't trigger the package installation in the constraints file. We can use the constraints files as follows: Constraints files are utilized for a similar reason to requirements files when we don't know what things we wish to install. For example, let's assume that the package called "helloworld" does not work in our environment, so we have a local patched release. Some things we install rely on "helloworld", and a few don't. There is one way to assure that this patched release is used frequently is to manually check the dependencies of anything we install. Besides, constraints files provide a better way to do the above. We need to write one constraints file for our enterprise and apply that everywhere. Recursive Upgrade "Only if Needed"The pip install --upgrade command has now the --upgrade-strategy option, which manages how pip controls dependency upgrades. Two different upgrade strategies are supported, which are listed and explained below:
only-if-needed is the default strategy. It was edited in the pip 10.0 because of the breaking behavior of eager if upgrading opposing dependencies. It's important to remember that the --upgrade option impacts direct requirements while the --upgrade-strategy option impacts indirect requirements. User InstallsFor installation, the user scheme comes with the 2.6 version of pip, which means every Python distribution supports a different install location that's particular to a user. This installation mode turns on by defining the option, i.e., --user, to pip install. On the other hand, the user scheme can be personalized by configuring the environment variable, i.e., PYTHONUSERBASE, which can update the site.USER_BASE value. PrerequisitesBefore we get began, we require an instance of the 20.04 version of Ubuntu with the sudo user. If we do not have anyone already, then we can readily use a fully-managed and high-performance cloud VPS at only 3.71 dollars. Installing pip in Ubuntu 20.04We can get the list of every compatible package using the official website of python packages (PyPI). Also, we can get support regarding the installation process with the help of this website. For instance, if we wish to install a package such a "scrapy" which is the package applied for web scraping. Also, we can get the documentation of a package for our better understanding. For installing the PIP file, we need to enter the command which is mentioned below: 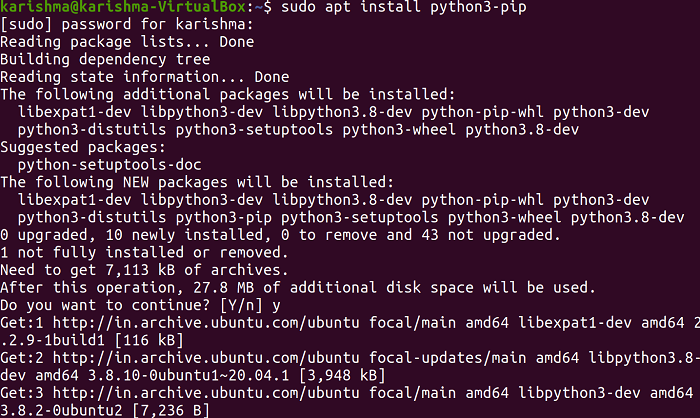
This command will prompt us and ask for our permission whether we wish to install it or not (y/n), in which we need to click "y" for the installation process as displayed in the below screenshot: The installed pip version can be recognized with the help of the command which is mentioned below: 
Now, if we wish to know how we can apply the pip command and other available features, we can check them by entering the command in our terminal which is mentioned below: 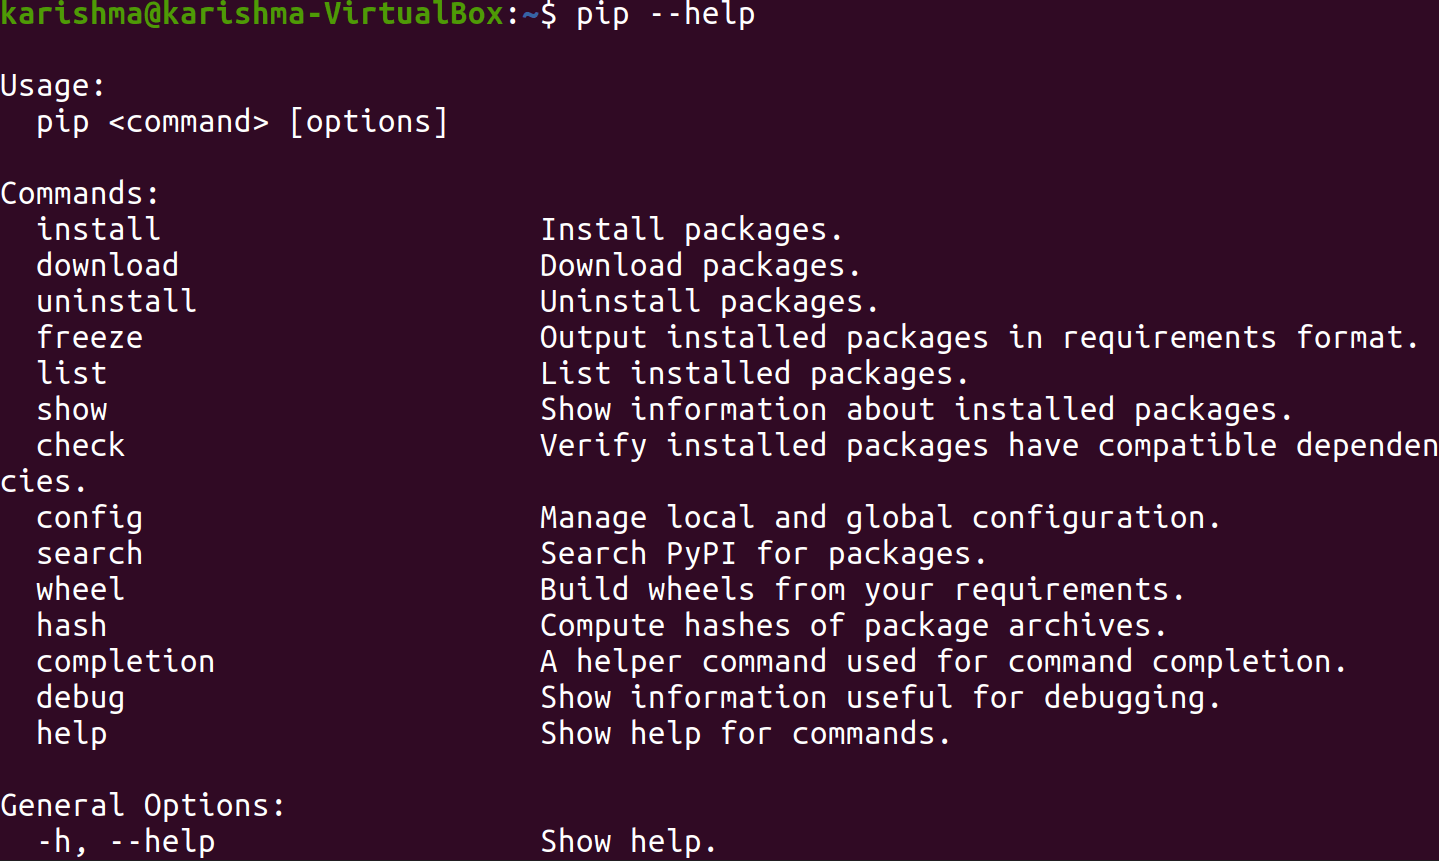
Now, as we can check using the above screenshot, the first command is for installing the packages. So, let's take an instance of installing the python package, i.e., scrapy. We can do it by entering the command which is mentioned below: 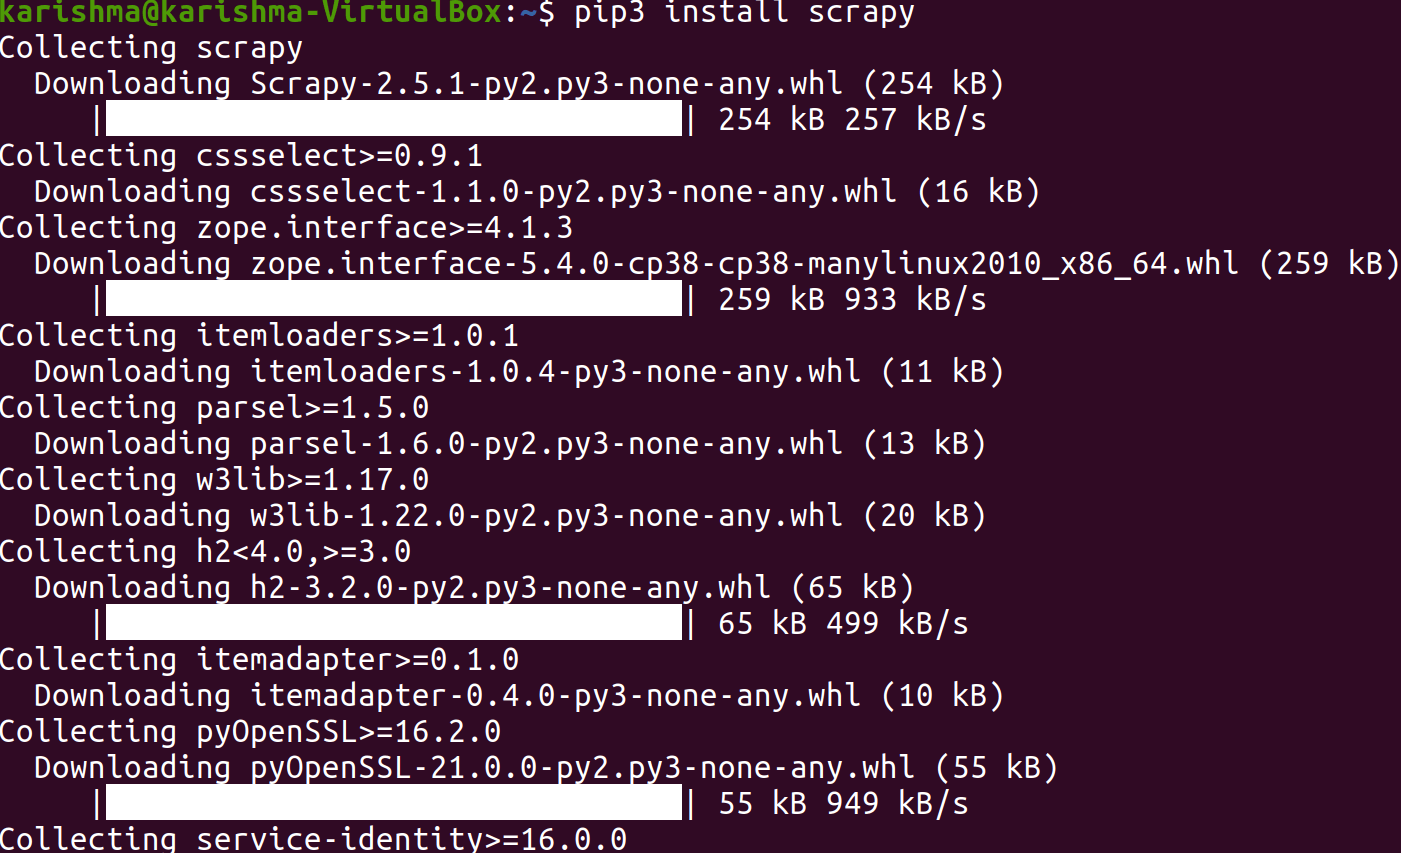
Also, we can install other packages of our choice by pursuing the exact similar syntax. We can see if a package is installed or not after the installation process by entering the command in our terminal which is mentioned below: 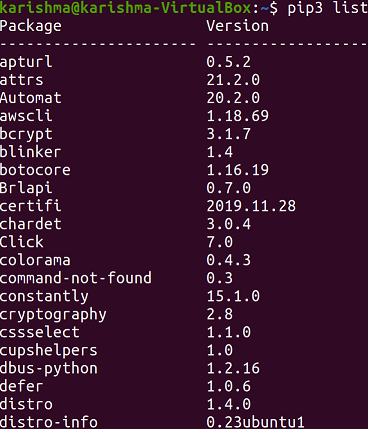
The above command will show us the list of every installed package and we might require to scroll down to check our installed packages. Upgrade the packages using pipWe can use the following command for upgrading an already installed package to the current version: Uninstalling the Python PackagesWe can uninstall any old package that we have installed by entering the command which is mentioned below: 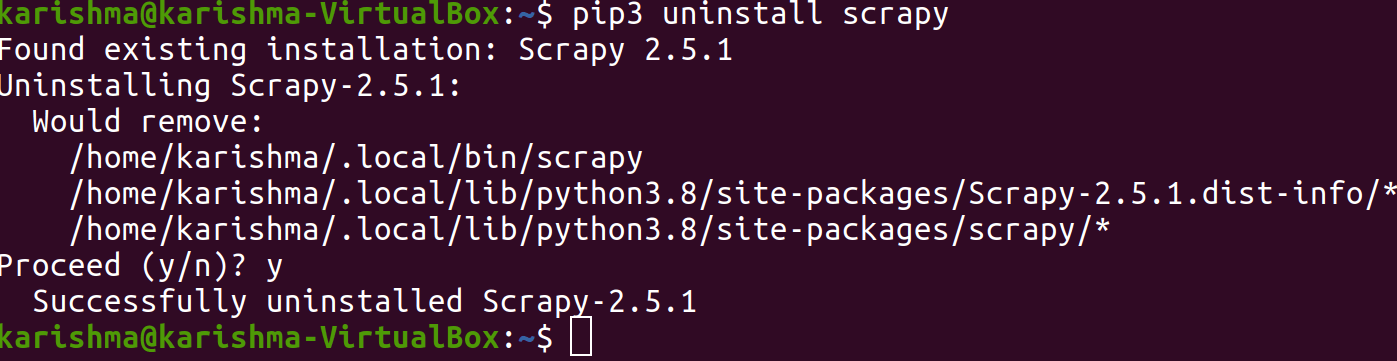
Installing pip for Python 2For Python 2, the pip package is available in the universe repository. However, if we do not have it in our system, then we can install it with the help of the following command in the terminal: 
For updating the packages list, we can enter the command which is mentioned below: 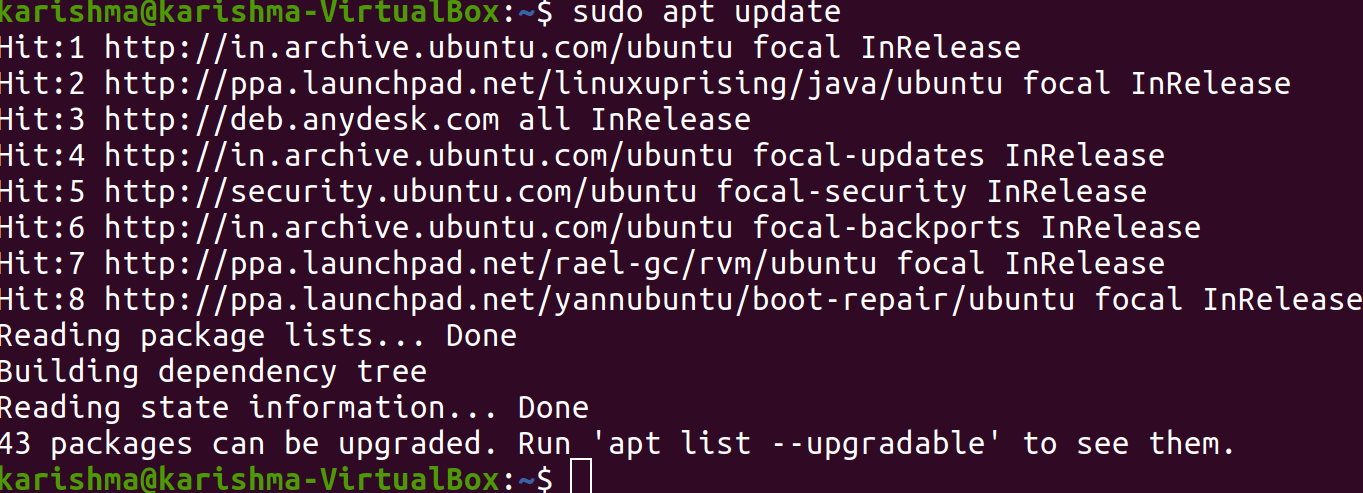
First, we will install the minimal package of Python 2: 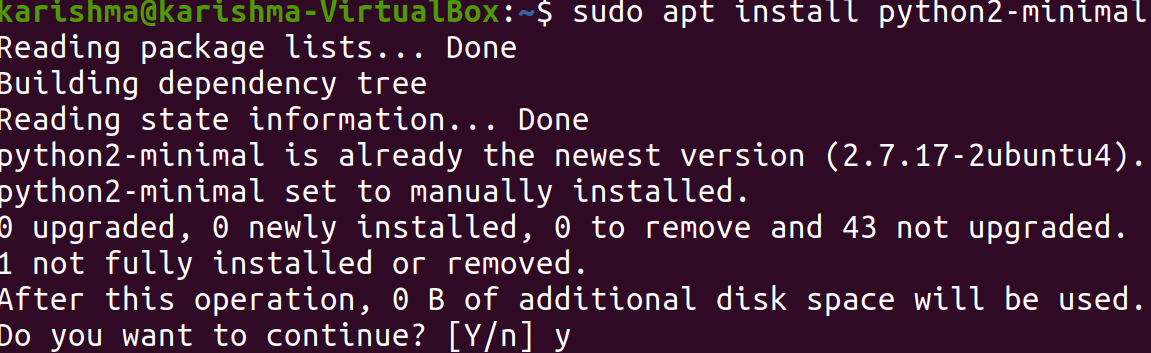
For Python 2, the pip packages are not contained in the 20.04 version of Ubuntu. So, we require to apply the installer script of pip. The command is mentioned below: 
Then, we need to run the Python script along with python2 for installing pip on our system. To do so, we can use the following command: 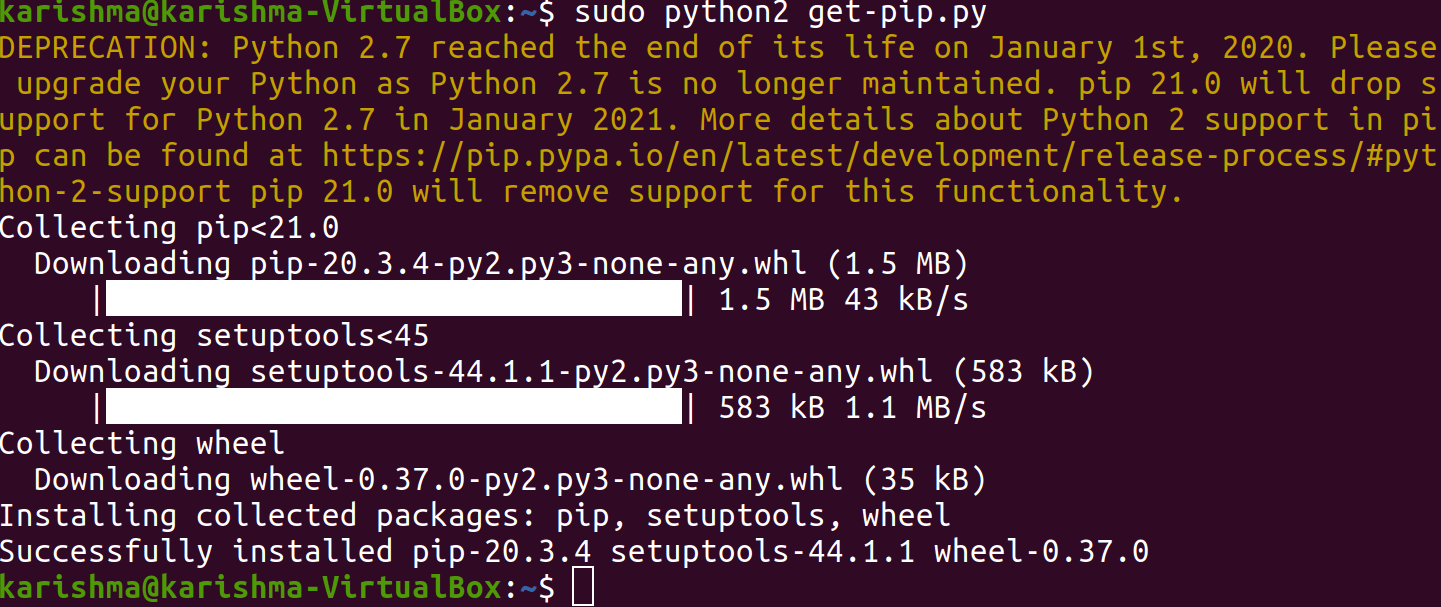
We can check the pip version after the installation process by entering the following command: 
How to check installed packages with pip2 in UbuntuWe can list every installed package using pip2 using the following command in the terminal: 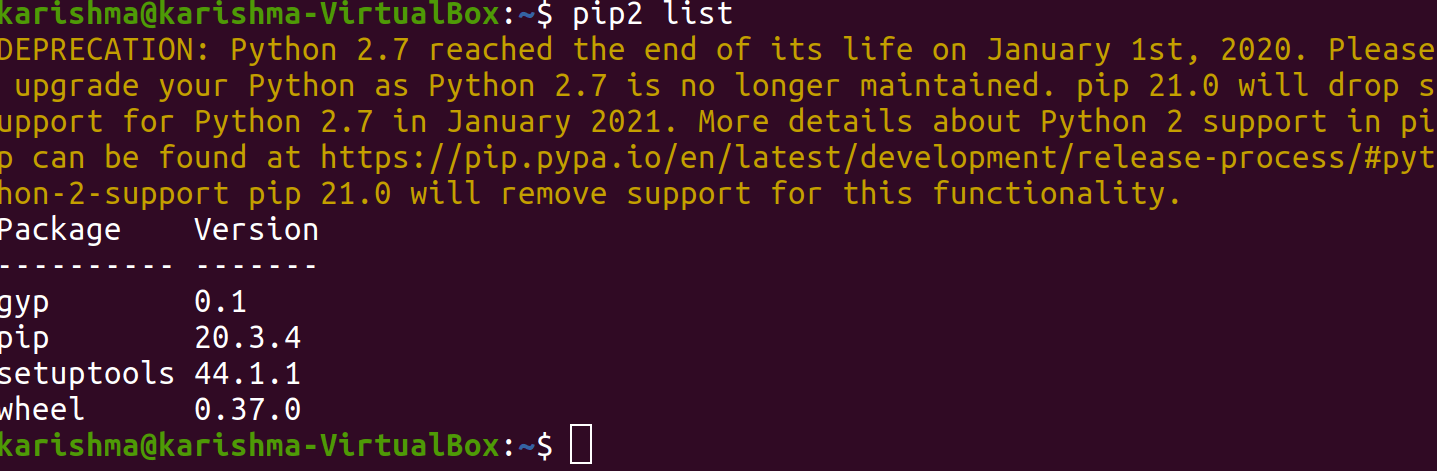
We can see that the result is displaying the package installed using pip2: Upgrading the packages with pip2 in UbuntuAlso, we can upgrade the installed packages with the pip2 command. We can upgrade any package using the following syntax: Uninstalling the packages with pip2 in UbuntuIf you wish to uninstall any package from our Ubuntu system, we can use the option, i.e., 'uninstall' in the pip2 command. The syntax for uninstalling the packages using pip2 is as follows: Uninstalling pip for Pyhton3 in Ubuntu 20.04For python3, if we wish to uninstall a pip package, then we can do it by entering the command in our terminal which is mentioned below: 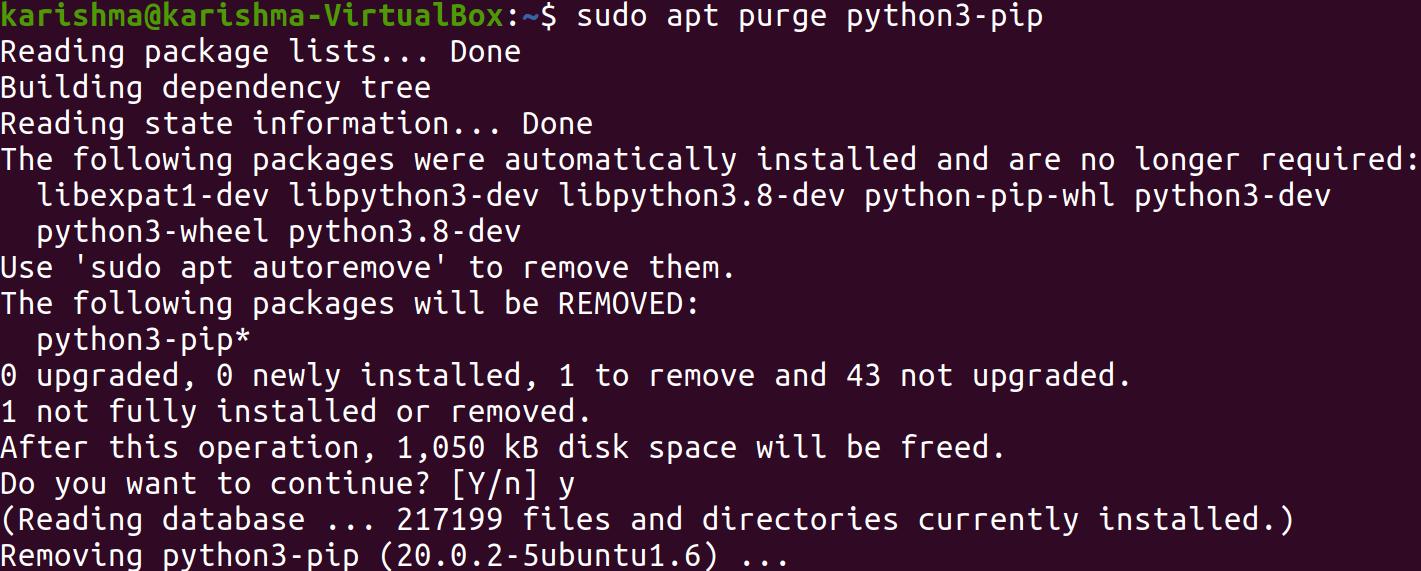
ConclusionThe codes of python are faster to run and have several modules to implement for enhancing the program's functionality. Python is one of the easiest to learn and simplified programming languages. In this article, we have learned how we can install the pip packages for python 3 and python 2 in the 20.04 version of the Ubuntu operating system. Also, we have learned how we can uninstall a pip and package.
Next TopicRestart MySQL Ubuntu
|
 For Videos Join Our Youtube Channel: Join Now
Feedback
- Send your Feedback to [email protected]
Help Others, Please Share


