| |

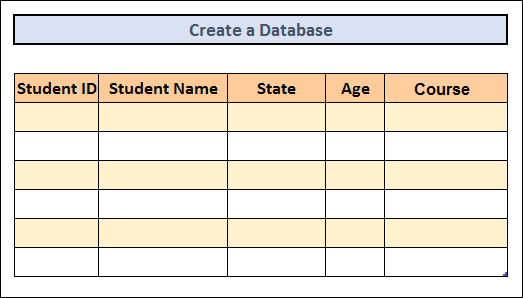
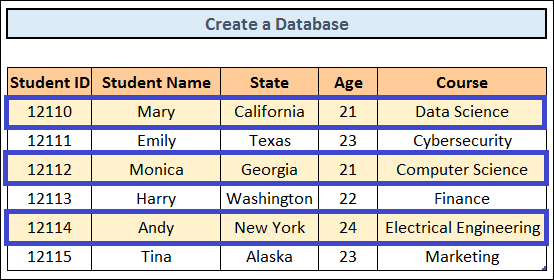
Creating a Database in ExcelHow do you make a database in Excel using simple steps?If you build it correctly, you can easily utilize an Excel worksheet as a database. The primary takeaway is that you need to create your worksheet accurately. Data can be sorted in various ways; for example, you might filter the database to display only the records that meet certain requirements. Thus, we'll use an example to demonstrate the procedures in this tutorial so you may create an Excel-based database. Steps:Step 1: Input the data.
We worked on it some. Allow us to demonstrate our method for entering another entry. Let's say the following is the input that needs to be entered into the database: 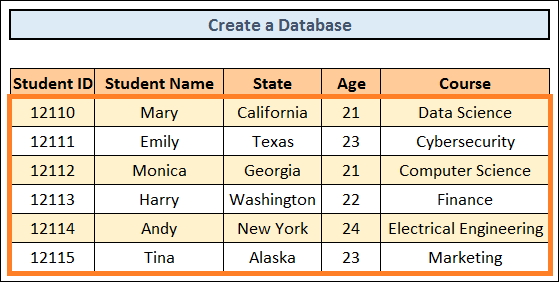
Thus, you can see how simple it is to insert data into an Excel database. Step 2: No Row Should Be Left UnfilledA row cannot be left empty while entering data into a database. 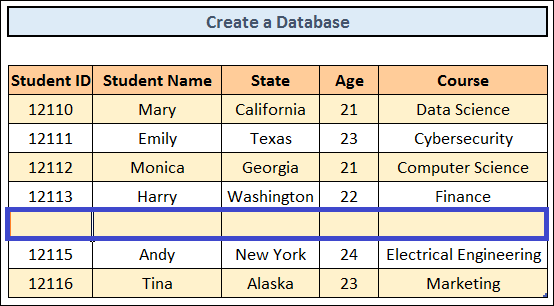
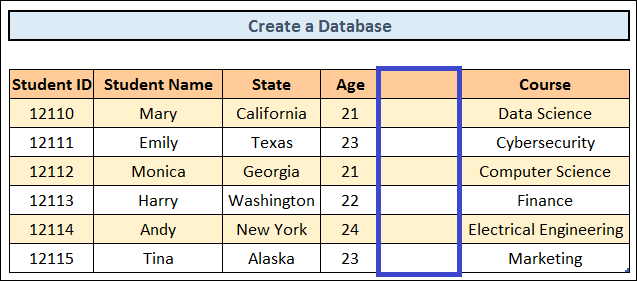
Excel cannot insert a fully blank row or column into the database. This is what happens when it comes across one. Now that this database has been split up for Excel, it has two completely different and unrelated data sets. It won't execute data from you on this disjointed bit of information, no matter what operations you have planned. You can tell from experience that, for instance, something as basic as filtering will not work. Step 3: Examine Two Essential TermsThe second thing you need to understand is that Records comprise every single row in a database.
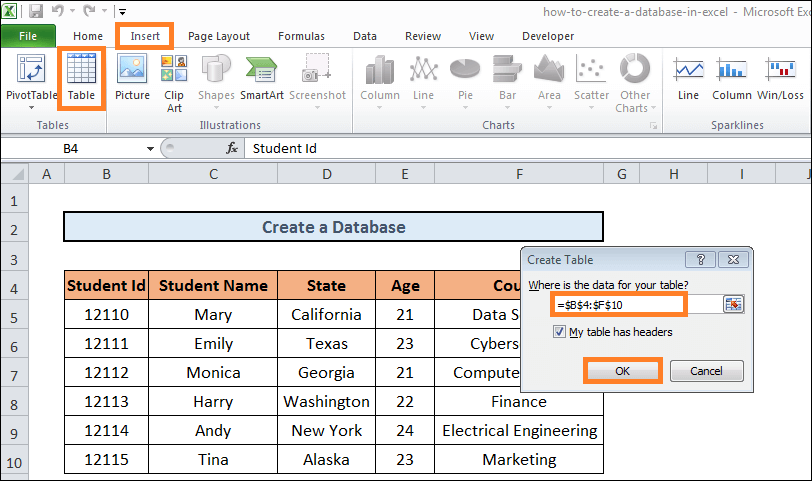
Step 4: Create an Excel tableThe steps shown below can be used to make a table.
A table is generated right away. That's all! 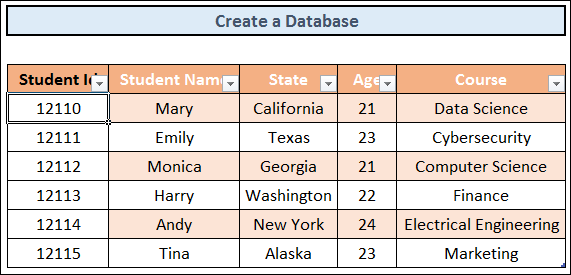
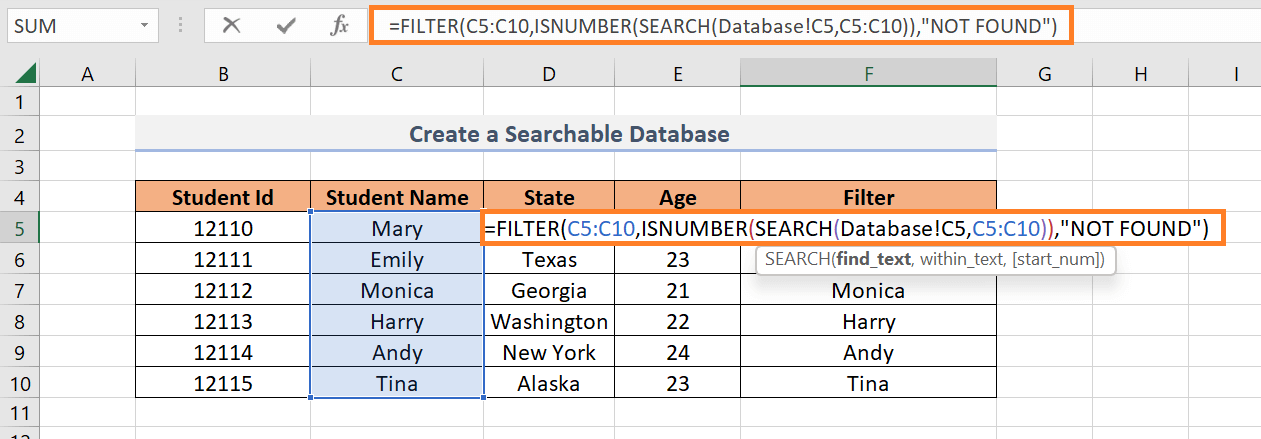
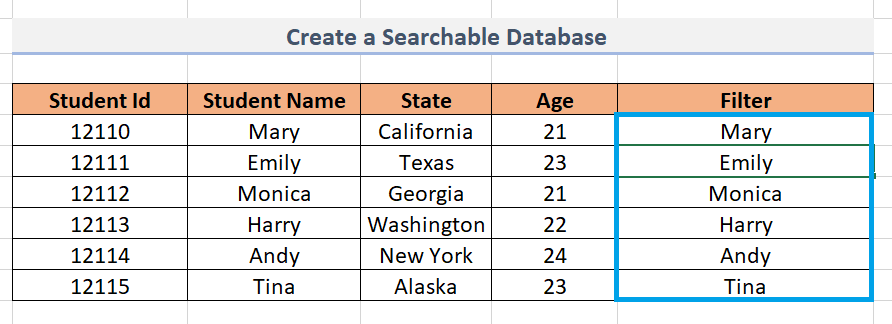
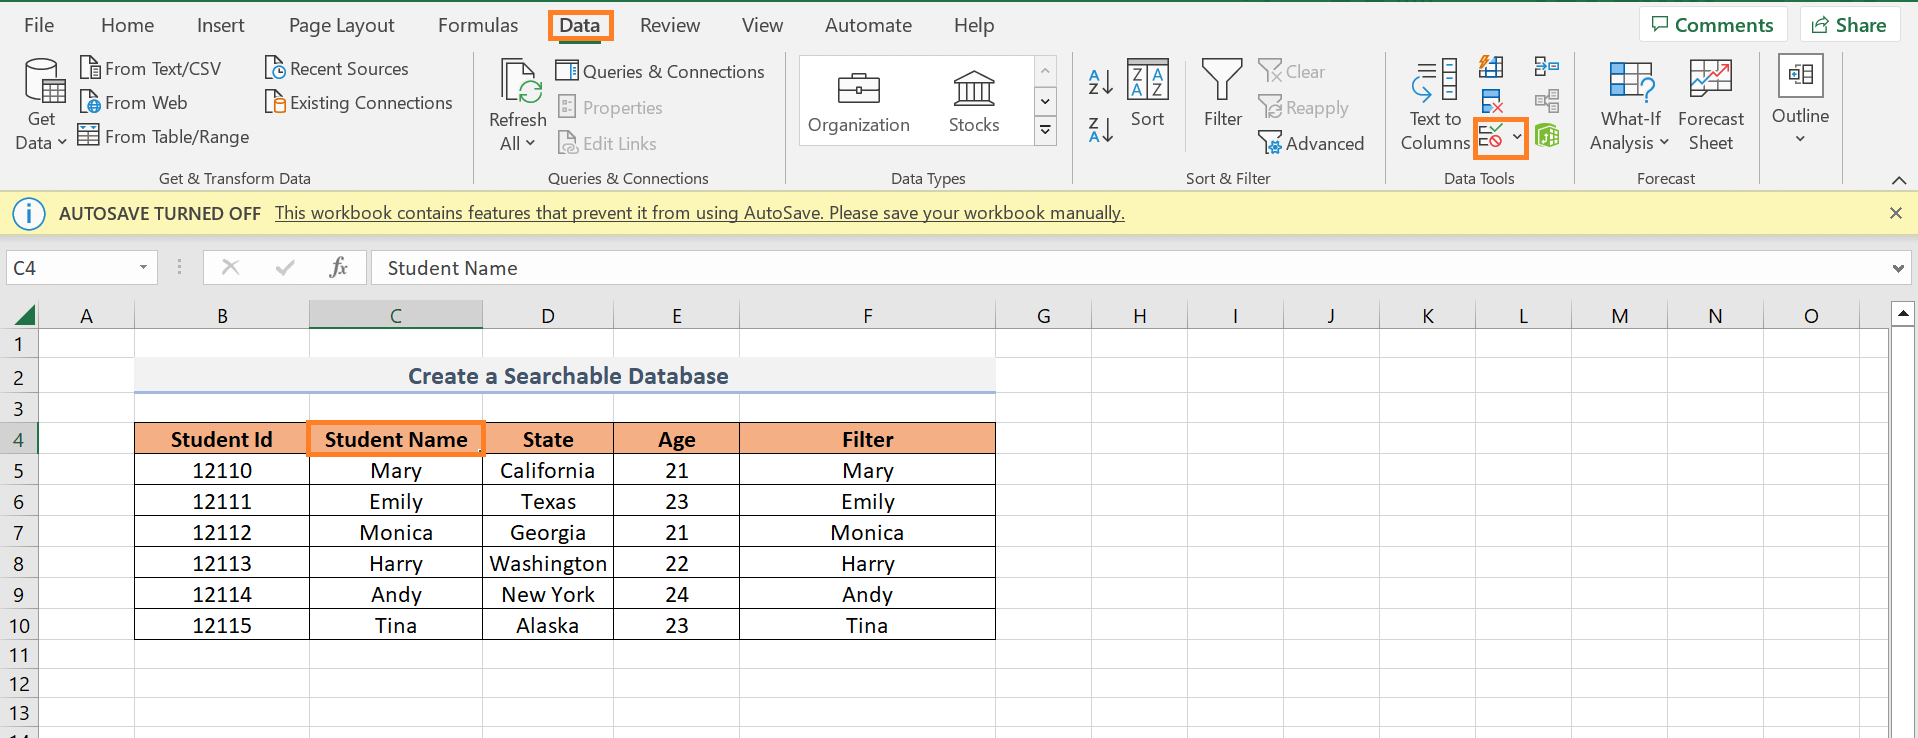
Additionally, you can filter data through the drop-down arrows at each column's headers. Step 5: Make Use of Database ToolsDatabase tools can be quite helpful when analyzing and interpreting your data. It is recommended that you expand your knowledge of the database tools. Step 6: Make the Database ExpandOnce everything is operational, You can add new fields and records (see what we've done there) to the database. It's just as fundamental as Step 1. Step 7: Complete Database FormattingThe database column formatting is the last and last stage. A database's cells can be formatted using an abundance of tools. You can work using Cell Styles, styles in the Format Into Table drop-down menu, and commands in its Format Cells dialogue box. The Custom Number Format is applicable. We covered every one of these strategies in our earlier lessons. There you have it, then! Excel was used to develop your database (until you mastered Access or Excel ran out of space and processors). How to Use Excel to Make a Searchable DatabaseWe occasionally have to sift through a large data source to find the desired data. Because of this, we might require a searchable database to quickly obtain our data. You must do a few easy steps to develop a searchable database. Steps:
The formula is as follows: =FILTER(C5:C10,ISNUMBER(SEARCH(Database!C5,C5:C10)),"NOT FOUND")
Formula Explanation:
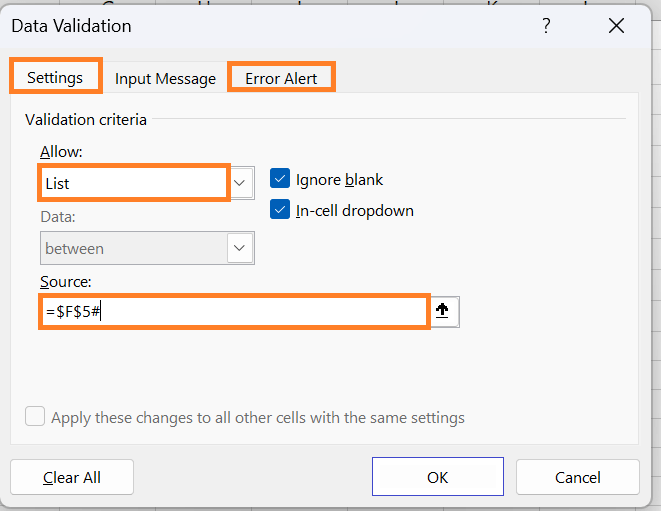
=F$5#
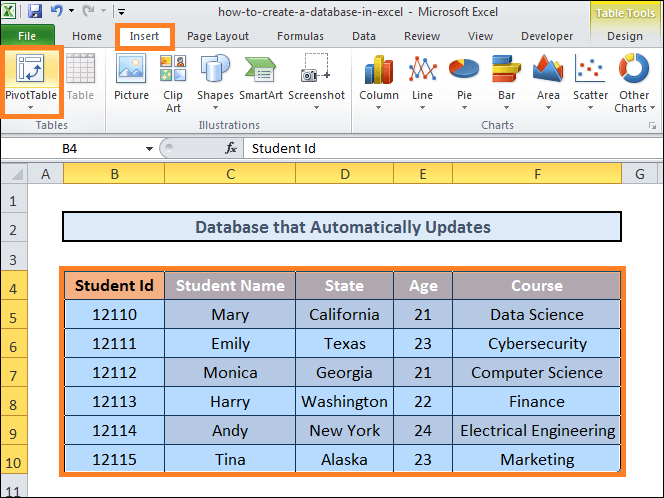
The Best Way to Make an Excel Database That Updates ItselfA database must update automatically with the information we enter. A Pivot Table based on the Source dataset will be made for these. We may instantly update the freshly provided data in the previously made Pivot Table after turning on the Refresh feature. For that, follow the instructions. Steps:
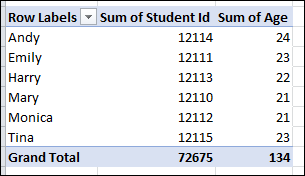
A Pivot Table is going to be created. Then, you may select the columns you want to update from there. 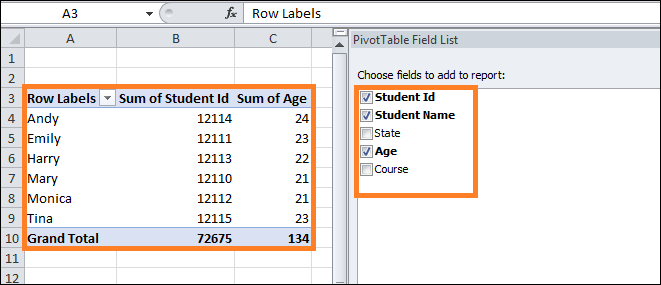
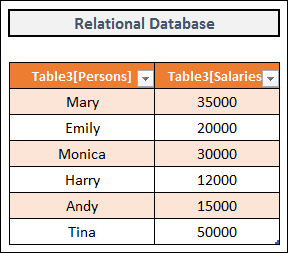
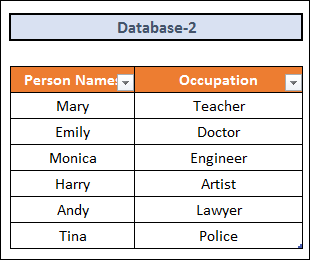
How to Set Up an Excel Relational DatabaseFinding relationships between multiple worksheets is the primary function of a relational database. Thanks to relational databases, we can find and retrieve specific information more quickly. It has multiple ways of showing the same data values. Imagine that we have two databases, designated as Database1 and Database2. Whereas Database2 has Person names along with their Occupation, Database1 has Person names along with their salaries. Currently, we wish to use the Employee field in both databases to build a relational database. To do so, kindly go through the following instructions. Steps:
Note: Press the CTRL + T keyboard shortcut to create a table.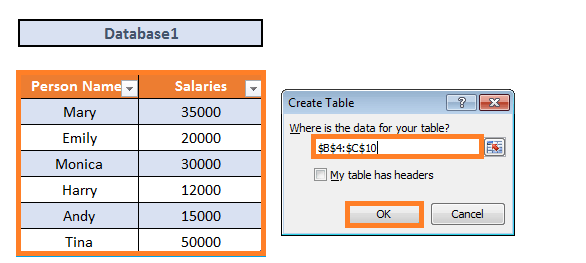
Next TopicPetty Cash Format in Excel
|

 For Videos Join Our Youtube Channel: Join Now
Feedback
- Send your Feedback to [email protected]
Help Others, Please Share


