| |

PROGRESS CHART EXCELIntroduction:"A Progress diagram is a chart that shows the headway made toward a specific objective. The outline permits you to screen and focus on your targets, giving basic information to key direction." In the domain of undertaking the board, execution following, and objective fulfillment, visual portrayals assume a critical part in clarifying patterns, distinguishing achievements, and assessing progress. Among these visual guides, the advancement outline remains as a sturdy buddy, offering compact yet exhaustive experiences into the headway of tries over the long haul. At its pith, an Progress outline is a graphical portrayal that delineates the development of a particular measurement, undertaking, or venture across an assigned timetable. By plotting pieces of information along a flat hub indicating time spans and an upward pivot addressing the relating progress esteems, these outlines give partners a reasonable and natural method for surveying execution directions. In Excel, there's dependably ten methods for doing anything. Notwithstanding, all the apparently interminable assortment of stunts, procedures, and strategies reduces to only two sorts of progress outlines:
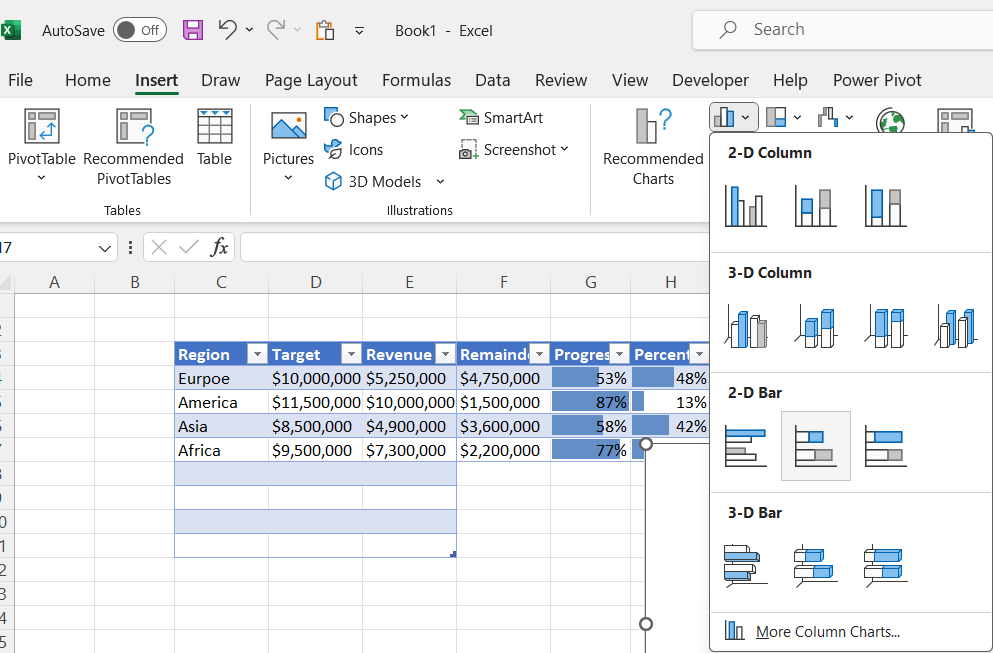
Nonetheless, these outline types are not upheld in Succeed, and that implies that the best way to go is to assemble the diagrams without any preparation physically. Hence, remember to look at the Outline Maker Add-in, a flexible device for making complex Succeed charts in only a couple of snaps. In any case, have no trepidation. In this bit-by-bit instructional exercise, you will figure out how to make both the advancement bar and the advancement circle diagrams in Excel. Beginning:For outline designs, we should accept you want to break down the presentation of your worldwide web-based business against the expressed income objectives across four significant locales: Europe, Asia, Africa, and the Americas. In light of that, think about the accompanying table. 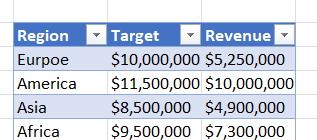
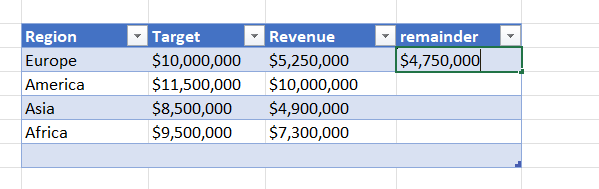
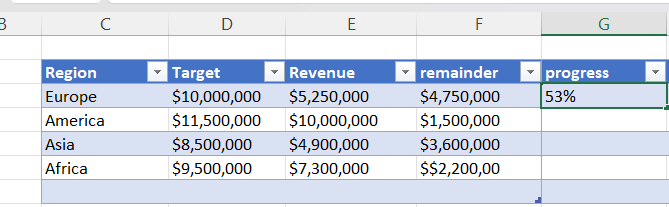
Prep Graph InformationBefore we start, you want to add three extra partner segments and decide the vital graph information for building the outlines. Toward the finish of this step, your graph information ought to seem to be this: 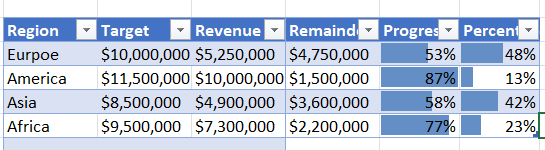
To begin with, set up segment Leftover portion (section D). This section contains the gross income the organization needs to produce to arrive at the expressed objective for every area.
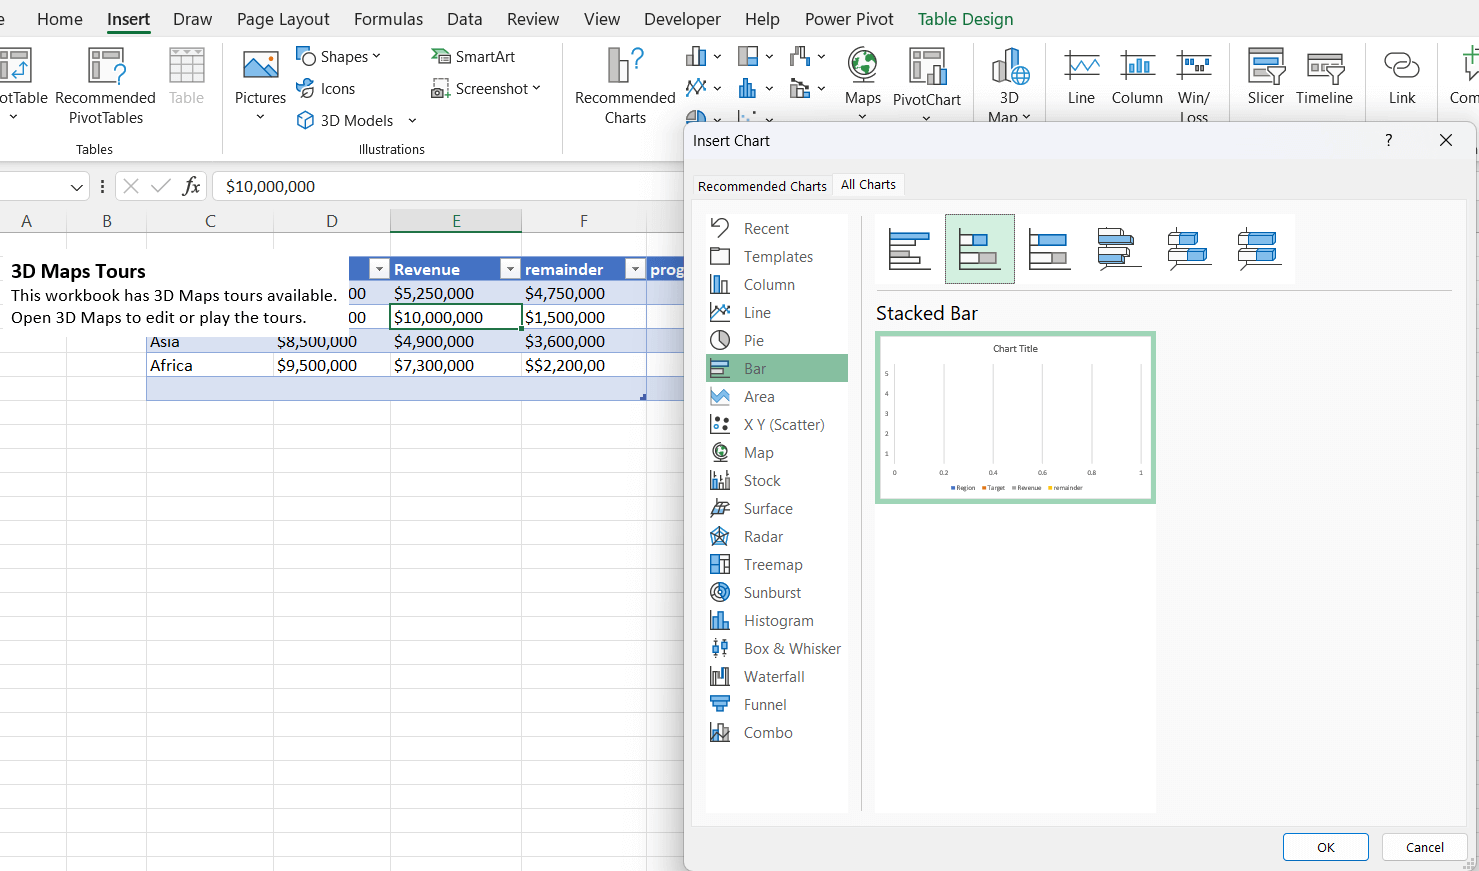
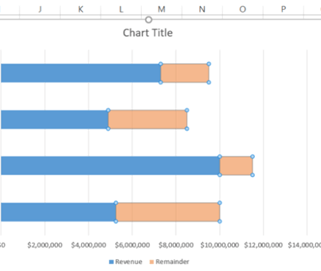
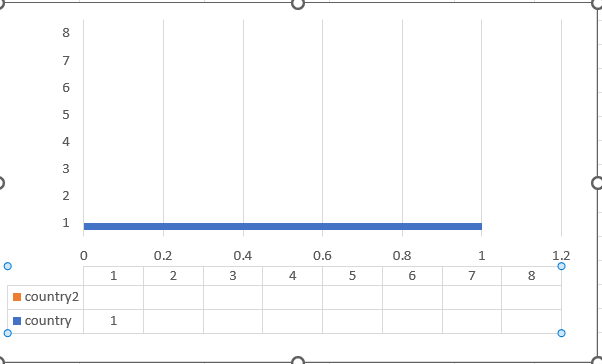
Having done all that, it's currently time to focus in and get down to work. The most effective method to Make an Advancement Bar DiagramHow about we tackle this graph type first. A headway bar outline is comprised of vertical advancement bars - consequently the name - and permits you to look at various classes immediately, saving a lot of dashboard space. For instance, take a speedy look at this progress graph contained four advancement bars showing the organization's presentation in every district. Step #1: Make a stacked bar outline.From the outset, plot a fundamental stacked bar outline.
Whenever you have chosen it, your diagram will show up. Notwithstanding, in the event that you really want to make a diagram containing a solitary advancement bar - to focus in on one locale, say, Europe - the cycle is marginally unique.
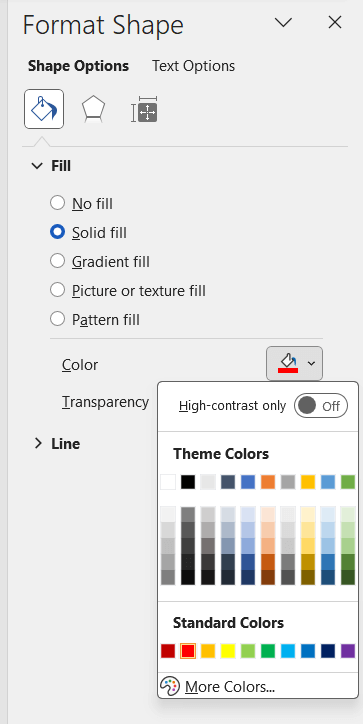
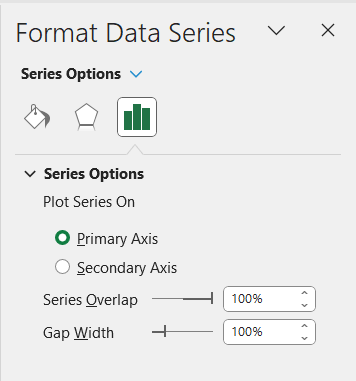
Step #2: Plan the advancement bars.Our subsequent stage is to change the stacked bars into the advancement bars. Most importantly, right-click on any of the orange bars addressing Series "Remaining portion" and select "Organization Information Series." 
In the assignment sheet that springs up, recolor the bars to delineate the headway left to be made:
In a similar tab, explore to the Boundary segment and add borders around the bars:
Presently, select any of the blue bars delineating Series "Income," change the shade of the information series to orange, and make the lines match those of Series "Leftover portion."
Progress bars outline Get Succeed Moment Succeed Help with our Free Visit Administration Step #3: Add information names.
Step #4: Addition custom information marks.
Open the Configuration Information Marks task sheet In the undertaking sheet that shows up, do the accompanying:
Additionally, change the text dimension and shade of the names to assist them with sticking out (Home > Text style). When the task is finished, your advancement outline ought to seem to be this:Change the custom information names Step #5: Change the flat pivot scale.To dispose of the unfilled space, tailor the level hub scale reaches to the genuine qualities. 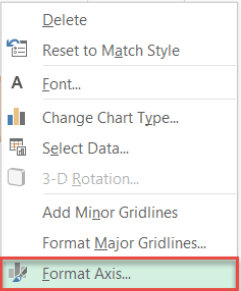
Step #6: Tidy up the outline.Prior to tapping out, tidy up the graph plot by eliminating a portion of its repetitive components. In the first place, eradicate the gridlines and diagram legend. Right-click on every one of the outline components and select "Delete." 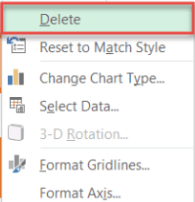
Eradicate the gridlines We really want to get rid of the upward pivot line too. Right-click on the upward pivot and open the Configuration Hub task sheet. Conceal the upward pivot line In the errand sheet, go to the Fill and Line tab and change "Line" to "No line." 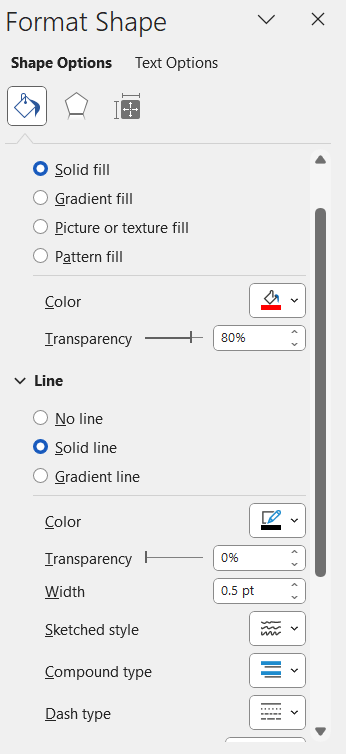
Change "Line" to "No line" Additionally, augment the pivot marks and make them intense (Home > Text style). Step #7: Add the pivot titles.As a last touch, embed the pivot titles into the graph.
Change the diagram and pivot titles to match your outline information. Presently your advancement bar outline is prepared! 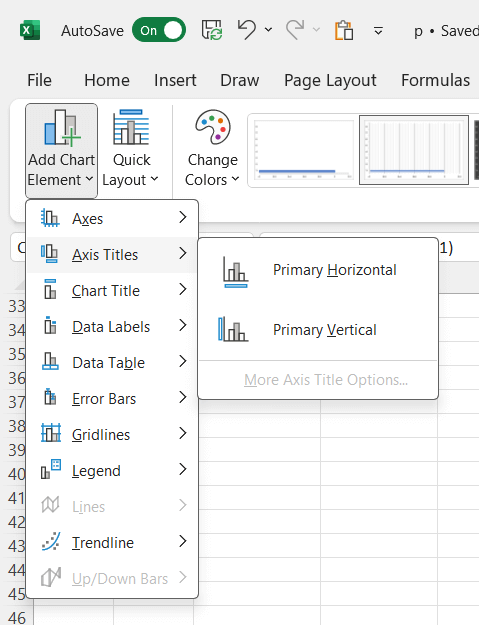
Step by step instructions to make an advancement bar graph Likewise, investigate the elective diagram containing a solitary advancement bar that was made following similar advances displayed previously. With this strategy, anything is possible! 
Conclusion:The Excel progress outline successfully pictures information patterns, supporting following venture achievements or execution measurements. Its instinctive plan works with clear translation and navigation. With adjustable elements and constant updates, it improves proficiency and encourages informed activity, making it an important device for project the board and examination.
Next TopicSTRIKETHROUGH TEXT SHORTCUTS
|
 For Videos Join Our Youtube Channel: Join Now
Feedback
- Send your Feedback to [email protected]
Help Others, Please Share


