| |

Desktop Notifier in PythonNotification support people in remembering things. It is a little piece of text that appears on the desktop or mobile screen to inform the user about the updates or any other significant chunks of information. This information enables the user to focus on vital events and ignore the less significant ones. The notifications are stored in the notification bar, which we can refer to after completing the work. In the following tutorial, we will learn to create a customized desktop notifier application for the computer in some easy steps with the help of the Python programming language. But before we get started, let us briefly understand a desktop notifier and its working. Understanding a Desktop NotifierA Desktop Notifier is a straightforward application that generates a notification message in the form of a pop-up message on the desktop. The main objective of the desktop notification application that we will learn to develop today is to constantly remind us of the different things that we require to accomplish throughout the day. This task is like a to-do list, where we have a set of goats to accomplish. And the desktop notifier will constantly notify us of the different to-do and actions to take throughout the day. Now, let us see the prerequisites of the 'Desktop Notifier' project. Prerequisites of the Python projectFor this Python project, we are required to install two necessary packages. The first package is 'requests', which will help us fetch data from the web, and the second package is 'plyer', which will allow us to create notifications on the computer. We can install these packages using the pip installer by typing the following commands in the command prompt or terminal. Syntax: Let us now understand the use of plyer by building a simple Desktop Notifier Python. Example based on the Plyer packageIn the following example, we will create a simple desktop notifier with the help of the plyer package. Example: Output: 
Explanation: In the above snippet of code, we have imported the notification object from the plyer package. We then defined two string variables that stores the value of the title and message for the desktop notifier. At last, we have used the notify() method. Within this method, we have specified the parameters like title consisting of the notification's title, message containing the message to be displayed, app_icon containing the icon to be displayed along with the message, timeout consisting of the time to display the message for (defaults to 10), toast consisting of the Boolean value depicting the simple message instead of full notification. As a result, we can see a pop-up on the desktop displaying the title and message for the users. Let us now build a desktop notifier to set a daily tracker for COVID statistics. Implementation of the Desktop Notifier in PythonIn order to build the Desktop Notifier in Python to set a daily tracker for COVID stats, we will follow the steps shown below: STEP 1: Installing the required packages STEP 2: Reading the Coronavirus data from the web STEP 3: Building a Desktop Notifier Application STEP 4: Making the program run in the background Since we have already covered the first step in the previous section, we will start by reading the data associated with COVID stats from the web. So, let's get into the project. Reading the COVID stats from the webWe can fetch the data associated with Coronavirus using the URL shown below, and one is free to replace the country name with their country name. We will be using the coronavirus data of India for this application. https://corona-rest-api.herokuapp.com/Api/india/ The website will look like the following: 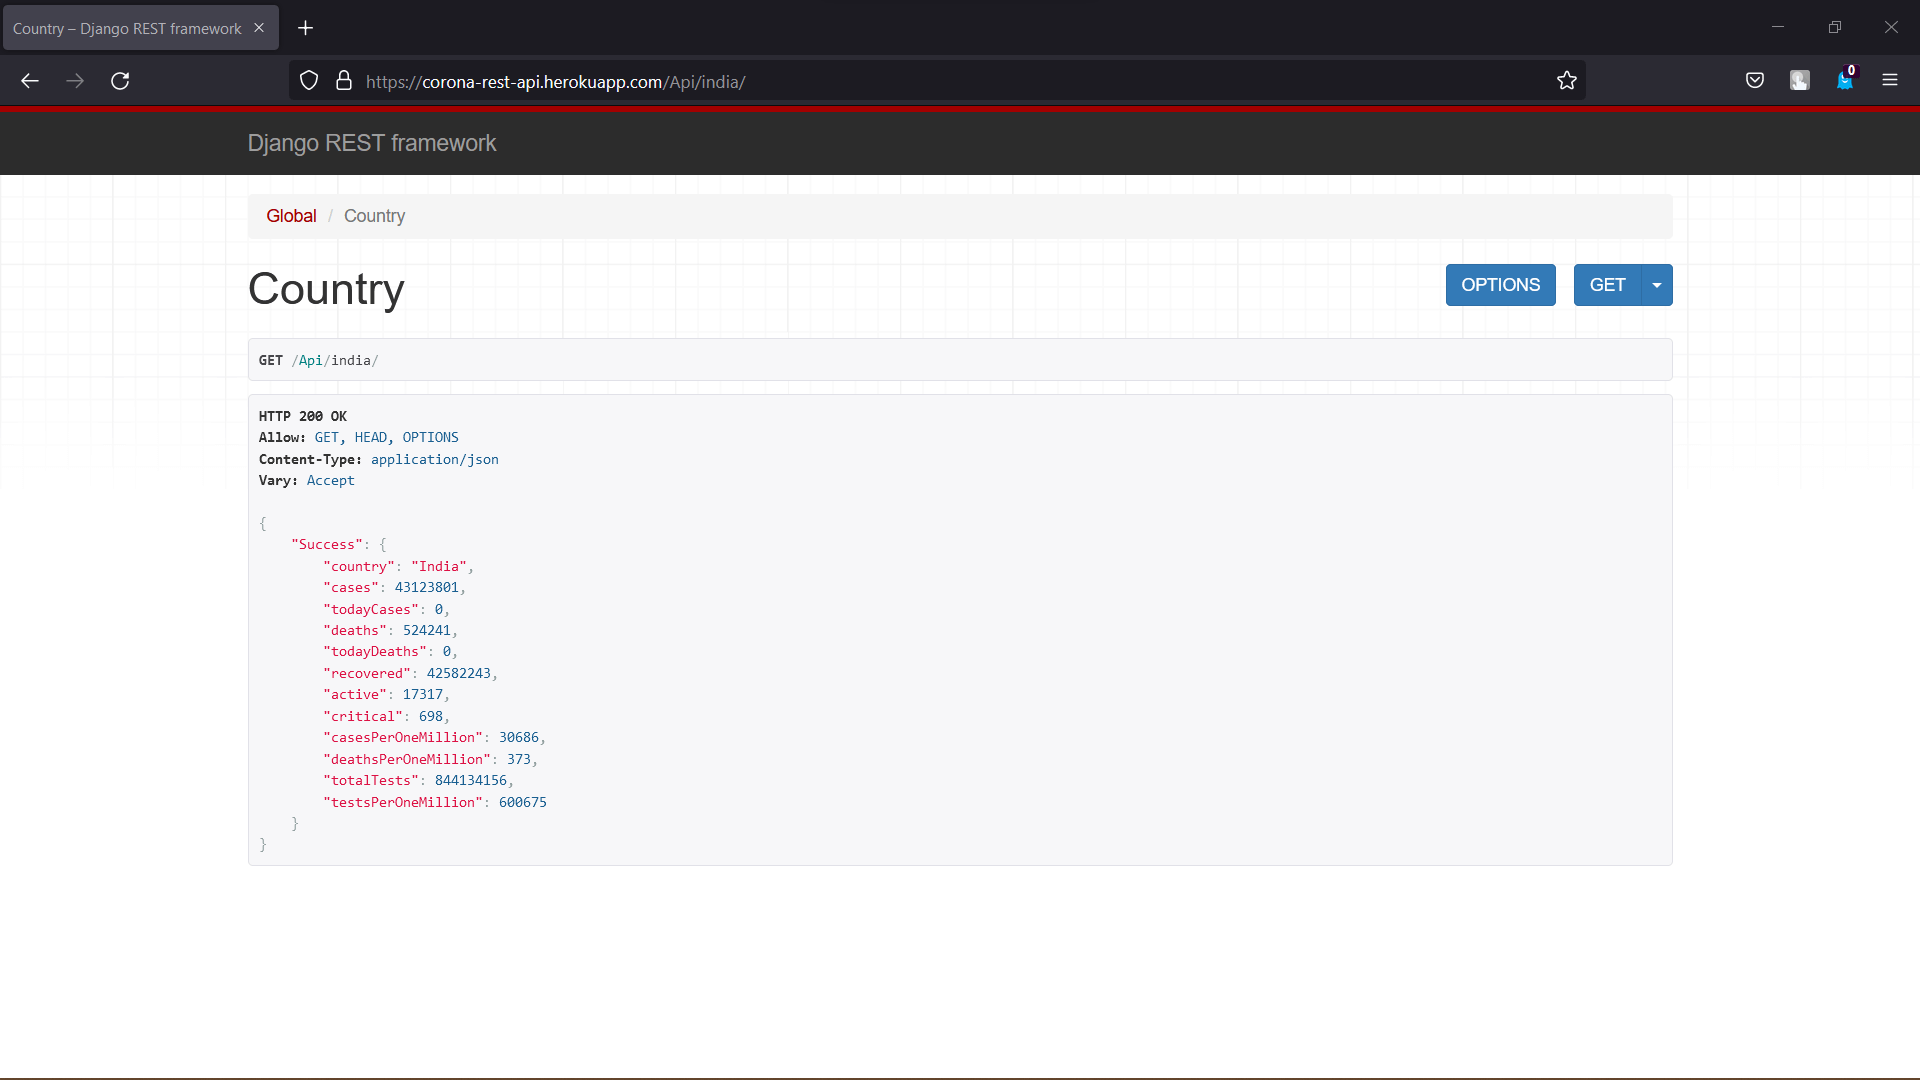
Building a Desktop Notifier applicationWe have got all the utilities required to build this application, so let us now write the code for this application. Note: It will be easier if we code this in an offline compiler than an online compiler, as in the later stages of this tutorial, we will be making this application execute as a background process on the computer; if we are running in an online compiler then we have to download the file which is not necessary for the offline compiler. Using any offline editor or IDE like Visual Studio Code (VS Code) is suggested.Importing the required libraries and modules We will start by importing the required libraries and modules like datetime, time, requests, and plyer. Let us consider the following snippet of code demonstrating the same: File: notifier.py Explanation: We have imported the datetime module to read the current date in the above snippet of code. We have also imported the time module to suspend the execution for a specific time. We have then imported the requests library in order to retrieve coronavirus data from the web. At last, we have imported the notification object from the plyer library that will help us get notifications on the computer. Fetching the data from the Web We will now retrieve the data from the web using the requests library. Let us consider the following snippet of code demonstrating the same: File: notifier.py Explanation: In the above snippet of code, we have initialized a variable as covidStats that will store the coronavirus data from the web. However, we have initially set this variable to None. We then used the try-except block. Within the try block, we have used the get() method of the requests library specifying the URL of the website mentioned previously and stored in data in the covidStats variable. We have printed a statement within the except block if the data is not fetched due to lack of internet. Creating the custom notification for the project. We will now create the custom notification for the project using the notify() method of the notification object imported from the plyer library. The snippet of code for the same is given below: File: notifier.py Explanation: In the above snippet of code, we have used the if conditional statement to check covidStats variable contains some data from the web. We have then converted this data into JSON format using the json() method and stored it in a new variable jsonData. We have then used the while() loop for True to repeat the loop multiple times. Within this loop, we have used the notify() method of the notification object to create a notifier for the desktop. We have specified a title of the notification within this method followed by a message, an icon, and a timeout. We have printed the current date in the title parameter and the data from the jsonData variable in the message parameter. We have set an icon for the notification, which we have downloaded in the .ico file format and specifying the path in the app_icon parameter. We have then set the timeout to 30 seconds so that the notification will stay for that period. At last, we have used the sleep() method of the time module in order to repeat the above process every 12 hours. The coding section is now complete, and the application is ready to run. One can also change the values in timeout and sleep() as per their preferences. Moreover, the icon can be found at: https://icon-icons.com/icon/Covid-Corona-Hygiene-Mask-Health-Protect-Doctor/140787. We can now save the file and run the following command in the command shell or terminal: Syntax: But before we see the output, here is the complete project code. The Complete Project CodeThe following program file is a complete code for the 'Desktop Notifier' project. File: notifier.py Output: 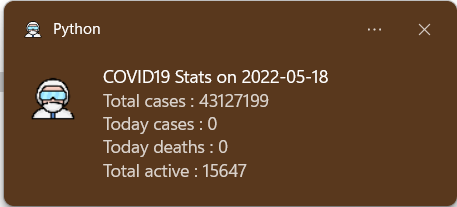
Making the application run in the backgroundSo, we have finally built the Python application, and it runs fine when we execute the program. However, isn't it a tedious job to execute the application every time in order to get a notification? Here is a solution that will allow us to make this process automated by running the application as a background process in the computer system. The method of making a Python application run in the backgroundThe following command will allow us to make the application run in the background. Note that one is required to type this command in the command prompt if they are utilizing Windows as their Operating System and terminal in the case of the Linux Operating System. Syntax: Note: One can replace the <file-name> with their filename.Now let us run the above desktop notifier application in the background using this command. Syntax: Hence, the application is now started running in the background. How to confirm that the application is running in the background?In order to confirm if the application is running in the background, one can open the task manager in their computer system, go to the background process and see if Python is running. The following image depicts the same: 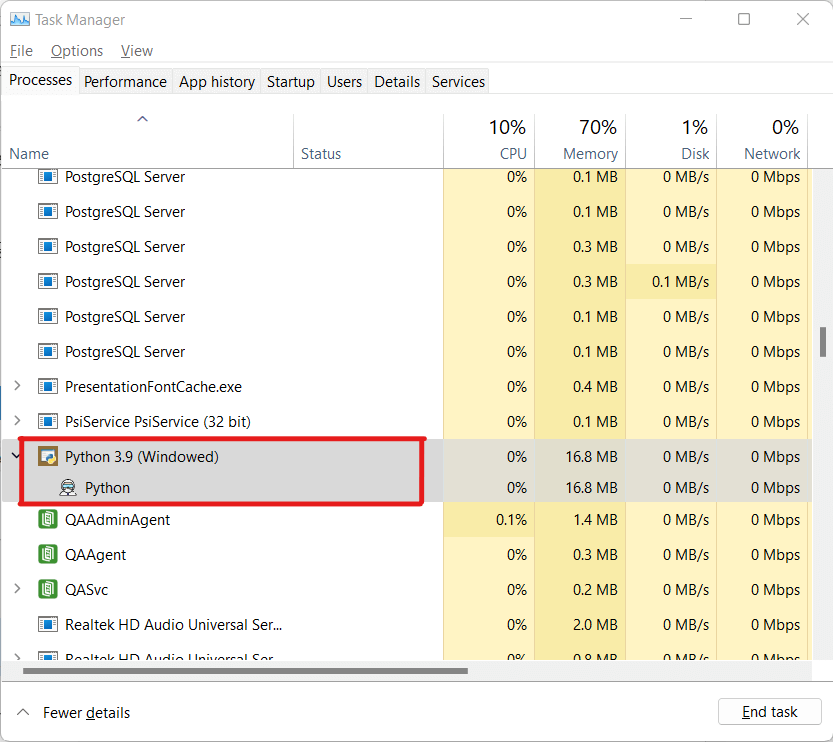
How to stop getting Notifications from the Desktop Notifier Application?In order to stop getting notifications, one can open the task manager and search for the background process named Python. Right-click the process and click on the 'End task' option to kill the process. Other areas where we can utilize this approachThere are different areas available where we can use this approach. Some of the examples can be:
One can use this desktop notifier application as per their requirements. The ConclusionWe have learned how to build a simple desktop notifier using the plyer library in the Python programming language from this tutorial. We have also learned how to retrieve the data from the web and use it in the desktop notifier. We have also understood the method of creating our own customized desktop notification application. This application works for any operating system like Windows, Linux, or Mac. At last, we have learned how to make the application run in the background.
Next TopicHow to handle Time zones in Python
|
 For Videos Join Our Youtube Channel: Join Now
Feedback
- Send your Feedback to [email protected]
Help Others, Please Share


