| |
Python Tutorial
Python OOPs
Python MySQL
Python MongoDB
Python SQLite
Python Questions
Plotly
Python Tkinter (GUI)
Python Web Blocker
Python MCQ
Related Tutorials
Python Programs

Python Tkinter-Top level WidgetTkinter is a Python module designed to develop the GUI of any project from an app to a website. GUI stands for Graphical User Interface. Tkinter is one of the most widely used modules to create GUI faster. The functionality of the module makes the work of the designer easier. Whenever we try to install any software on our pc, a dialog box appears on the screen asking for permissions for the software. The window stops the entire background work until it receives input, appearing on top of everything on the console. This is an example of a top-level widget. This tutorial explains how to create a top-level widget using the Python Tkinter module. A Top-level widget acts like a window and is managed by the window manager. It is generally used to get more than one dialog box for extra project information. Function used: Toplevel() Syntax: 1. root: root window(the first window on the screen on which all the other windows are opened)(optional parameter). 2. bg: Background color of the widget Example: Output: 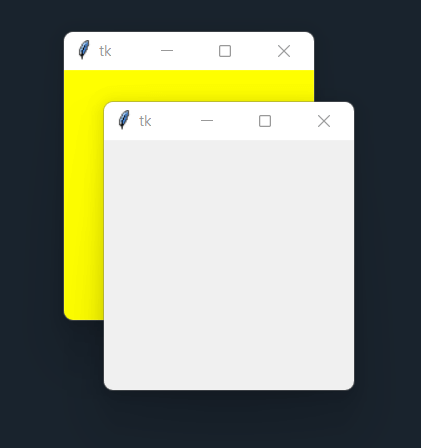
3. fg: foreground color of the widget 4. bd: width of the widget's border. The default value is taken as 0. 5. height, width: Dimensions of the widget Example: Output: 
6. font: The font type to be used for the text in the window 7. cursor: The type of cursor appears when we take our mouse pointer into the window. The names of different types of cursors are predefined. Example: Output: 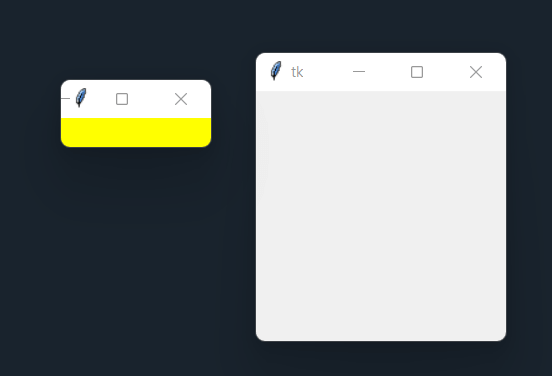
There are still more optional parameters specifying several other options for the window appearance. Methods in the module for top-level widget:1. mainloop(): It is used to run an event loop. We call this method when opening a window, which blocks every other code from execution until the window is closed. Using only this method, we can create a simple top-level window: Output: 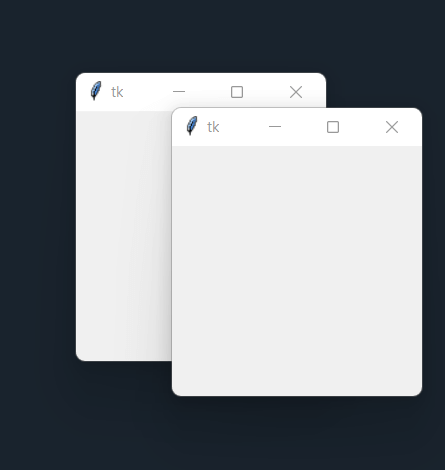
2. iconify(): It removes the window from the screen and minimizes it into the taskbar as an icon. Output: 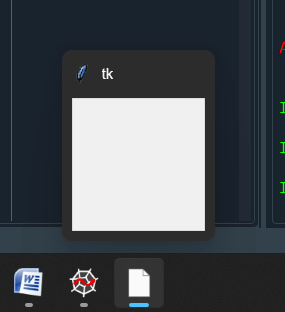
3. deiconify(): It converts the converted icon back to a window 4. windraw(): It removes the window from the console. It won't destroy the window but hides it. To undo the method, deiconify() or iconify() can be used. 5. title(): To give a title to the window 6. state(): Returns the state of the created window Eg: Iconic, Withdrawn, etc. 7. frame(): It creates a rectangular region for arrangement and padding all the widgets inside the window. 8. relief(): Sets certain simulated 3D effects on the window/ widget. These options are all predefined. Let us now create a root window and top-level window on top of it: Code: Output: 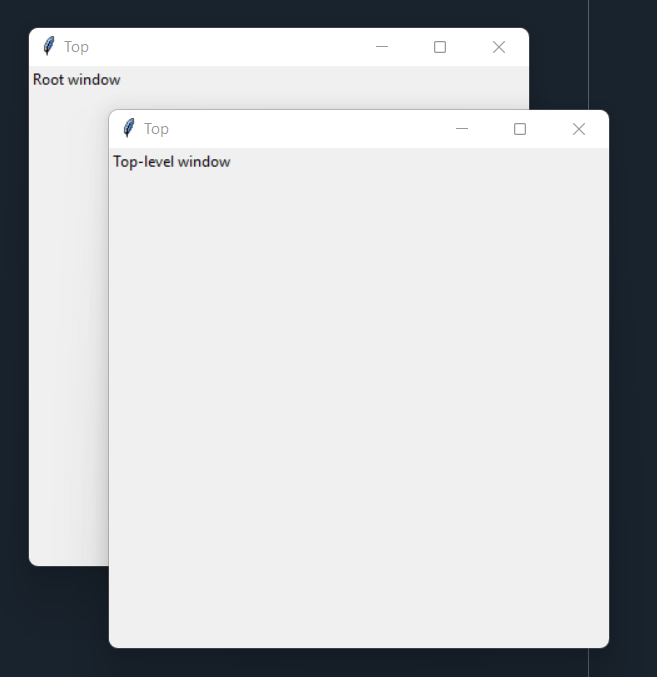
Tkinter also allows multiple top-level windows on one root window. Here is an example program that executed one root window with two top-level windows when the user clicks on buttons: Output: 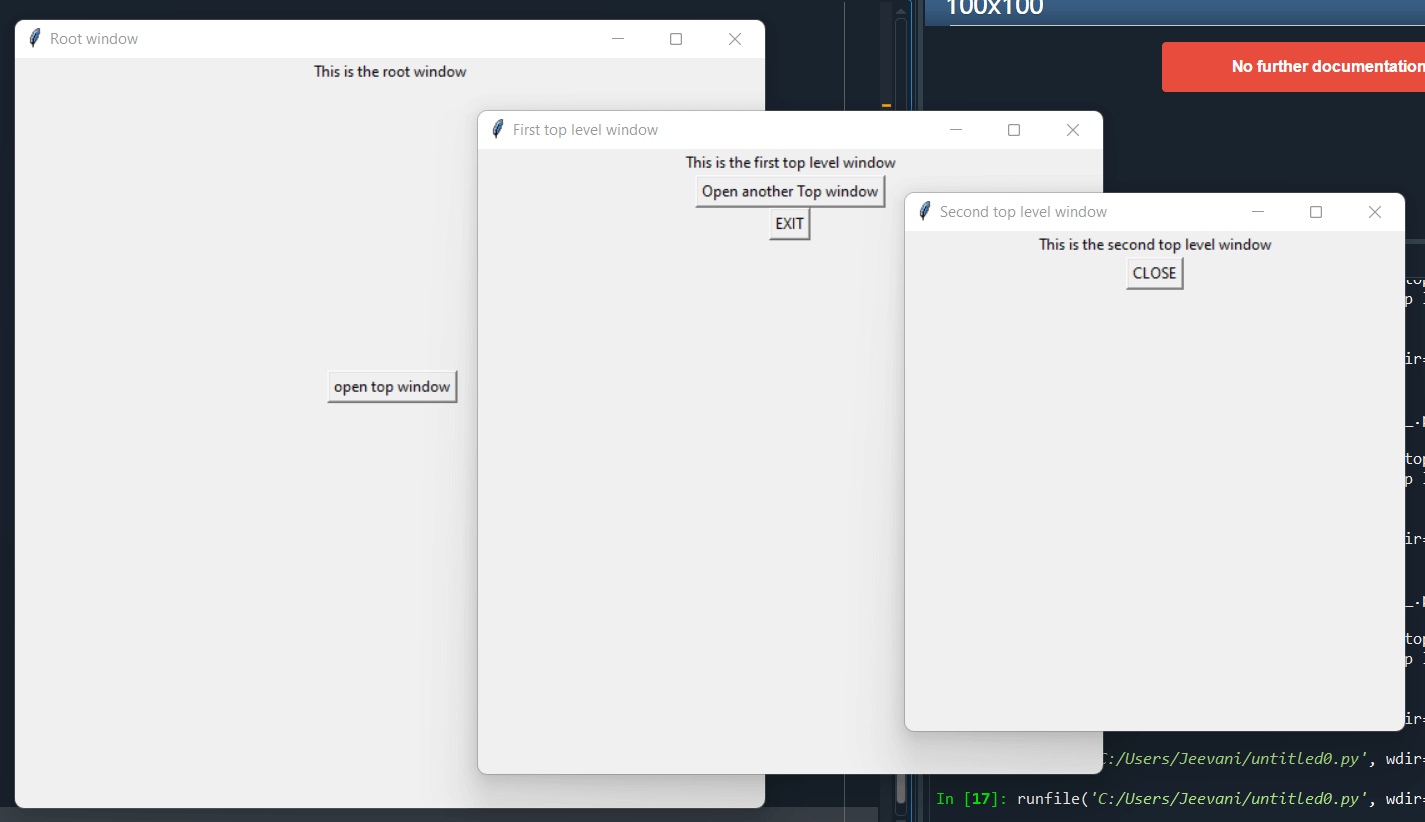
With the knowledge gained till now, let us create a simple project called "Secret message". We'll now implement a program that opens a top-level window with a secret labeled message on a button click: Output: 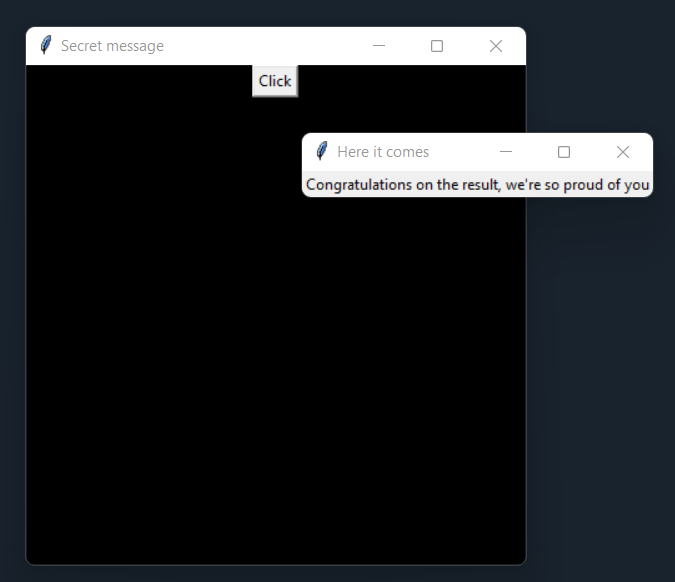
It is simple. Isn't it? Tkinter is a GUI application with many features, and a Top level widget is one of the primary ones. |
 For Videos Join Our Youtube Channel: Join Now
Feedback
- Send your Feedback to [email protected]
Help Others, Please Share


