| |

Python Dash moduleWe all have surely heard many times that Python is a dynamically typed programming language, but not all of us maybe know that we can also use Python for web development purposes. Yes, it is right, we can use Python for web development, and there are many modules present in Python which help us in this task. In this tutorial, we are going to discuss one such Python module, i.e., the Dash module, which help us to perform web development tasks using Python. We will first look at the introduction of the Dash module, and then we will build a basic dashboard and web application using the Python dash module. Introduction to Python Dash ModuleDash is a Python module or framework used to create many analytical web applications, and we can build analytical dashboards using a dash framework. With the help of the Dash module, we can easily create very fast and responsive web dashboards, which are also very good to look at (Having a Great User Interface). When we are using the Dash module, we can build these interactive web dashboards without having any prior knowledge of some mandatory complex front-end web frameworks such as JavaScript, HTML, CSS etc. Now, we have learned what the Dash module is and completed its introduction part; it is time that we should build our first dashboard using the Dash module. But, before building a web application or dashboard using the Dash framework, we have to install the dash module in our system (as it is not a built-in module in Python). Once the installation process of this module is done, we will proceed to the application part of the Dash module. Installation of Dash Module:In this section, we will learn how we can install the Dash module in our system so that we can import it into a Python program and its functions to use it as a web framework. We have to follow the following steps to install the Dash module in the system: Step 1: Open the command prompt terminal of the device and locate the directory (using mkdir command) where Python is installed in the system. Step 2: Now write the following command in the terminal to install the Dash module with pip installer: 
Step 3: When we press the enter key, the pip installer will start installing the Dash module in the system at our defined path. 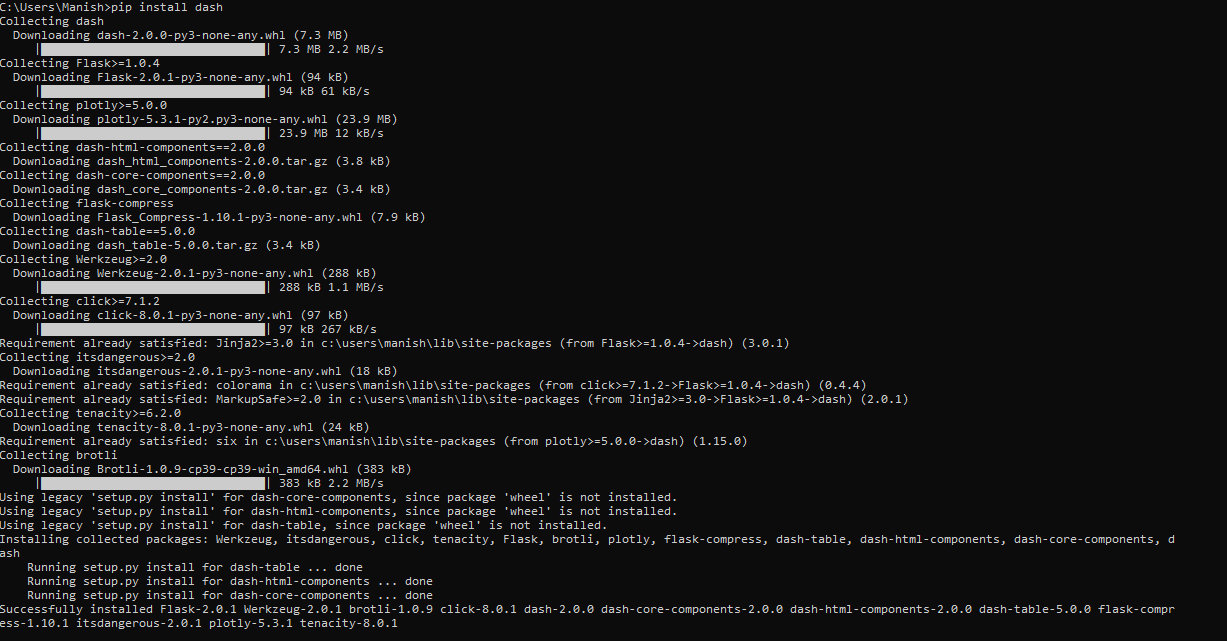
As we can see, the Dash module is successfully installed in our system, and now we can start working with it by importing it into a program. Application of Dash ModuleWe will now learn the applications of the Dash module by building a basic dashboard, and after that, we will also build a web application using callbacks so that we can use analytical features in it. With the help of these two basic implementations, we will learn that how we can use the dash framework to build web applications that are very fast and have very good UI. We will create the following two simple web applications using the Dash module in this part:
Creating a Basic Dashboard:In this section, we will create a simple web dashboard using the Dash module libraries and their functions inside a Python module. The Dashboard we will create in this section will be a simple and static but responsive web dashboard. In the dashboard, we will build a static and responsive graph on the web page using the dash module. We will build a simple dashboard using the Dash module by following all these given below steps: Step 1: Import all the required libraries: First, we will have to import all the required libraries inside our Python program so that we can use all the required functions for building a dashboard. We have first to import the following dash library components in the program:
We can import all these above-mentioned required libraries in a Python program using the following code: The dash core components provide us with the following core components of dash:
and the dash HTML component has the following HTML function components:
Step 2: Design the Layout: In this step, we will design a layout for the web application we are building using Dash's HTML components, core components, and library functions. After creating the layout, we will make a graph, and the graph we create will have various parameters. Following are such parameters that we will use while creating a graph with Dash HTML components:
Now, look at the following part of the code where we have created a layout and a graph for the web application: In the above program, we have html components like dhc.h1 or dhc.div is actually like the components in HTML where dhc.h1 is like heading in HTML and dhc.div is like div class in HTML. We can also interpret the following points from the above-given part of the program:
Step 3: Create a Server: The dashboard is completely ready after we created a layout for the application, but we need a server where we can run it. Therefore, now we will set up a server using the following part of the code in the program and run the dashboard on the server will be created: When we run the program, it will show the default port link in the output, and we have to open our default browser and run the link inside it to see the web application we have built. Output: 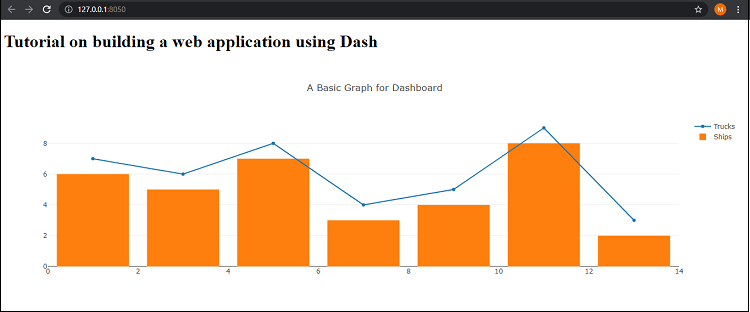
We can see that we have created a web application, a basic static web application. In this web application, the user cannot take control of the application, and we can't even take inputs from the user. That's why we are going to build a web application where we use the callbacks (that are provided in Dash) to take input from the user and give results according to it. Creating Web Application with Dash Callbacks:In this section, we will create a web application using the Dash functions and components of Dash like we used while creating a basic dashboard. But we will also use callbacks from the dash to create an application so that we can take user input in the dashboard we build. Here, we will not build the web application step-by-step as we did earlier. We will first look at the following program where we have created a web application with callbacks, and then we will understand the implementation of function and callbacks in the program: When we run the above program, the server will redirect us to the localhost with default port 8050, and we have to open it in the default browser of our system so that we can see the web application. Output: 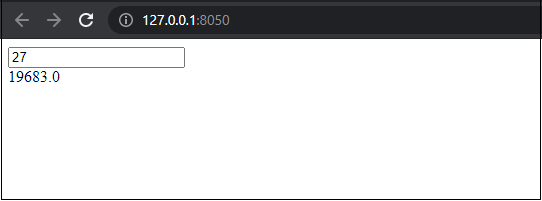
When we ran the server and opened the web application dashboard in the web browser with the default port, the application asked for an input value. When we give an input value inside the box, the application will calculate the cube of the given number and give the result of the operation as the output value (we can see this in the output image). Explanation: In the above example, we used a similar logic as we used in the first example, but we have used many different functions and logic too. First of all, we have imported an additional library in this function, i.e., dash dependencies, to use the input and output function in the web application. While creating the layout, here, we have created a dialogue box where we defined the input and output division class. After that, we have used dash callback so that we can take input from the user and perform an operation on it to produce the output where the output will be the result of the operation. We used exception handling so that if the input value is not a number, we can raise an error. In last, we created a server and ran the application on it. ConclusionWe have two web applications in this tutorial in which one is with a static graph, and the other uses callbacks from the dash. Maybe these web applications are not useful for us, but with the help of these web application's implementation, we can now understand the functions of the Dash library and how to use the Dash module for building a web application.
Next TopicPython Emoji Module
|
 For Videos Join Our Youtube Channel: Join Now
Feedback
- Send your Feedback to [email protected]
Help Others, Please Share


