| |
Python Tutorial
Python OOPs
Python MySQL
Python MongoDB
Python SQLite
Python Questions
Plotly
Python Tkinter (GUI)
Python Web Blocker
Python MCQ
Related Tutorials
Python Programs

Python Discord BotYou must have heard about discord if you are familiar with online communities and if you are a member of one or the owner of one. In discord, you might have seen bots managing those groups. Therefore, we'll set up our Discord developer portal account and create a Discord bot in this tutorial. A simple bot with only the most essential features, yet you can always add more features if you need them. Describe Discord.Millions of people use the free chat programme Discord, which offers a variety of chat functions including audio, video, and text chat, for both personal and business purposes. In Discord, communities are known as servers, and other users can join these servers to hang out and talk to new people about their interests. Discord also can create private servers that only invited users can access, allowing users to privately communicate with their loved ones. Discord servers are populated by channels that the owner has built; these channels might be text, audio, or video channels. On the server, discussions about subjects take place on these channels. Discord bots: What are they?Using these statistics, it is apparent that more than 10 million people use Discord every day and that interest in communities and Discord is rising. New servers are being investigated and joined by users. People tend to join servers as they become more popular, and as the number of players increases, it becomes more difficult for admins to control the server. This is where bots come into play. Admin bots can carry out a variety of tasks to improve the user experience on the server. Some of these jobs include
The list keeps on. Following this tutorial, you may also construct your own Discord bot, which is something that administrators of large Discord groups always desire. Let's get started. Making a Discord ServerThe first thing we need is a dedicated server where we can install our bot. On this server, this bot will only operate on one channel. If you don't already have one, you may easily establish one by going to https://discord.com/. To build a server, you must have a discord account. 1. First, enter the create server interface by clicking the add server (+) icon on the left sidebar. Choose your server's template. 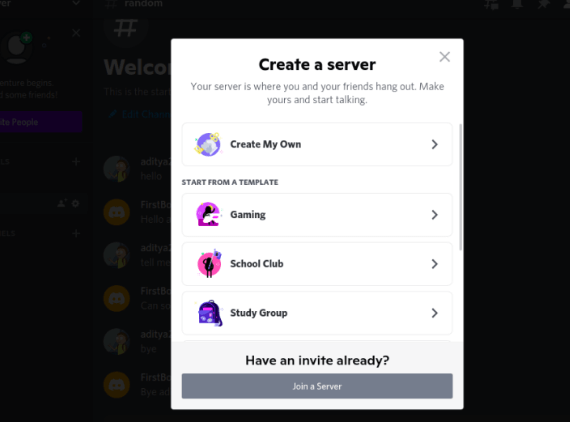
2. Decide if you're using this server for community or for enjoyment. 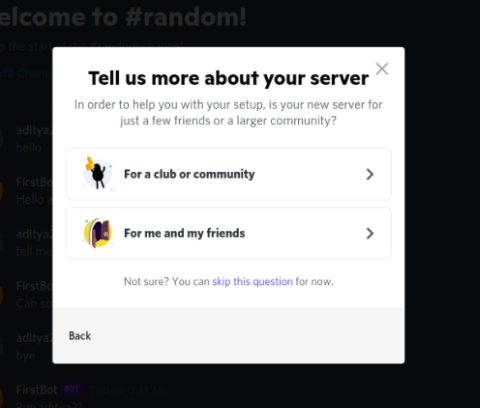
3. If you're utilising your server for a community, just use the name of the group or organisation. Otherwise, use a clever and memorable name. 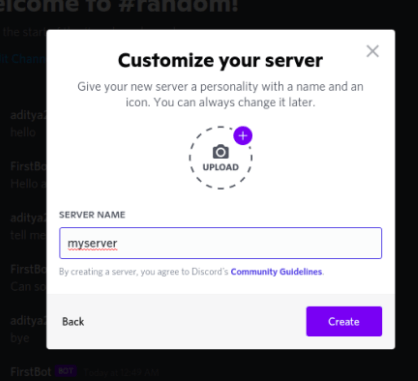
4. Now your server has been created. 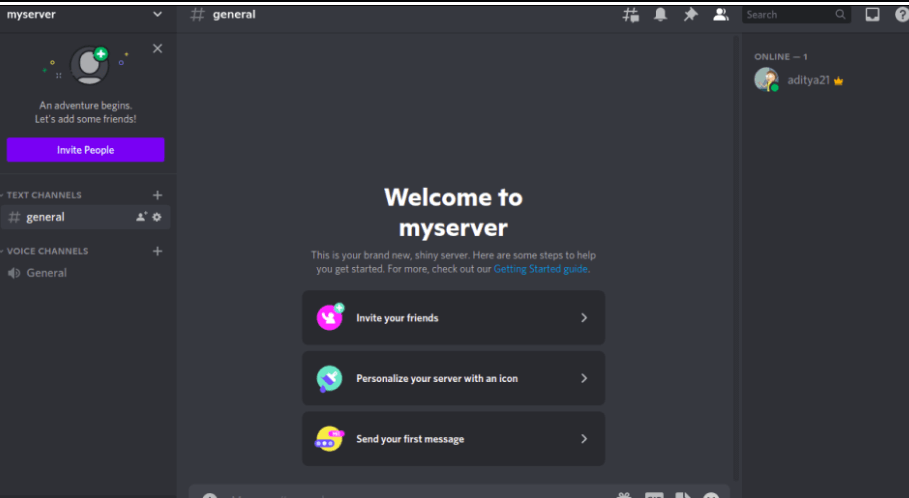
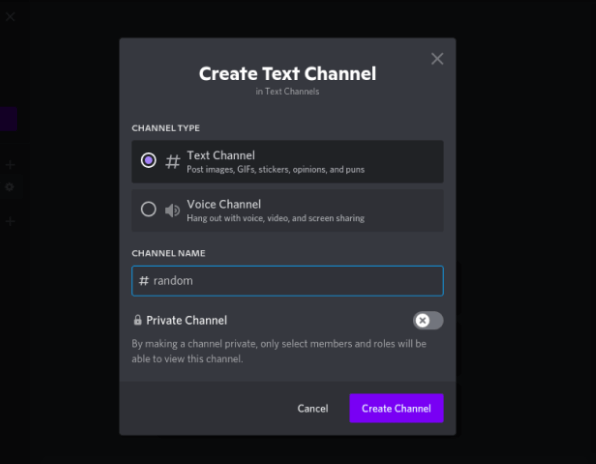
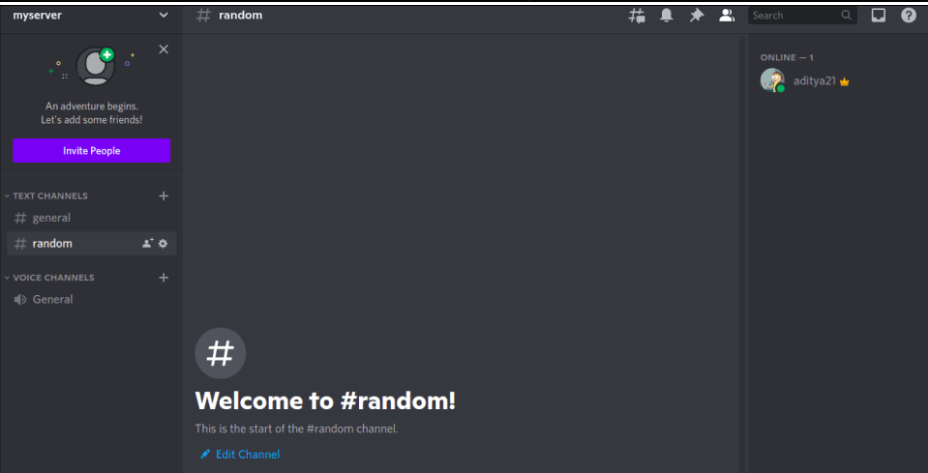
Making a Server ChannelWe must now establish a channel where this bot will operate because it will only respond there.
Developing A BotWe can now construct our first bot on the Discord developer page as our server account is prepared. The Discord Developer Portal is a platform made available by Discord for users who want to expand its features and utilise it to build more exciting things, such as making bots. Step 1: Join the portal: Visit https://discord.com/developers/applications and sign in using the discord account that was used to create the server you wish to create a bot for. 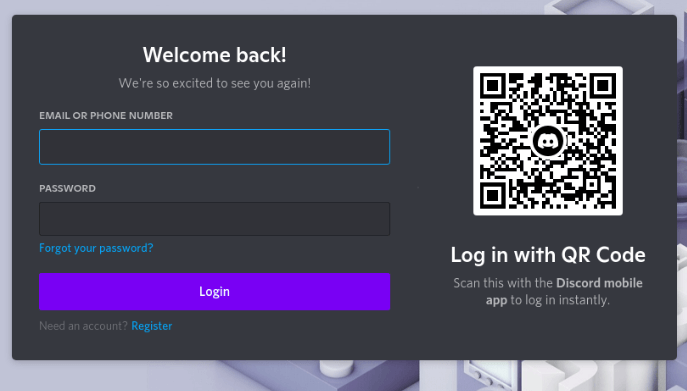
Step2: Application refers to new capabilities in this step. For instance, Bot. When starting your first bot, click on new Application and give it a name. Keep in mind that your bot will have the same name as the application. 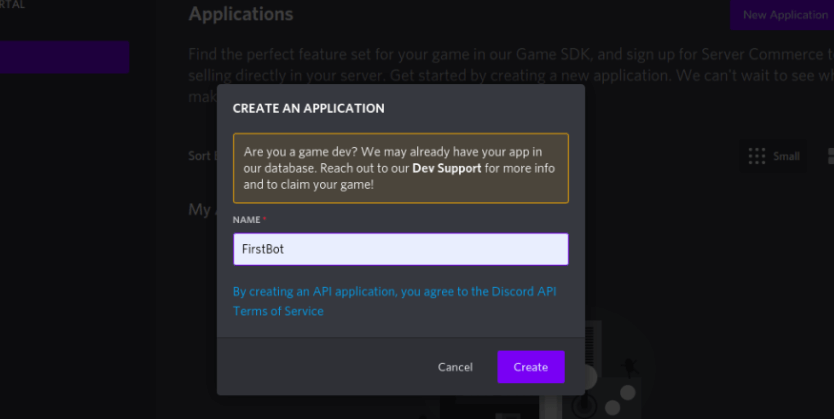
Step3: To create a bot, select Bot from the left sidebar and then click Add Bot. 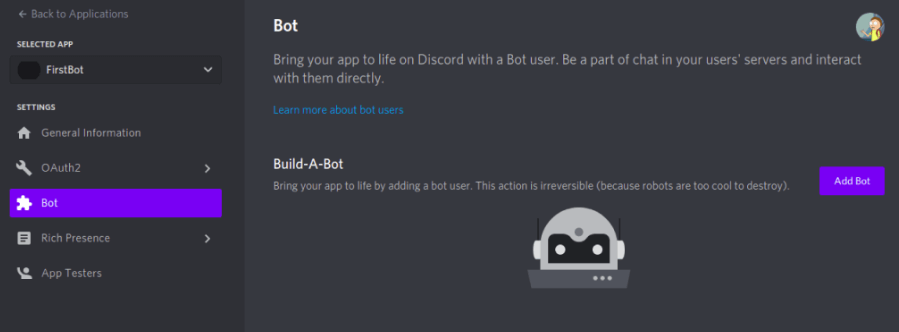
Step4: When prompted to confirm you want to add a bot, click the Yes, Add Bot button in the next pop-up window. 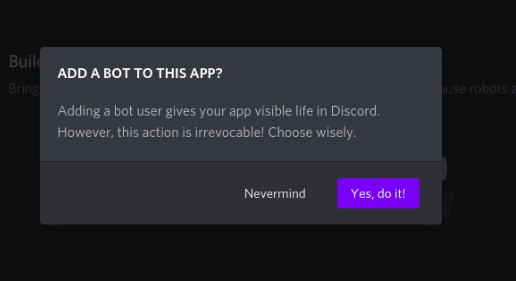
When prompted to confirm you want to add a bot, click the Yes, Add Bot button in the next pop-up window. Never share your token with anyone, please! 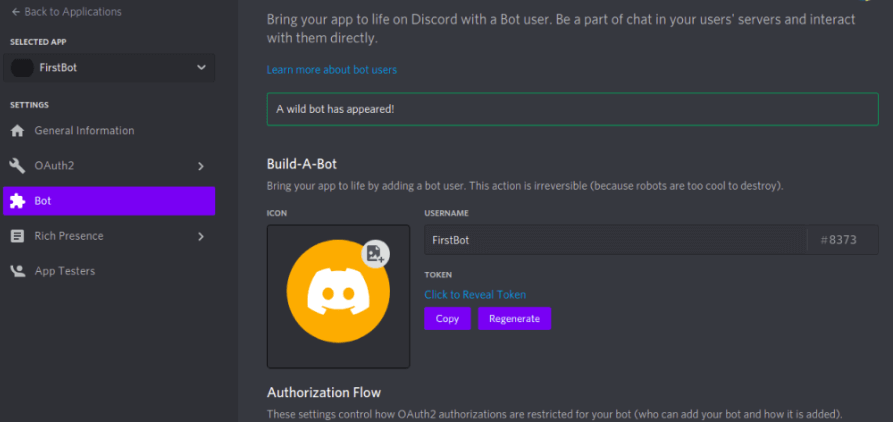
Creating and Authenticating a BotNow that our bot has been established, it's time to specify its scopes and provide user's access. Permission describes what our bot is permitted to do on the server, such as send messages. Scope describes the function that the bot will play. Step 1: When you click on OAuth2 and then on URL Generator, several checkboxes pertaining to various scopes will appear. We're going to use the bot only scope for this bot, so choose the Bot checkbox. 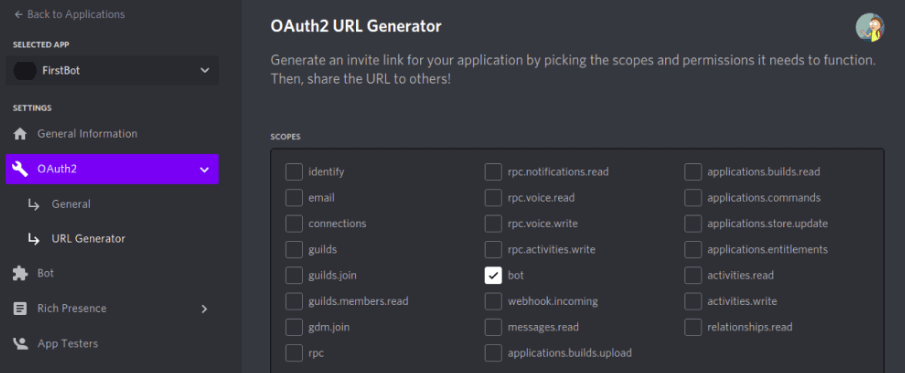
Step 2: The following checkboxes are for our box's approval. Please tick all the boxes linked to that because we will be granting this bot authorization to send and react to messages. You can always create a new URL and modify these permissions later. Make sure to select applications. Commands in Step 1 if you want to programme slash commands. 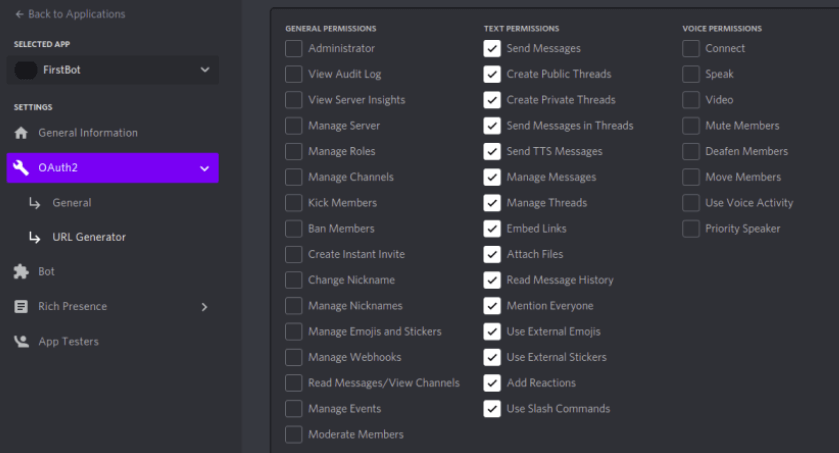
Step3: Scroll down and click the copy link to copy the URL that was produced for the bot. 
Step 4: In this step, we'll authorise our bot with the server by pasting the copied URL into a new tab. Click on proceed after selecting the server we previously created. 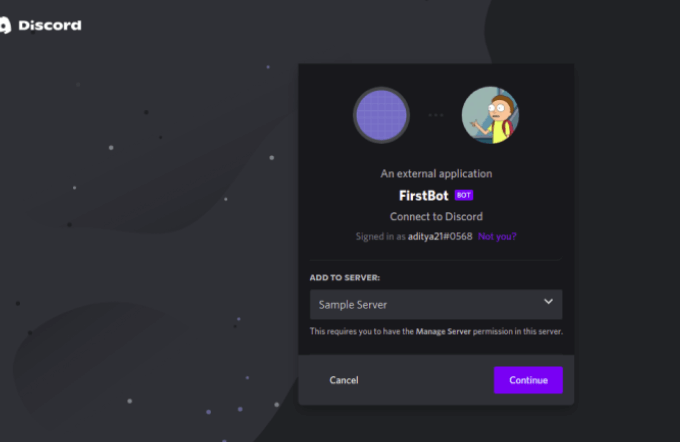
Step 5: You can view the bot's permissions here. Click Authorize to edit these if you'd like. 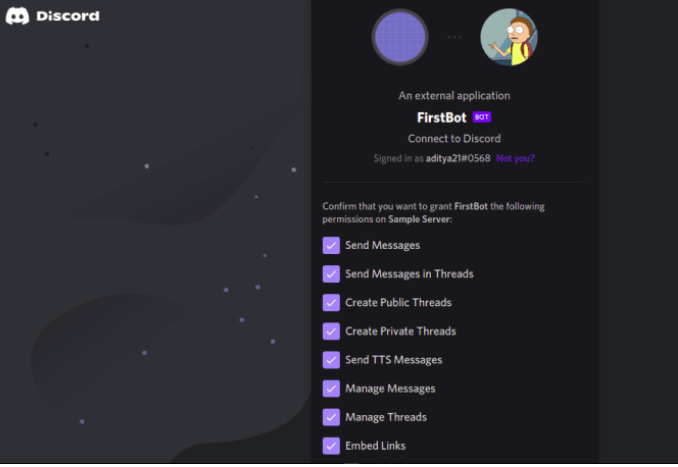
Step 6: Complete a captcha to prove that you are a human, and the bot should now be approved. 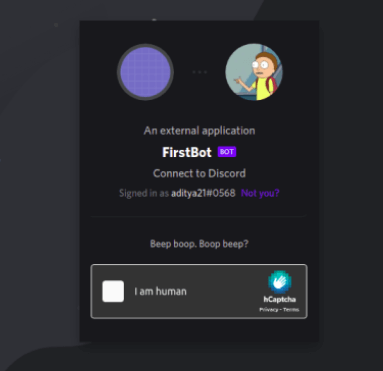
Step 7: Visit the server where you may see the name of the bot in the list of persons who are not online. 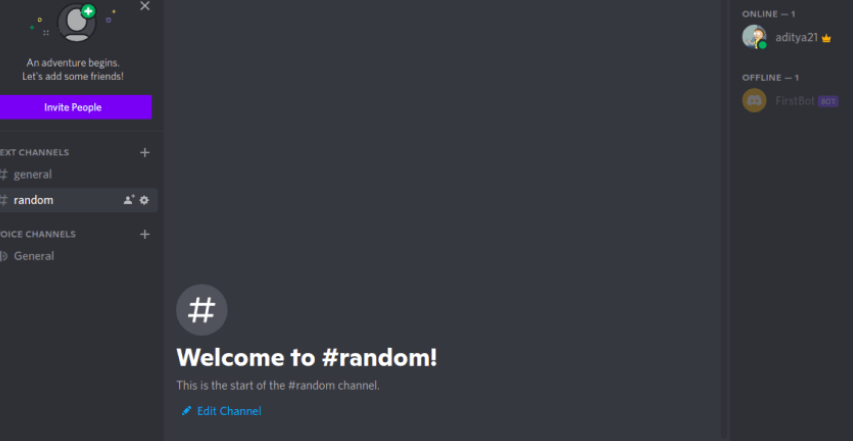
Writing a Bot's CodeWe will write the Python code for our Discord bot in this step. Step 1: To save the renewal key for our bot that we copied previously; we will create an.env file. This file will safeguard our credentials when we host our code anywhere. Create a file with the extension.env in your project folder before adding the following code. TOKEN='<YOUR_KEY>' Step 2: Importing modules is step two. For the core bot code, create a new Python file, name it anything you like, and import any required modules.
Step 3: Setting Up Variables Importing environment variables using the load dotenv() function. A discord client is created, a request is sent to the discord API, and lastly, our environment variable token is obtained and initialised. Step 4: Launching our Bot When our API client has been initialised, we are leveraging the on ready() event supplied by the Discord API, which will cause the given operation to be performed. The name of our bot is being printed right now. Step 5: Setting up bot answers in step five
Step 6: Jogging Robot The API client that we developed above includes a function called to run that accepts the input auth token and launches the bot by invoking on ready event. Output: 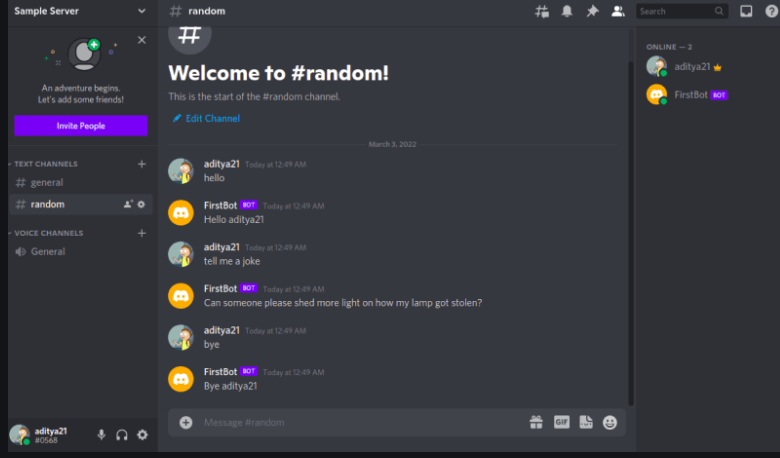
Next TopicPython Documentation Best Practices
|

 For Videos Join Our Youtube Channel: Join Now
Feedback
- Send your Feedback to [email protected]
Help Others, Please Share


