| |
Python Tutorial
Python OOPs
Python MySQL
Python MongoDB
Python SQLite
Python Questions
Plotly
Python Tkinter (GUI)
Python Web Blocker
Python MCQ
Related Tutorials
Python Programs

How to Create Requirements.txt File in PythonIf you are a developer, you may know that while working on any Python project or data science project, it is essential to always work in an environment that makes your project reusable and repeatable without creating an issue for anyone that picks up your project. So before discussing how to create a requirement .txt file in Python, let us know what requirement.txt is and why we need it. What is requirement.txt file in Python?In Python requirement.txt file is a type of file that usually stores information about all the libraries, modules, and packages in itself that are used while developing a particular project. It also stores all files and packages on which that project is dependent or requires to run. Typically this file "requirement.txt" is stored (or resides) in the root directory of your projects. Here another essential question arises why we need this type of file in our projects. Why we need requirement.txt?It helps us in several ways, even when we revisit our project in the future, as it solves almost all compatibility issues. If you ever work on any Python project or developed any project, you surely know that we usually require several numbers of packages. However, while developing a project, we generally used a particular version of packages. Later on, the package manager or maintainer may make some changes, and these modifications can easily break your entire application. Therefore it is too much work to keep track of every modification in the packages. Specifically, where the project is way too big, it is essential to keep track of each package we are using to avoid unexpected surprises. One of the standard ways to solve these types of issues is to use a virtual environment. The reason is that there are two main types of packages and locations where the Python libraries usually stored, and we usually do not need all types of these packages while working on a particular project; hence it is required to know which one is required per project to make it easier for the reproducibility. It usually involves the following files:
What is a virtual environment?A Virtual Environment is a type of isolated or artificial workspace which keeps the user's packages separate from the local (or main) system installation. It allows us to create a "virtual" isolated environment for each Python project. This makes it easier for each project to be independent of the other project, especially where they share the same dependencies. There are various packages avialble that can be used to create a virtual environment. Some of the basic packages are as follows:
So, once the virtual environment is created for our project, let us see how to install the packages and libraries. It is very easy to get all the required packages we need to use in our project with the virtual environment. Lets us first see how to use the "virtualenv." A. virtualenv It is a type of library that allows us to create a virtual environment and use it. To install the virtualenv, you can follow the given instructions: 1. Open the Cmd, type the following command and press the enter button as shown in the below-given image: Command Output 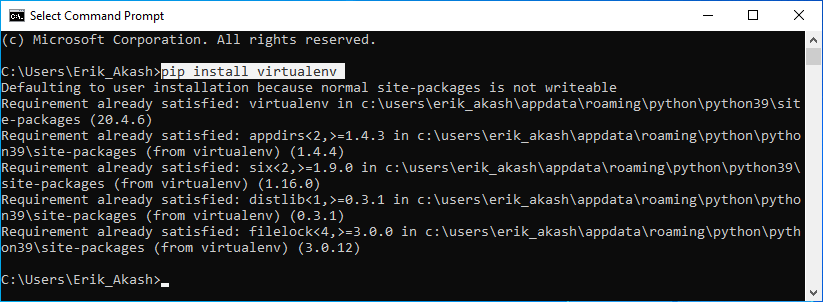
2. Creating the new working directory for the project Now create a new virtual environment inside that project's directory to avoid unnecessary issues. Command Output 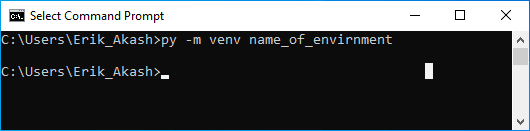
3. Now to use this newly created virtual environment, we just need to activate it. To activate this isolated environment, type the following given command and press enter button as shown below: Command Output 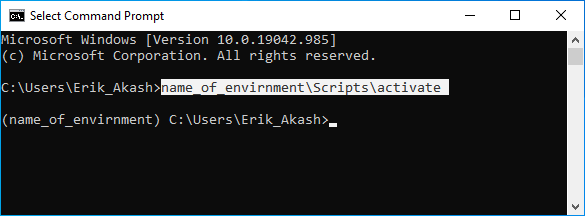
To verify that our new virtual environment is created, you can see in the prompt that the prefix is changed with the name of your new virtual environment, as in our case, we have named our virtual environment as "name_of_envirnmnet." You can also verify it by opening the project's directory or the folder where a new directory with the specified name will be created. 4. Now let us see how to create the requirement.txt file In order to create the requirement.txt file, it will be good to know what it contains. A requirement.txt files include all types of the standard packages and libraries that are used in that particular project. Therefore this requirement.txt file plays an essential role while developing any small or bigger projects. It also helps us make our projects more portable. With the help of the "requirement.txt" file, several major problems can be easily avoided. To understand it in more details, you can consider the following given example: Example: Suppose you have created a new project, such as an application that is compatible with the specific version of the library and packages. Thus for some reason, you forward this application to your friend. Since you have not used the requirement.txt file, it may be possible that your application will not run properly or even not get started on your friend's system. The main reason behind this is that all users do not use the same version of libraries and packages. However, if you used the requirement.txt file, anyone can run and use your project or application because all the required or used packages and libraries are also specified in the form of a file (requirement.txt) with your project. In this requirement .txt file, the user can easily select, store and maintain the required files as per their requirements. How to Get the Requirements.txt File: Using VirtualenvHere, we are able to get the requirements.txt file. To create the requirement.txt file, we can use the following command: Command Output 
How to Get the Requirements.txt File: Using PipenvPipenv is also an excellent virtual environment creation library tool that has some cool features. You can use the following given instruction to get the requirement.txt file. 1. Type the following command to install the pipenv Command Output 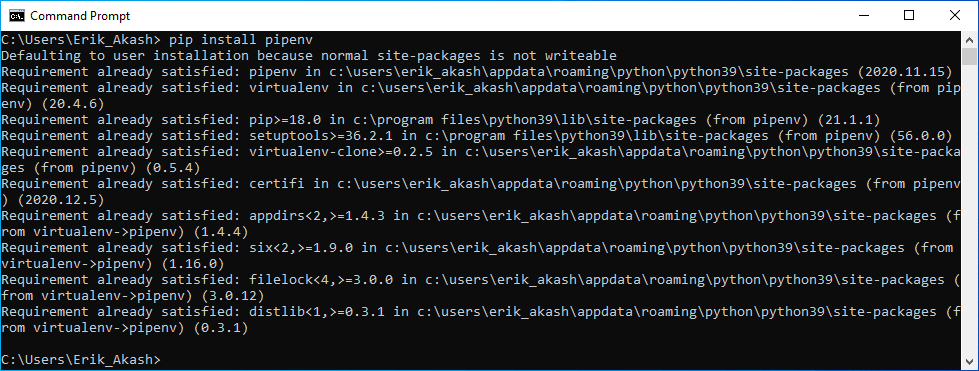
2. Now type the following command and press enter button. Command The above command is used to install the packages that are required for the projects. Output 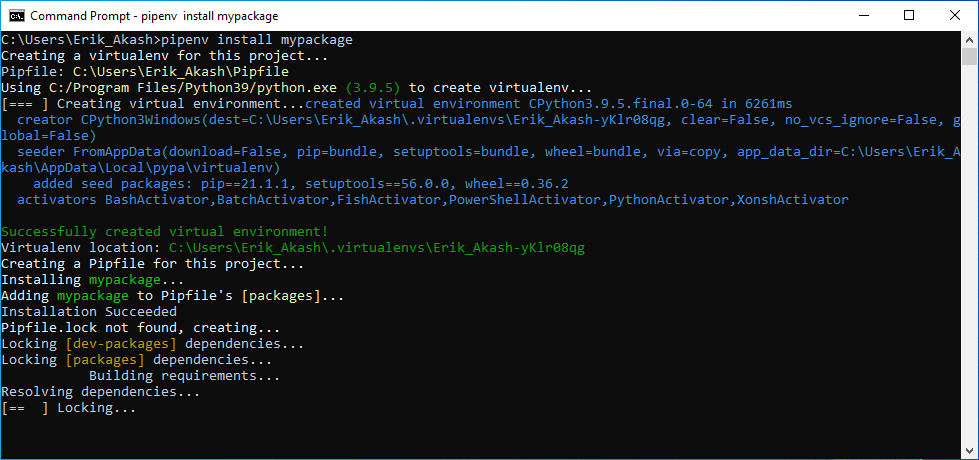
Command Or These commands can be used to activate the newly created virtual environment, as shown below: Output 
Now type the following command to run the script in the virtual environment. Command Explanation This command is used to run the specified script in the virtual environment as shown below: Output 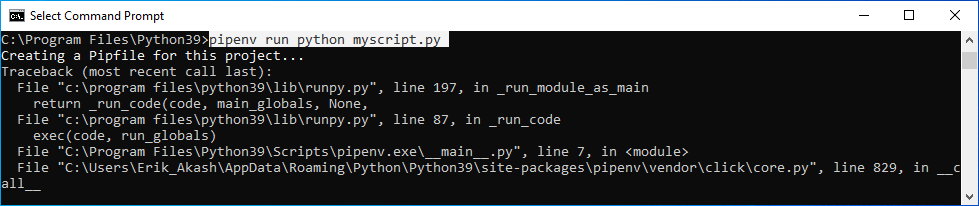
As it is a easier, and it also automatically keeps track of all the libraries used for the project in a pipfile and a pipfile. lock file. These files play the same role just as a requirements.txt and also stores additional information on several things that are not included in the requirement.txt. Thus, you can use this pipfile as the alternate to the requirements.txt file. However, if you still want to use the requirements.txt file, you can use the following command: Output 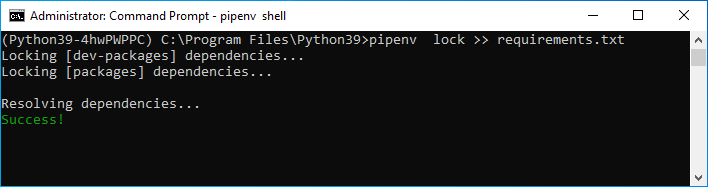
How to Get the Requirements.txt File: Without Virtualenv using PipreqsPipreqs is one of the most efficient and a straightforward tool to use, which doesn't requires you to create any virtual environment. Therefore it is quite useful if a user only requires the packages and libraries used in an application or the project. One of the most important things is that it automatically scans the scripts or Python files for their imported libraries and generates a requirements.txt. Lets us see how it works: 1. First of all, you have to install the "pipreqs," so to download it type the following given command in the cmd and hit the enter button: Command Output 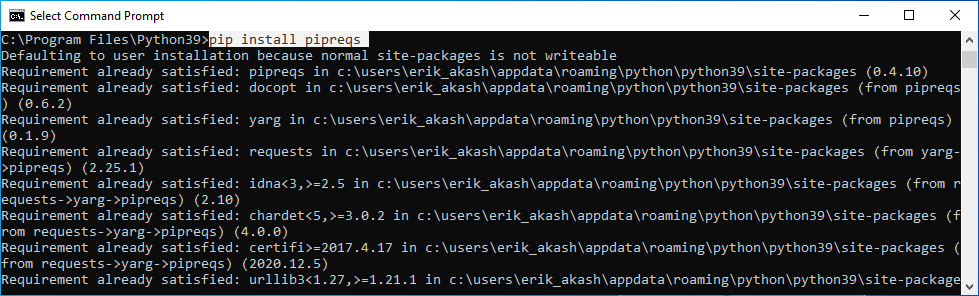
2. Once the installation gets completes, you can then start "pipreqs" to get the requirement.txt file by pointing it out to the location where your project folder is located. Command Output 
To verify that the requirement.txt file is successfully created, you can see in your project's folder that a new file "requirement.txt" will be created, as shown below: 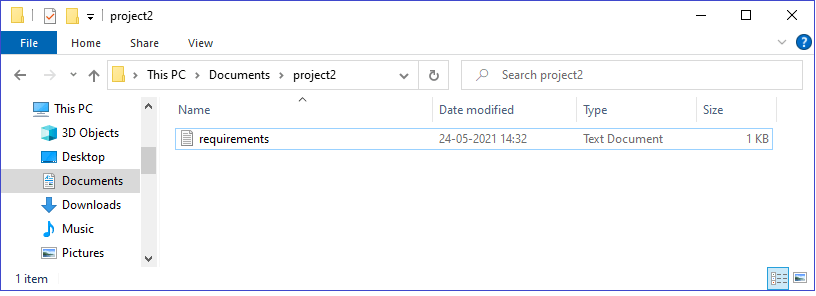
Next TopicTic-Tac-Toe in Python
|
 For Videos Join Our Youtube Channel: Join Now
Feedback
- Send your Feedback to [email protected]
Help Others, Please Share


